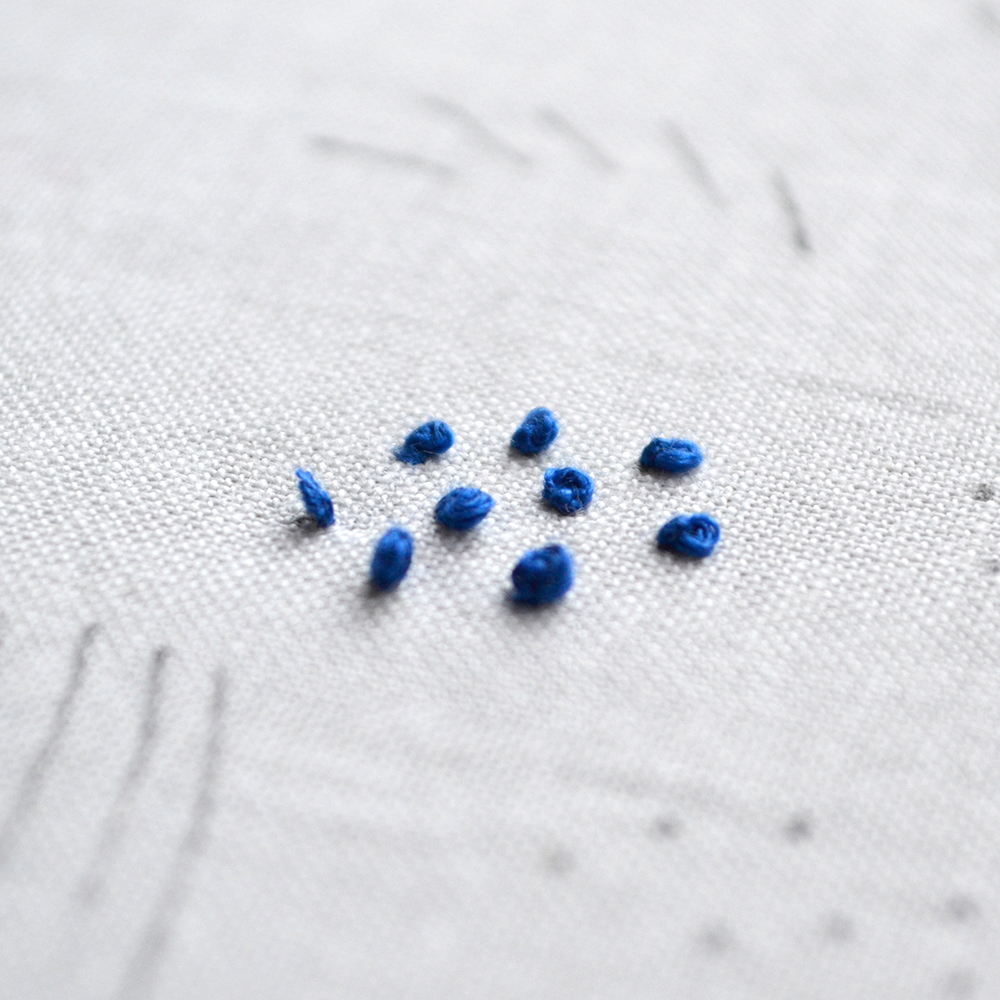
After a simple start with the running stitch last time, the french knot is a stitch I get a lot of questions about. Don’t despair! There are some tricks to get this stitch done. You know, without it sliding through the fabric or making a thread disaster when pulling the needle through the knot. This embroidery tutorial on the french knot hopefully solves all of your problems with this stitch.
Disclaimer: This article contains affiliate links.
The key here is patience and the right tool.
All of the knotted stitches work really nicely with a milliner needle. They have a slimmer eye and work like a charm for every stitch that needs to be pulled through many loops. So they are ideal for the french knot or the bullion stitch. We’ll tame that beast in another month. Just know that if you can do the french knot, you can do the bullion stitch, too.
Join the fun on Patreon
Support the making of over 200 embroidery stitch tutorials and get some exclusive bonus content on the way.
The french knot embroidery tutorial
The movement of the needle is sometimes hard to get across with a sketch or photograph. Video is a great way for learning embroidery stitches. On my Youtube channel, you can find many more embroidery tutorials. Every Sunday, I publish a brand new embroidery stitch tutorial. To get notified when a new video goes live, subscribe to my Youtube channel and click on the bell right beside the button.

Frequent problems with the french knot
The knot is sliding through the fabric
Your fabric might be too loose for the thickness of your thread. Try making more wraps to increase the thickness of the french knot (3 or 4 instead of 2 wraps). You can also use a thicker thread for the french knots.
If the thickness of the knot is not the problem, you might pull through too firmly. Use your middle and index finger under your fabric to press against it when pulling the needle through. The thread passes through between both fingers. Doing so helps the fabric to hold shape and keeps the knot on top of the fabric rather than sliding through.
Secure the knot by making a very small stitch right where your next stitch will be placed. This anchors the thread so that you don’t pull anything from the previous knot out of place in the process.


Do you want more tips and tricks on hand embroidery?
Join the Tutorial Alert! It is a biweekly newsletter that contains information about new tutorials & articles on Pumora, tips & tricks, and promotional content like new embroidery patterns or special discount codes.
You’ll receive an email to confirm your subscription to the Newsletter. Please also check your Spam folder and mark the email as no Spam.


