
Variation 2
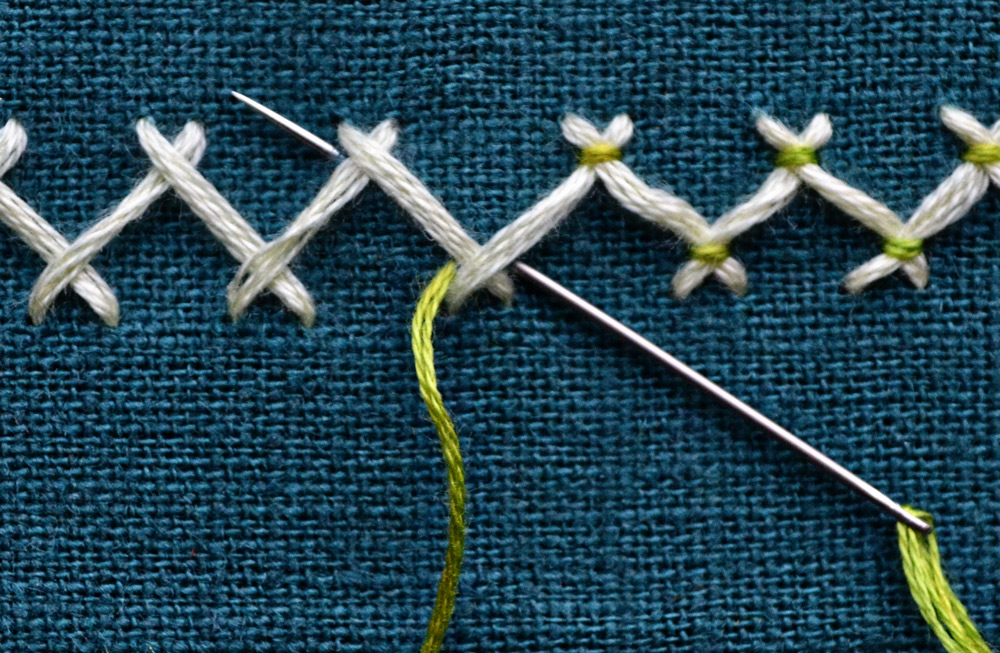
This stitch starts with a simple row of herringbone stitch. It should not be too small in scale, because the bars over the stitches can cover up the effect if the thread is too thick in comparison to the whole stitch. Try and test if you want to use a slimmer thread (e.g. 2 instead of 3 strands). I found the thread in my tutorial almost too thick and think I should have used 2 strands instead, when I look at the pictures now.
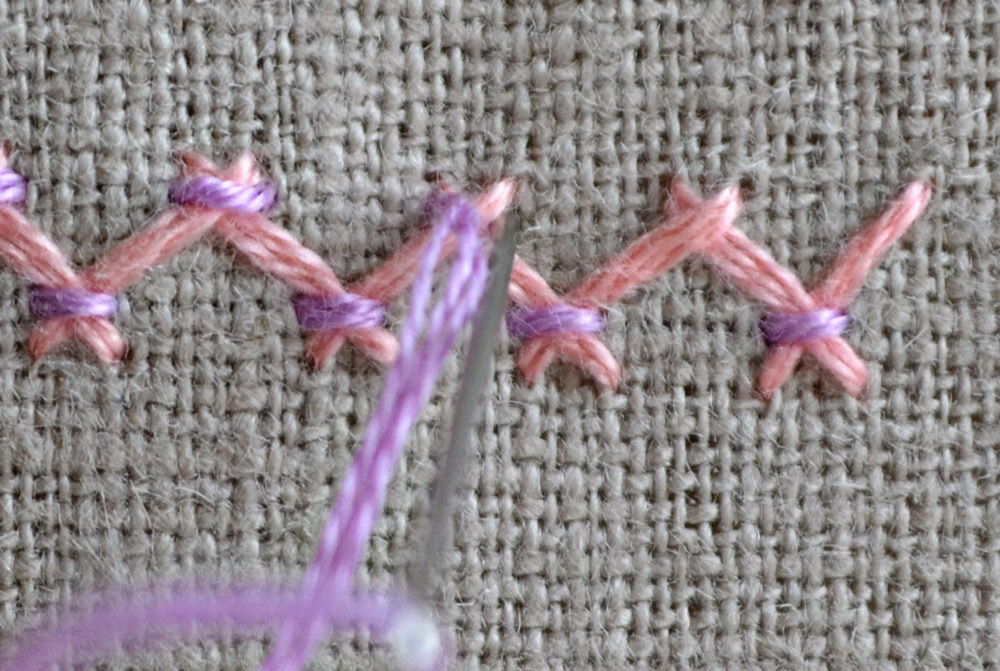
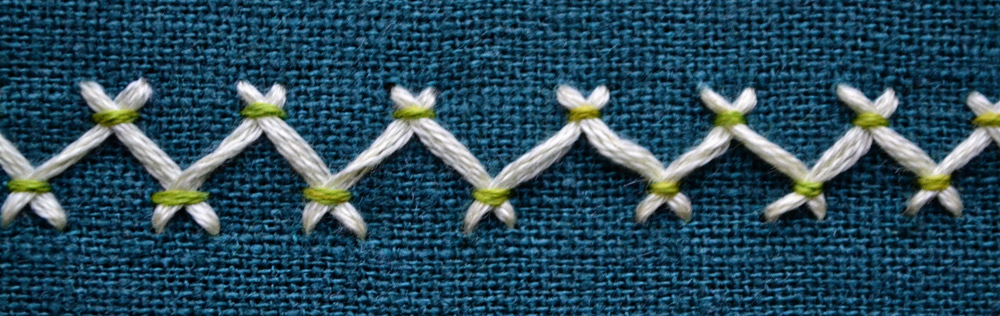
The running stitch makes a flat texture. If you want the bars to pop out more, change direction of your stitch and switch between the top and bottom row. This way the herringbone stitches get a little bit strangled and the bar rises.
Do you want more tips and tricks on hand embroidery?
Join the Tutorial Alert! It is a biweekly newsletter that contains information about new tutorials & articles on Pumora, tips & tricks, and promotional content like new embroidery patterns or special discount codes.
You’ll receive an email to confirm your subscription to the Newsletter. Please also check your Spam folder and mark the email as no Spam.