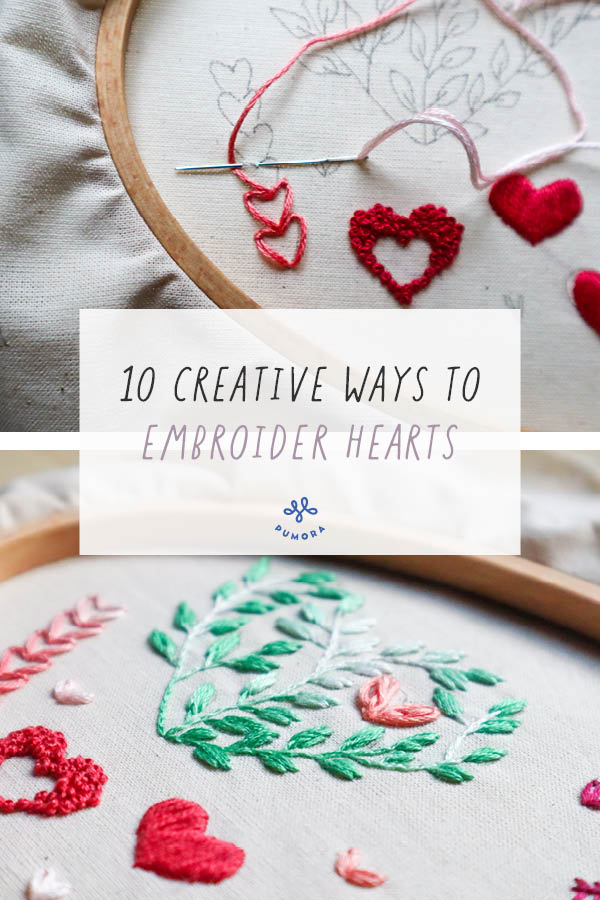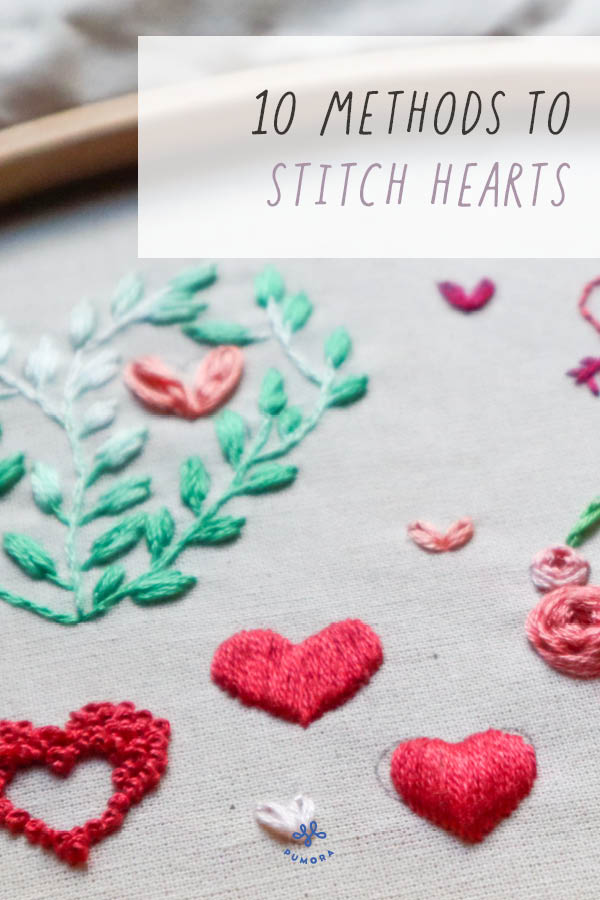
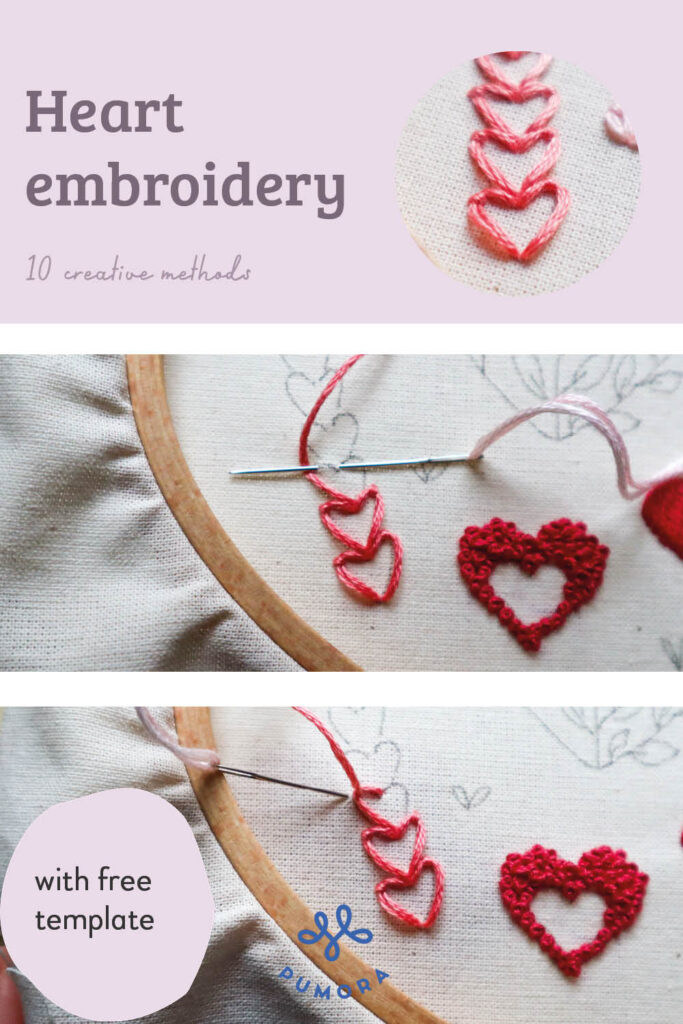
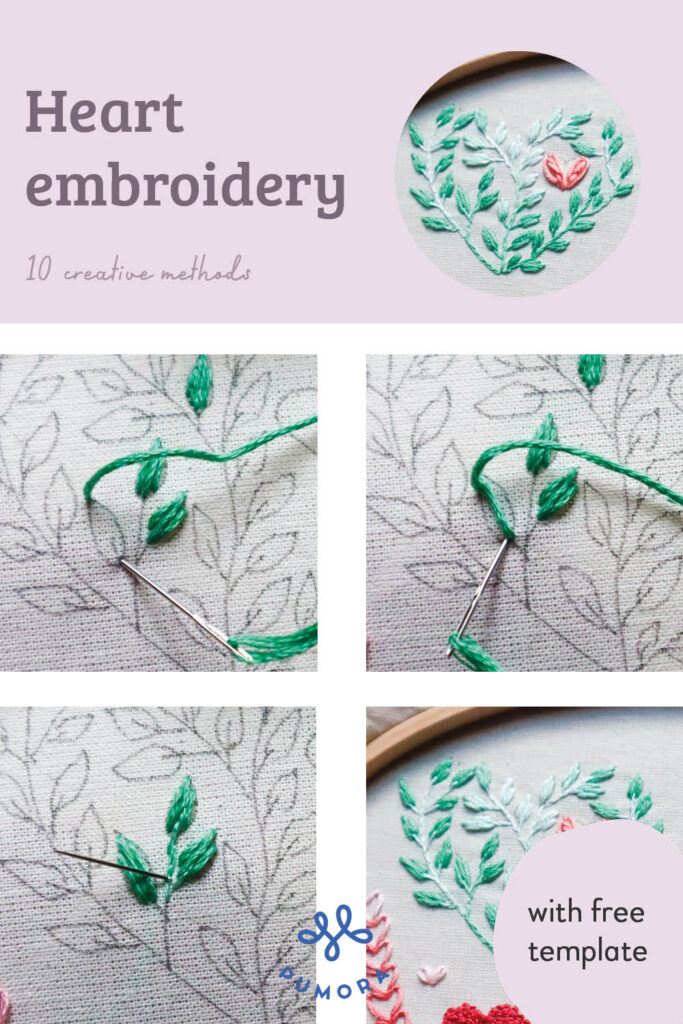
In this article, I’ll show you the 10 most beautiful methods for embroidering hearts. Whether individually or all combined – with these 10 embroidery techniques, you can create stunning hearts. Perfect for adding a decorative touch to your clothes or covering up a small hole.
Disclaimer: This article contains affiliate links.
How to embroider hearts – video tutorial
By loading the video, you agree to YouTube's privacy policy.
Learn more
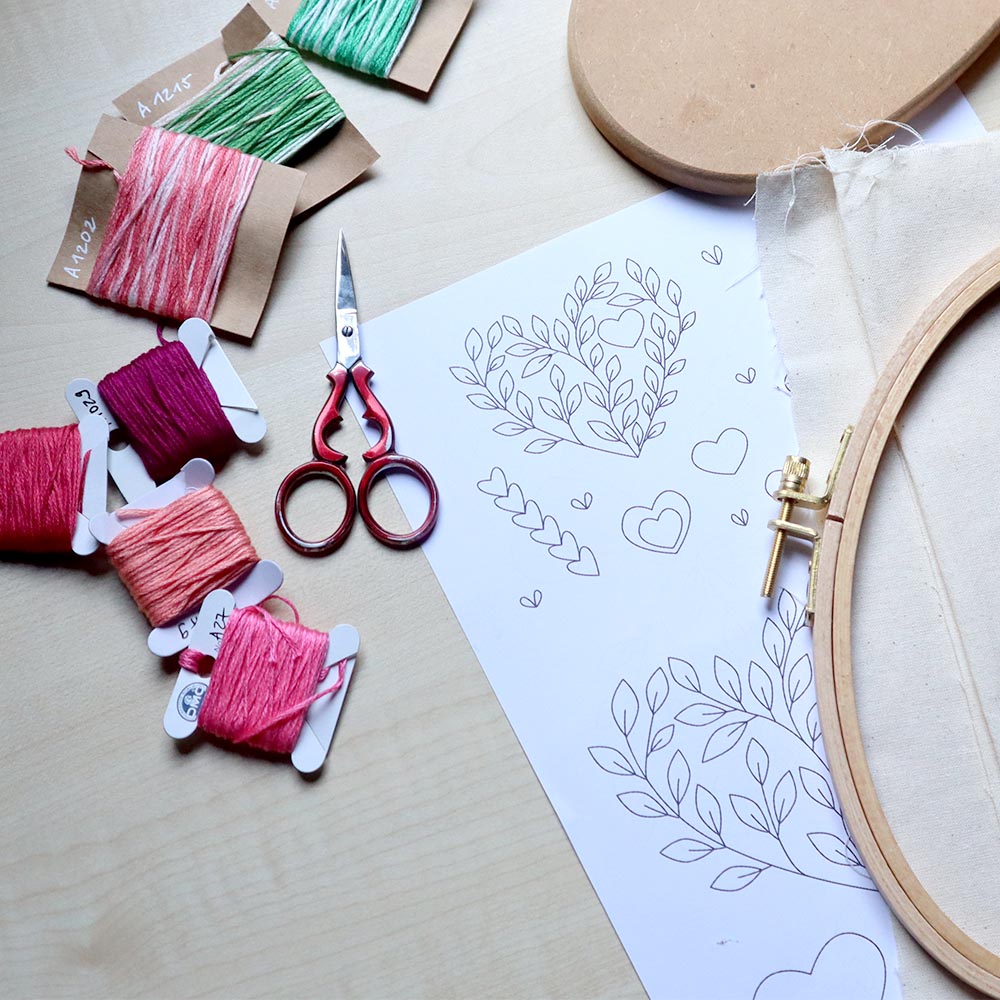
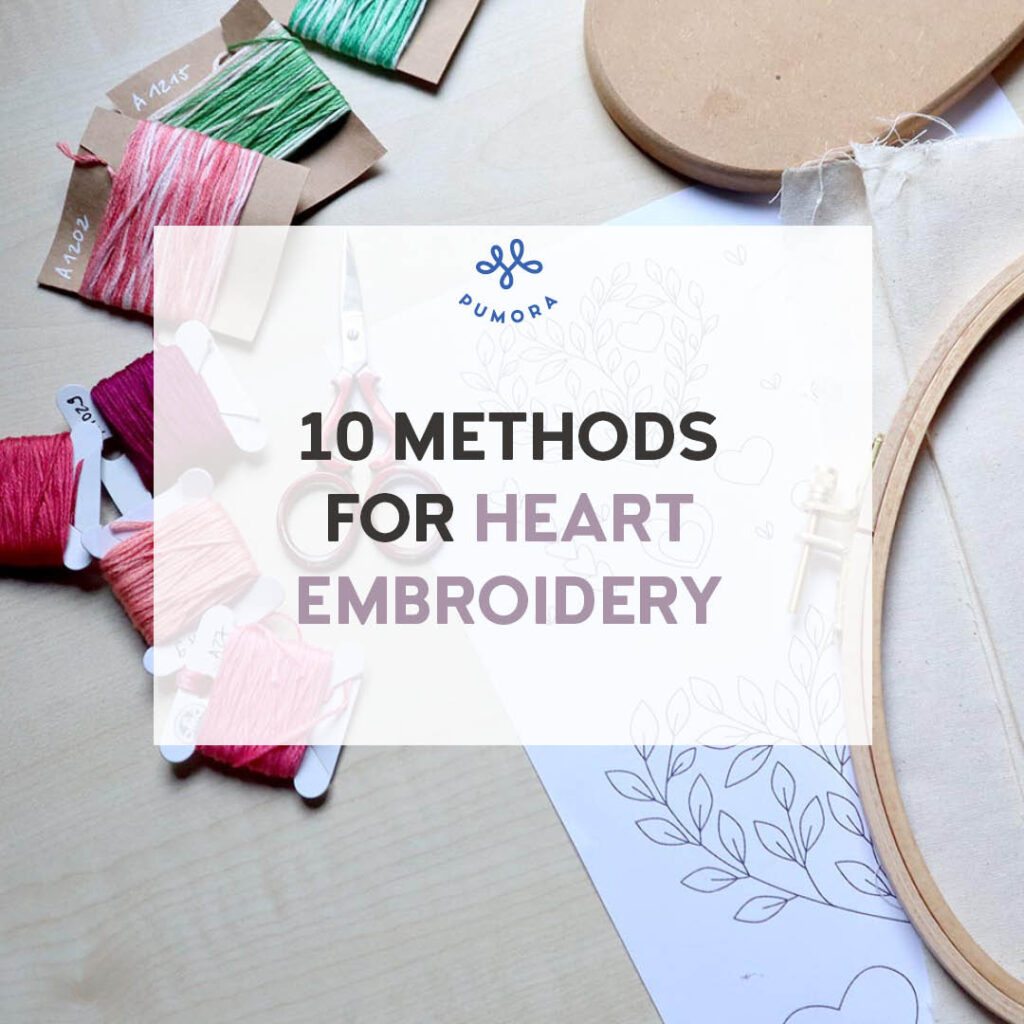
supplies for heart embroidery
- 6 stranded embroidery floss in colorways 9, 39, 1029, 1213 und 1202 (Anchor embroidery floss)
- 20×25 cm cotton calico fabric or linen
- embroidery needle size 5
- embroidery hoop oval 22x15cm
heart embroidery template for download
Here is the template for the video! Use it to stitch individual motifs or fill an entire frame with little hearts!
Please remember that creating these templates takes a lot of work, and they are not intended for commercial use. You are welcome to share this page by linking to it, but redistributing the PDF directly or selling it is not allowed. I appreciate your support!
Sign up for the newsletter now and receive the Heart template as a thank-you!
Join the Tutorial Alert! It is a biweekly newsletter that contains information about new tutorials & articles on Pumora, tips & tricks, and promotional content like new embroidery patterns or special discount codes.
You’ll receive an email to confirm your subscription to the Newsletter. Please also check your Spam folder and mark the email as no Spam. You can unsubscribe at any point. There is a link to unsubscribe in the footer of every email I send.
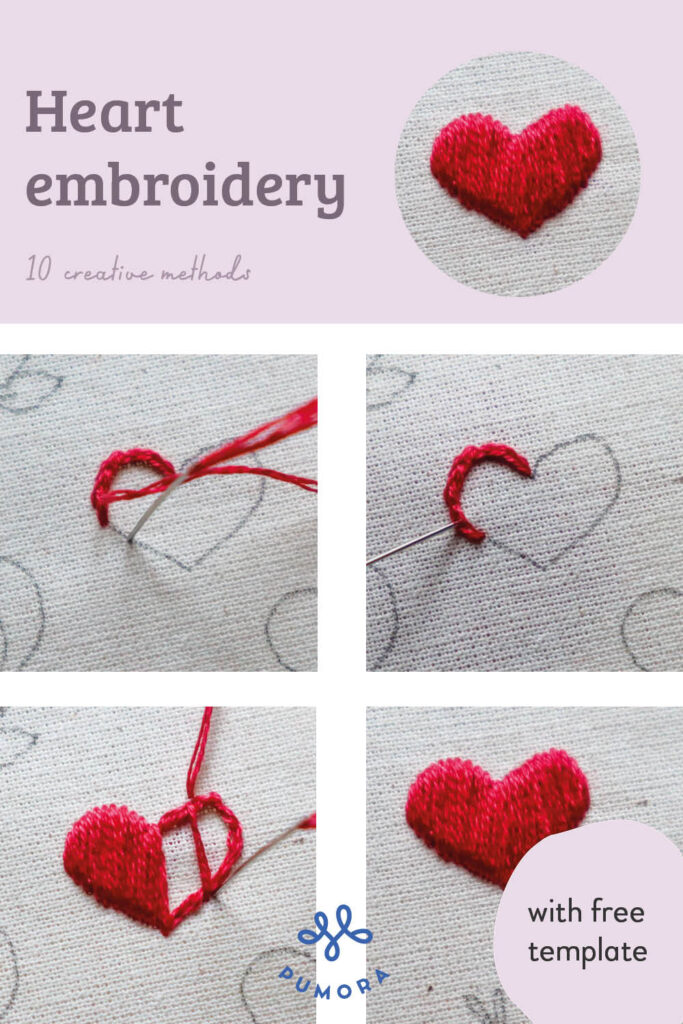
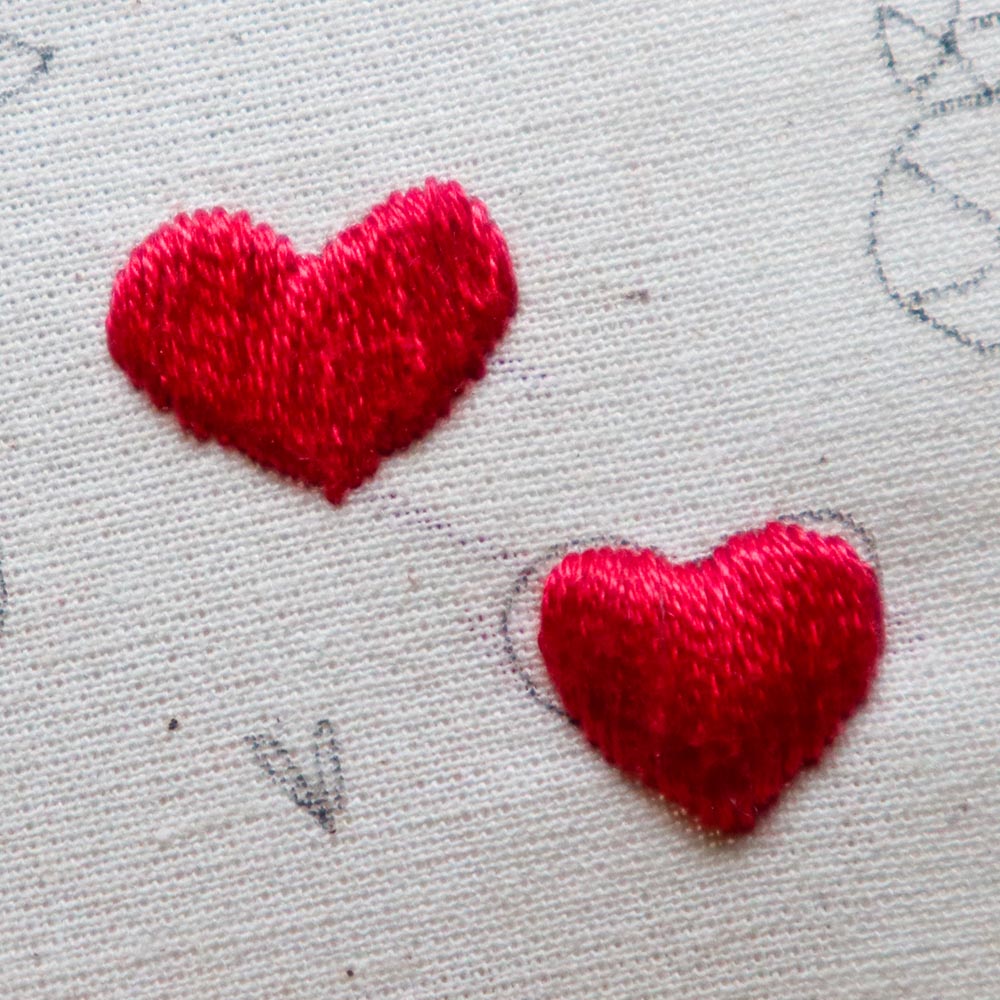
1. satin stitch heart
The first heart is a classic: embroidered using the satin stitch. Start from the center and work your way out to both sides to shape the heart.
Satin stitch works best for smaller hearts. Here, I’m using three strands of thread, which is ideal for hearts up to 2-3 cm in size. If you use thicker embroidery floss, you can create larger hearts as well.
embroidery floss: color 39, 3 strands
Tip for especially beautiful edges:
It’s not always easy to stitch the satin stitch exactly along the outline. This can quickly cause the edges to look frayed. If you have trouble with this, I recommend outlining the shape first with a line stitch, such as the split stitch. When you stitch over this pre-stitched line, the satin stitch will automatically look much smoother. Yes, it takes a little longer, but the results speak for themselves.
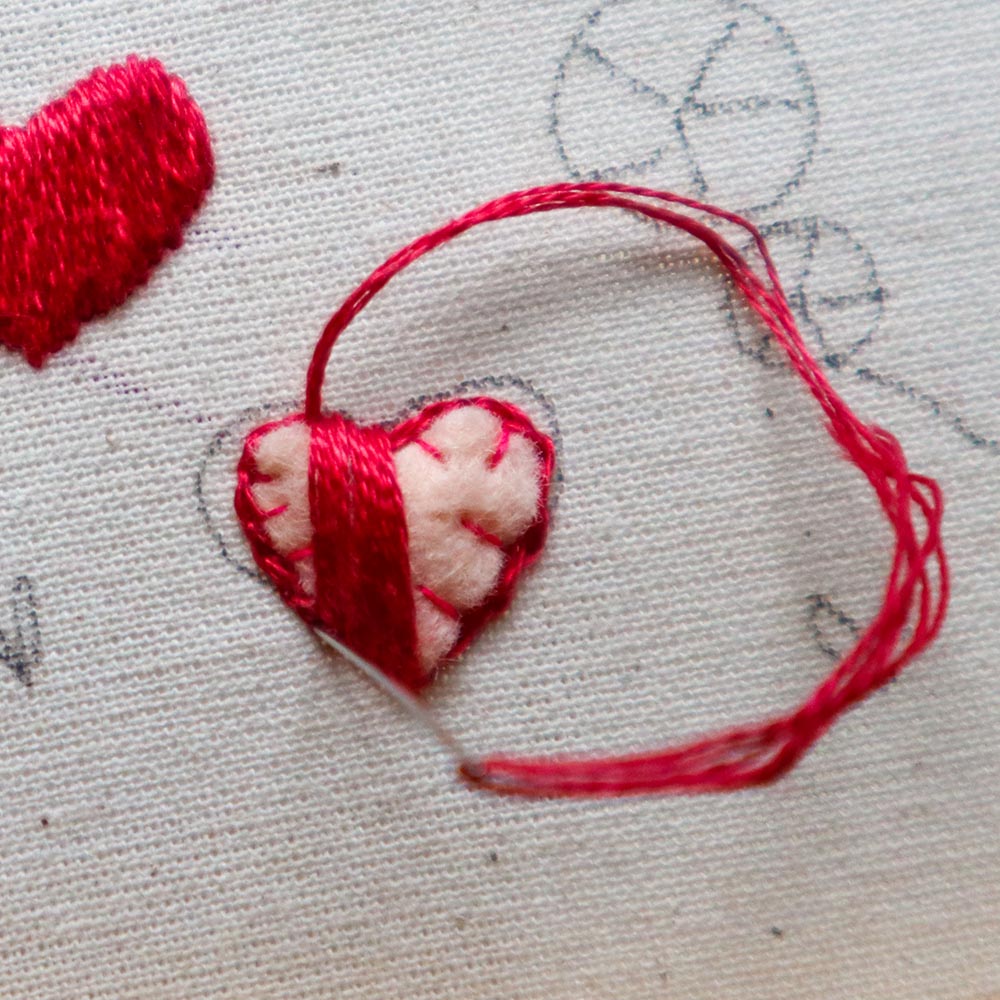
2. more depth: the raised satin stitch heart
A variation of the satin stitch works especially well for thick hearts with lots of volume: the raised satin stitch.
For this, cut a piece of felt to the size of the heart. Then, secure it in place with a few individual stitches and simply stitch over it as you would with a regular satin stitch. The extra layer of felt makes the stitches sit much higher. For even more volume, you can use 2 or more layers of felt. In this case, the top layer should always be the largest, and the layers underneath should gradually get smaller.
Due to the curved shape, the threads of the stitches might not lay as smoothly as you’d like. To prevent wavy stitches, it helps to gently stroke each stitch into position with your finger. Simply run your index finger over the recently stitched stitch.
embroidery thread: color 39, 3 strands.
It’s best to use felt in a color that isn’t too contrasting so nothing shows through.
3. the french knot heart
If you hate French knots, this heart will either bring you no joy at all or be the perfect opportunity to learn to love them. A heart made of French knots can be as large or small as you like. It all depends on how determined you are, as stitching French knots over a larger area does take time.
embroidery thread: color 39, 3 strands
Tip for quicker knots
Feel free to use a thicker thread, such as 6 strands, and wrap it around the needle 3 times. This will make the French knots larger, so you won’t need as many. Additionally, the heart will have a lovely textured look and will stand out visibly from the fabric.

4. A row of hearts
This great technique is easy to stitch and results in either individual hearts or a long, wide line. Two chain stitches are worked in such a way that they sit as a mirror image of each other. I like to use 6-strand embroidery floss for this stitch, as it gives the stitches a nice rounded shape. It’s also important not to pull the individual stitches too tightly, as this could result in a “V” shape rather than a “U”.
embroidery thread: color 1202 (variegated thread), 6 strands
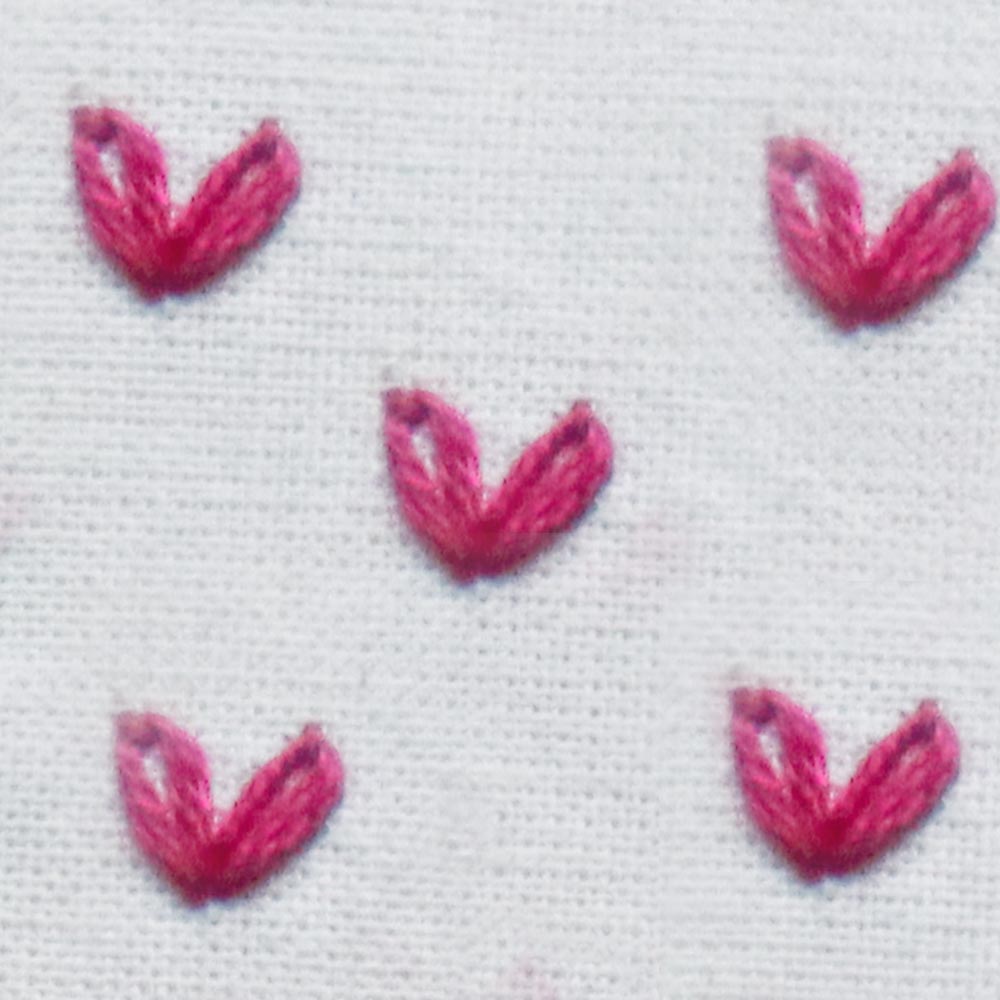
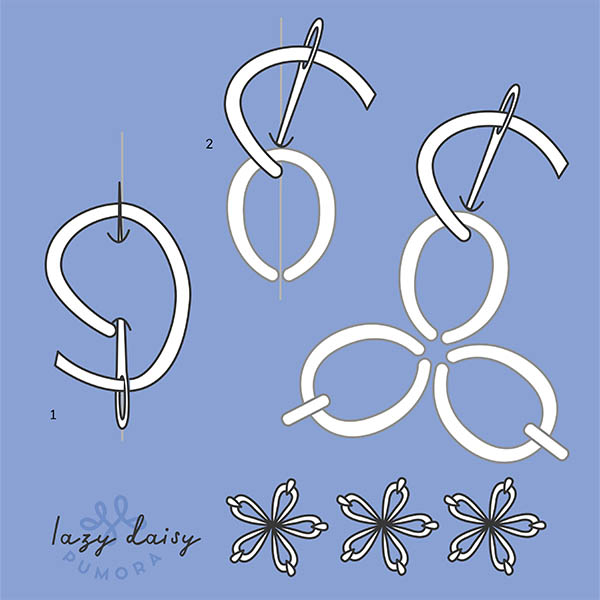
5. tiny hearts – the quickest method
Similar to the previous heart, this cute heart shape works in the same way. For this, you stitch two daisy stitches together at the bottom. This technique is only suitable for small hearts, such as for a scattered pattern. Again, working with thicker threads is more effective, as the loops will sit rounder than with thinner threads.
embroidery thread: color 1202 (variegated thread), 6 strands
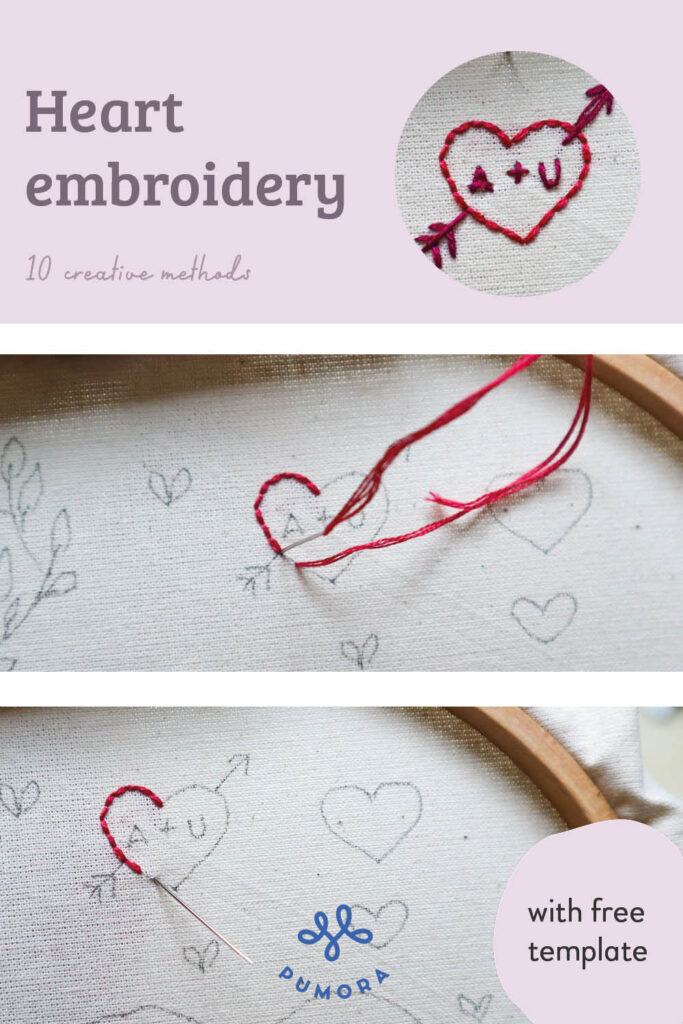
6. The arrow heart
You can embroider this heart in any size, as only the outline lines are stitched. You can use different embroidery stitches for this, but I personally prefer the backstitch for this type of heart. First, stitch the heart using the backstitch, and then use individual stitches to add the arrow and the letters.
embroidery thread: colors 39 & 1029, 3 strands
7. heart woven from leaves
This leaf heart is much more intricate. For the leaves, I used 6-strand embroidery floss and stitched 3-4 stitches next to each other for each leaf. For the stems, I recommend using 3 strands with the split stitch, as using more would make them too thick and they might overwhelm the lines. If you use variegated thread, you can create differently colored areas without having to change threads.
For the heart in the middle, you can use any of the stitches from before, or, as I did here, the oyster stitch.
embroidery thread: color 1213 (variegated thread) 3 & 6 strands; color 9 for the heart with 6 strands
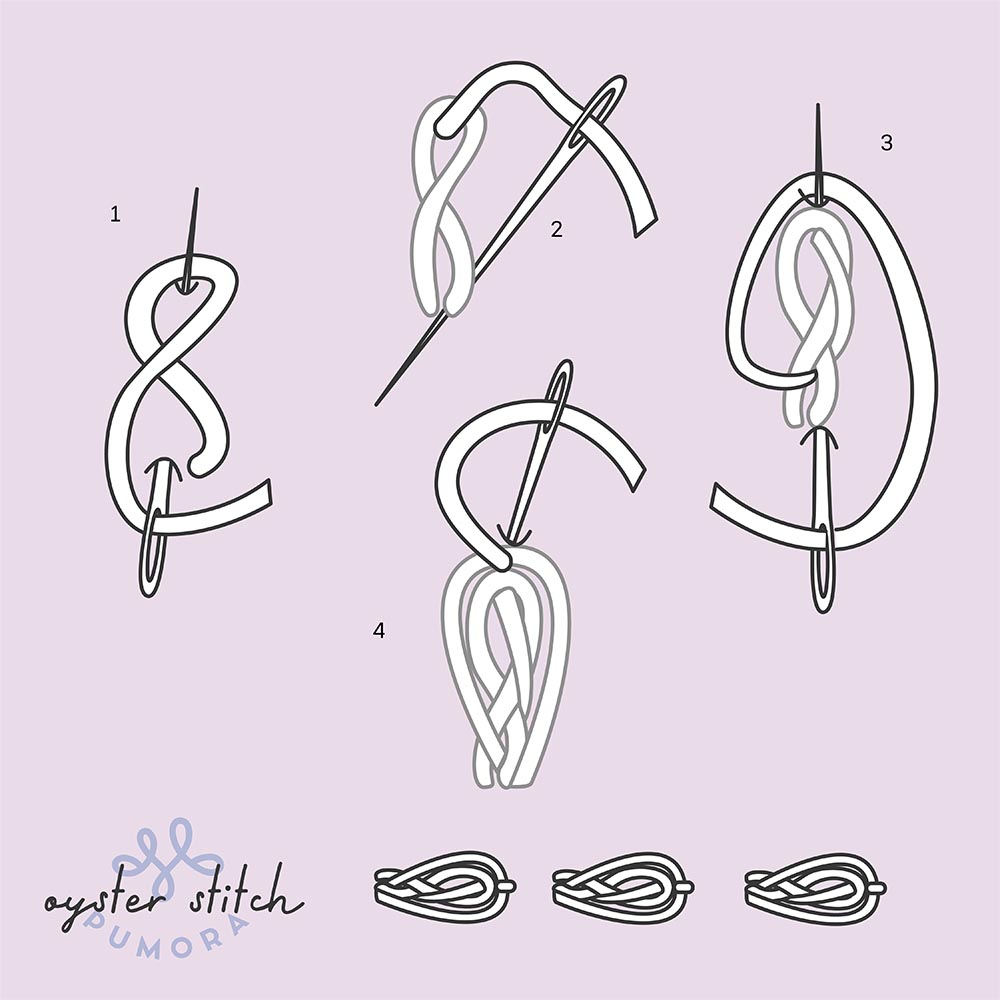
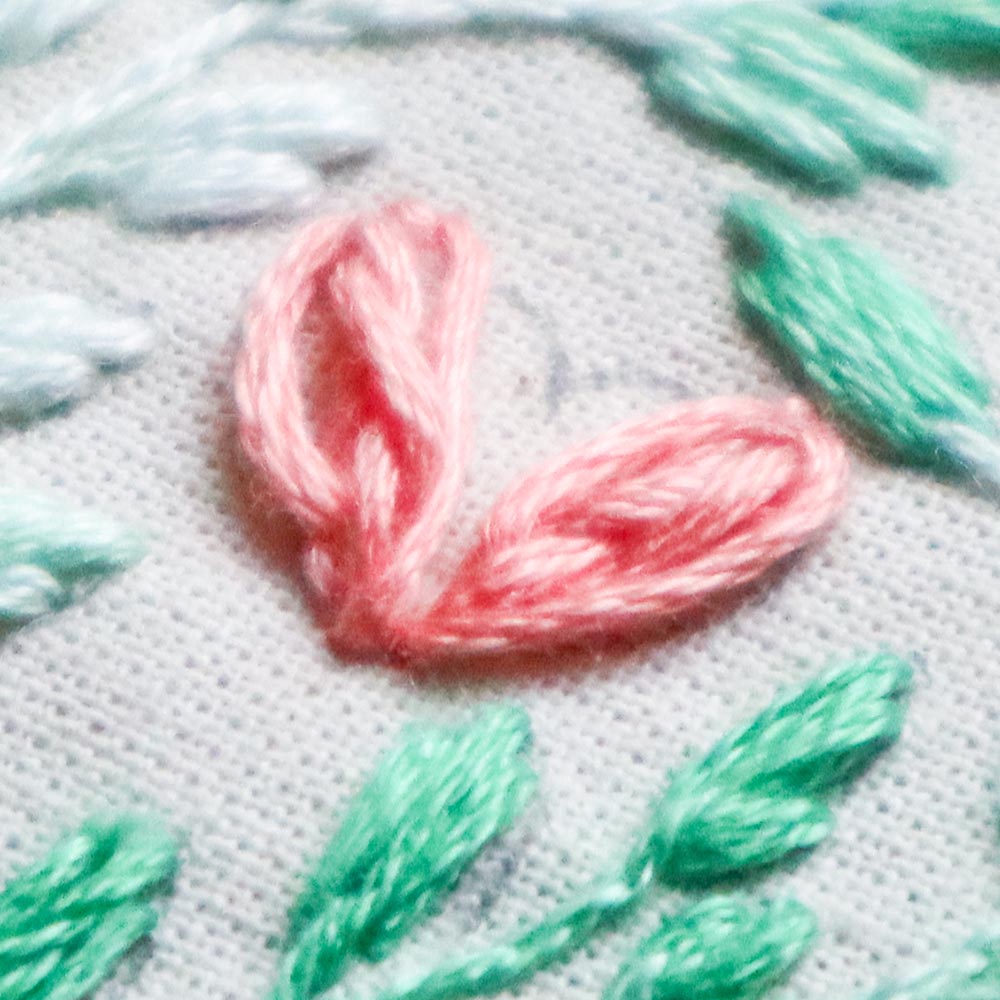
8. Intricate texture – the oyster heart
I had to look up the oyster stitch in my stitch book, as even I can’t remember over 200 embroidery stitches. The oyster stitch is a twisted chain stitch, around which a second chain stitch is worked. You can see it clearly in the illustration below. Again, I recommend using 6 strands, as this makes the loops sit nicely round and the area is well covered.
embroidery thread: color 9, 6 strands
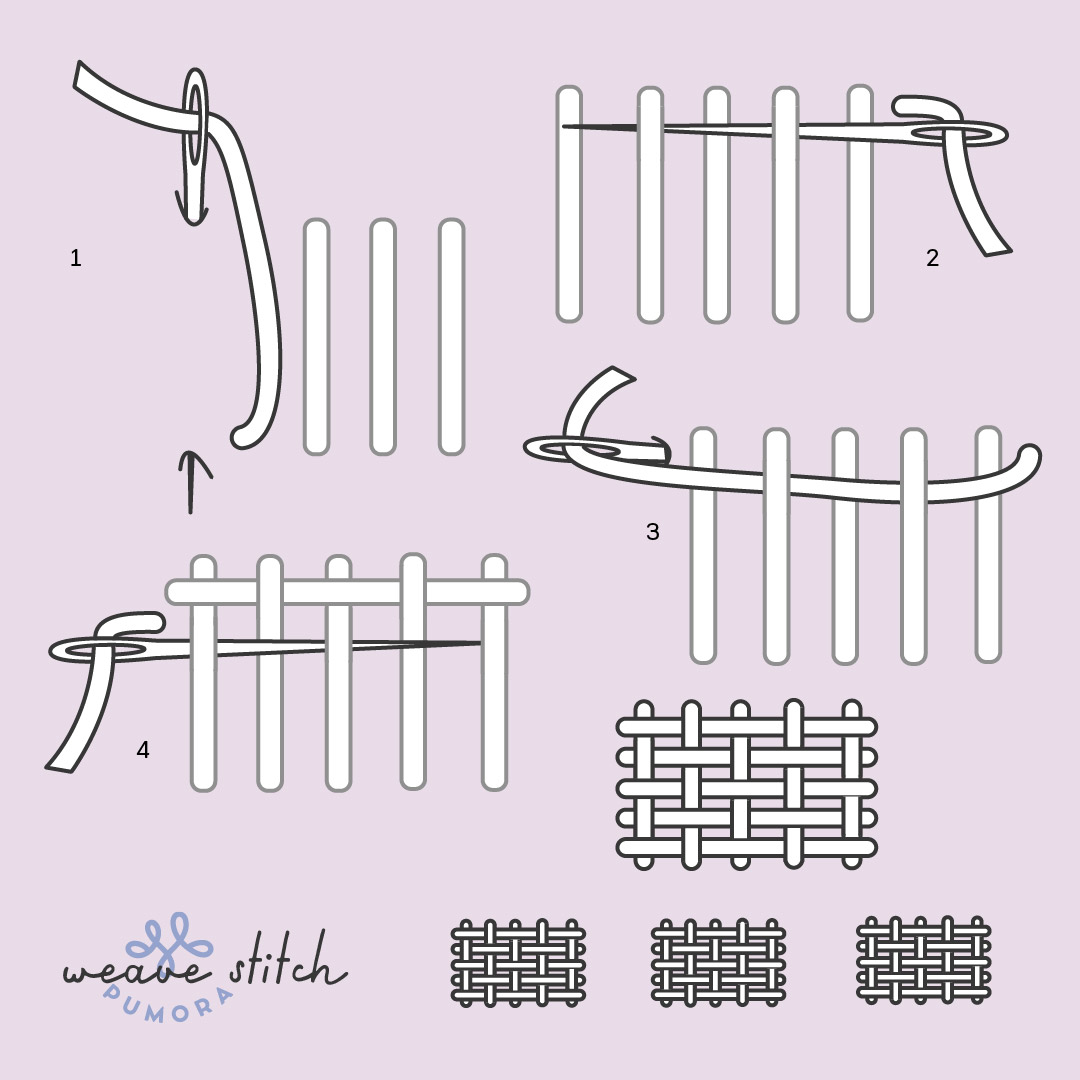
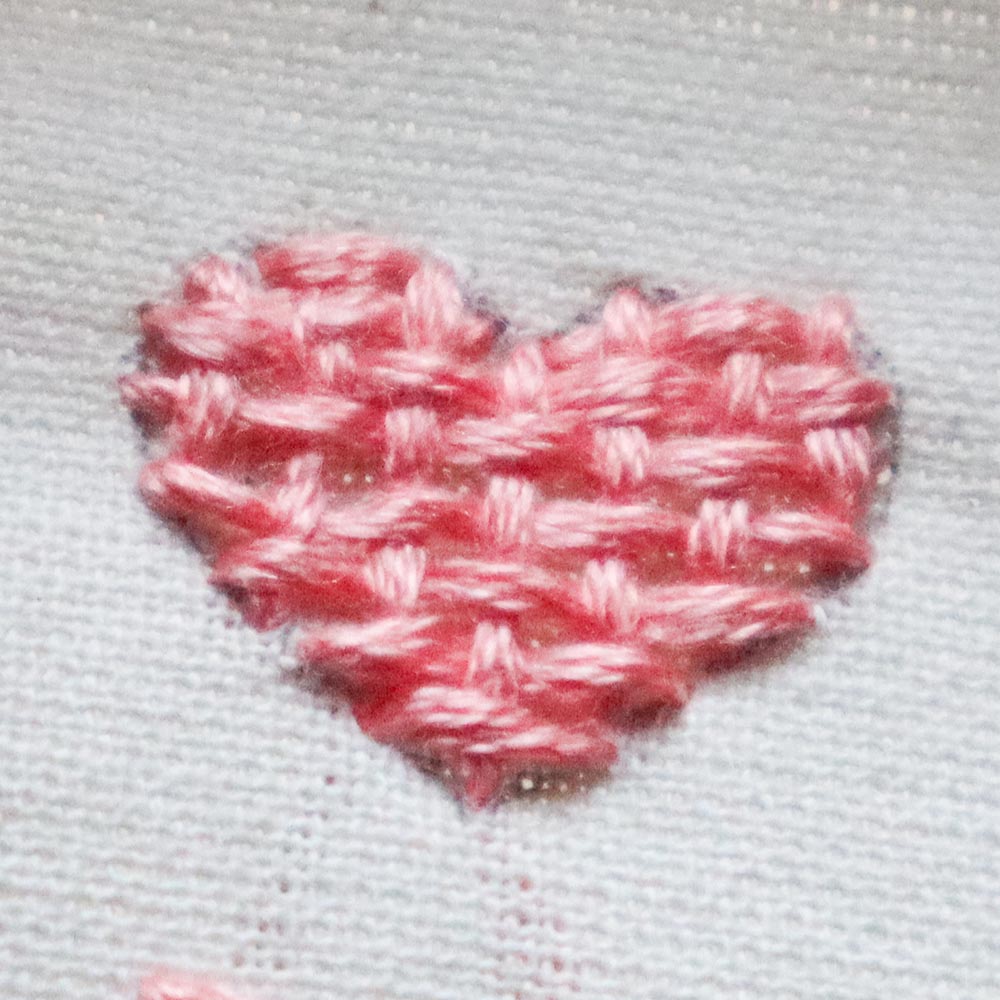
9. woven heart embroidery
The weaving stitch can fill all kinds of shapes, including hearts! For this stitch, you first work the vertical stitches. Leave a bit of space between the threads to make weaving easier later. Then, you weave the horizontal stitches, alternating over and under the previously stitched threads, row by row. At the end of each row, you stitch into the fabric and come up a little further down. Continue this process until the area is filled.
Here, I’ve stitched everything in one color, but you can also use two or more colors to create beautiful patterns.
The weaving stitch is great for filling relatively large hearts. However, the bigger the heart, the thicker the thread I would recommend using.
embroidery thread: color 9, 6 strands
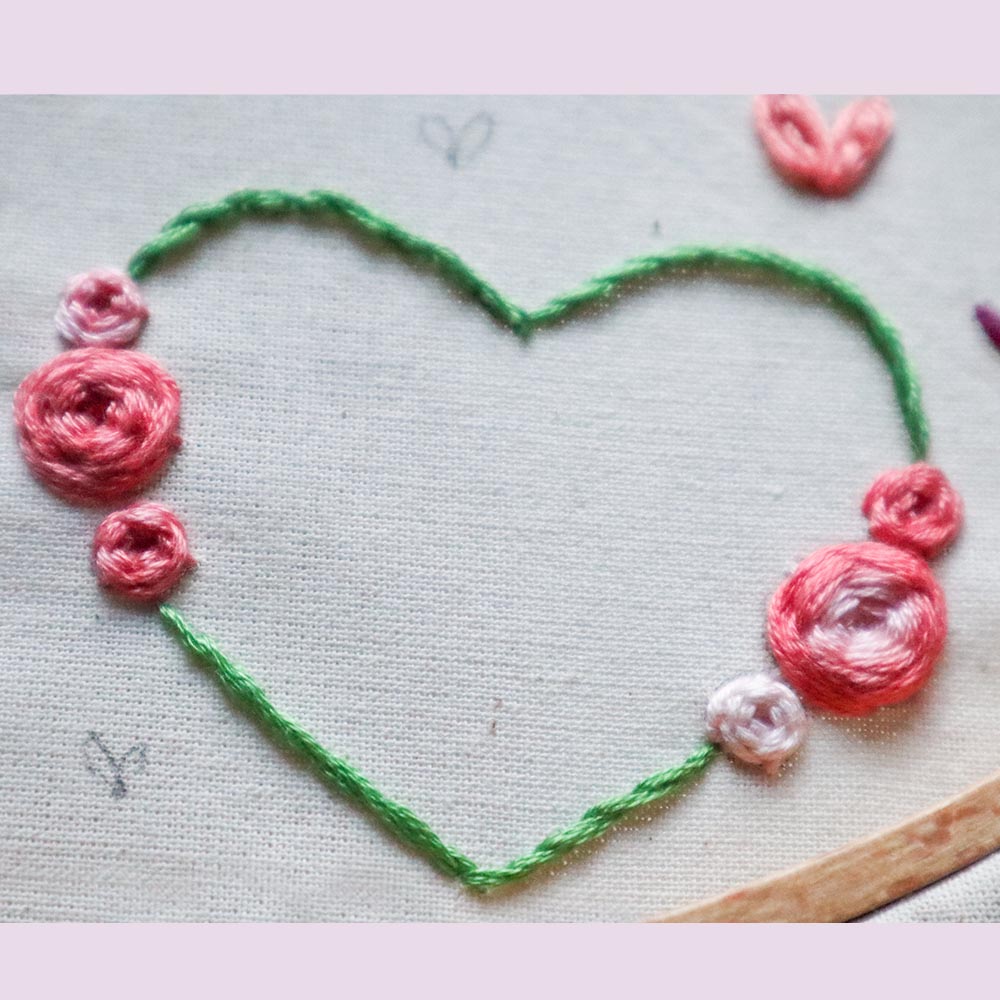
10. flower heart
Let’s move on to the last and largest heart: the flower heart. The outline is worked in stem stitch, interrupted by a few woven roses. For the woven roses, I stitch 5 stitches around a center point in a circular shape, like the spokes of a wheel. Then, I weave alternately over and under these stitches along the circle. This continues until the circle is filled with stitches. At the end, stitch the needle under the last threads into the fabric and secure the thread on the backside.
Along the outline, you can stitch as many roses as you like and also vary their size.
embroidery thread: color 1202 (variegated thread) for the roses, 6 strands; color 1213 (variegated thread), 6 strands for the outline
Do you want more tips and tricks on hand embroidery?
Join the Tutorial Alert! It is a biweekly newsletter that contains information about new tutorials & articles on Pumora, tips & tricks, and promotional content like new embroidery patterns or special discount codes.
You’ll receive an email to confirm your subscription to the Newsletter. Please also check your Spam folder and mark the email as no Spam.