
Are you ready to let go of the popular habit of framing embroidery in a hoop for today?
Let’s do something different and use a rectangular shape!
The truth is: not every embroidery looks best in a round shape. Also: the circle does not look great in every environment.
Mounting embroidery on art canvas is a beautiful and simple way to display your embroidery outside of the round hoops.
Disclaimer: This article contains affiliate links.

Art canvas is a canvas mounted on a stretcher frame. They are widely available in art supply stores and in home decor shops.
In art supply stores you might even buy the wooden construction without the canvas on it. This way you can adapt the frame to the measurements of your embroidery.
Warning: If you want to use a big stretcher frame don’t use the cheap ones from the dollar store. They tend to distort over time.
Usually, the canvas is stapled to the stretcher frame either on the sides or on the back. In this tutorial, I use thumbtacks to hold the fabric on the frame.
Why I like to use thumbtacks
- you can easily adjust the tension later
- you get a lot for a low price
- they are easily removable
- it’s quick to set up
Extra tip
If you don’t want to use tacks, here is a good tutorial over on How did you do this showing you how to use thread to mount your embroidery on art canvas.
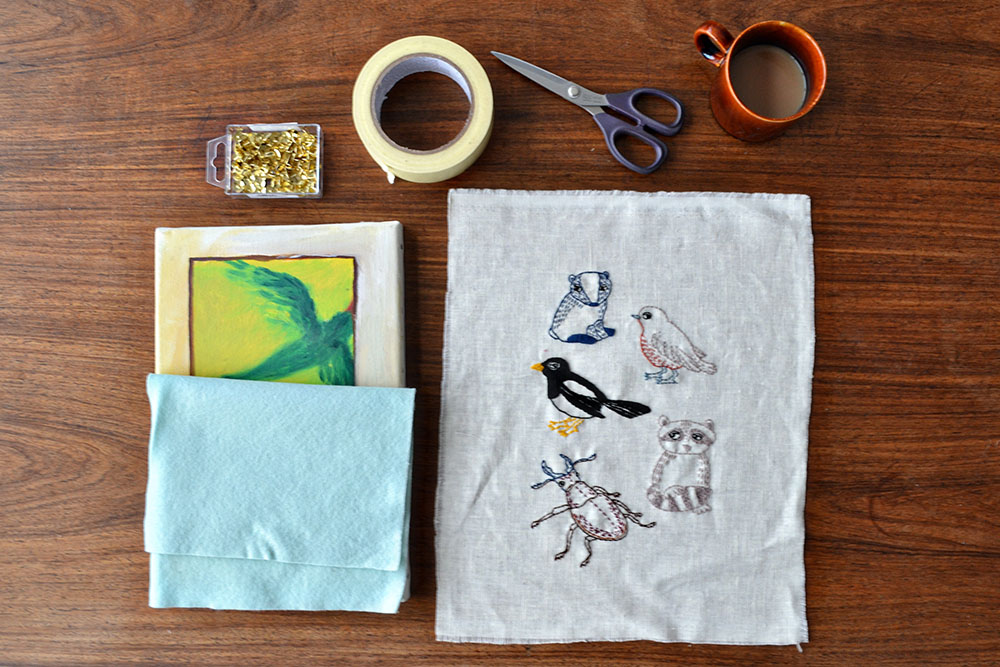
What do you need?
- 1 art canvas that is matching the measurements of your embroidery
- a piece of embroidery art (for example a pattern from the Pumora shop)
- thumbtacks
- scissors
- optional: felt for padding in the size of the art canvas
How to calculate the size?
Most of the time you will choose an art canvas from the store and make the size work for your embroidery instead of making a custom frame for your work.
You’ll need 2 inches of fabric on each of the 4 sides to go around the sides of the frame and attach on the back. Be aware that the sides will be visible. Depending on the size and thickness of your frame you might need more or less.

How to mount embroidery on art canvas
Decide if you want to remove the canvas from the frame or leave it.
Sometimes the canvas is stapled on very badly – leaving a lot of creases on the sides. In this case, it’s better to remove the canvas and use a layer of fabric or felt to cover the edges. Crappy canvas almost always has splintery wooden frames. Covering it before mounting your embroidery on it prevents snags and holes.
If the canvas is laying smoothly you can leave it on. If you have a canvas with a picture/pattern/color on it: use a layer of fabric or felt to cover it up. If you don’t have any, you can even use a sheet of paper.

Center the embroidery
Center your embroidery on the frame. I like to use my hands to smoothen out the fabric and see if the lines meet up.
Make sure that your design is positioned exactly how you want it to be. Then fold over the excess fabric to the back and flip the frame with your embroidery on.
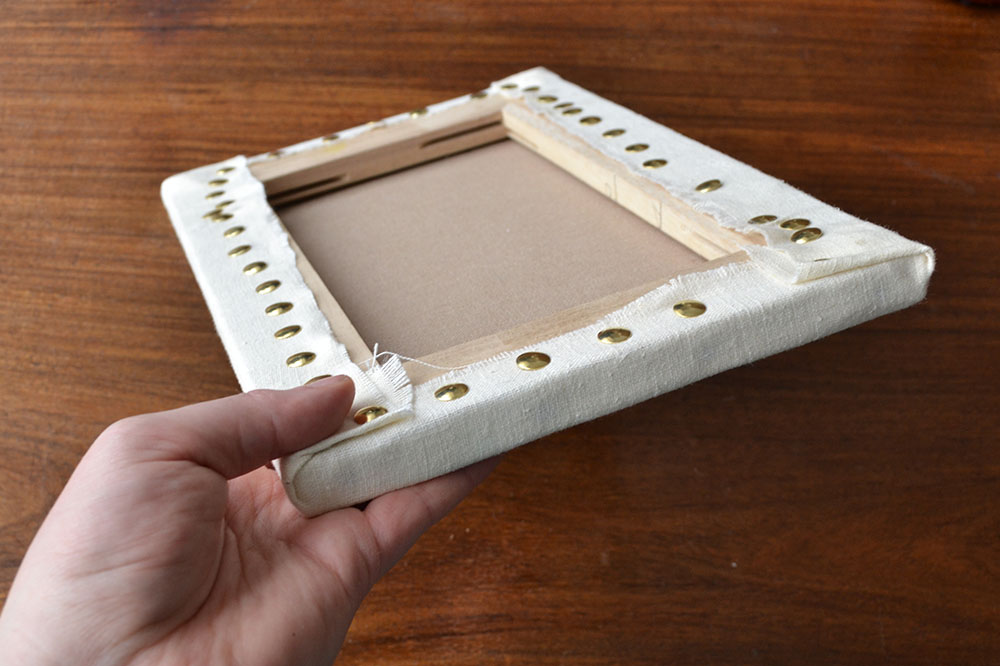
Tack it down
Once you have flipped the frame, tack down 2-3 points on each side on the back. Then turn again and see if the motif is still in the right place. If not remove the tacks and try again.
Do you end up with your embroidery moving everytime you flip it? Try tacking 2-3 points on each side – on the sides, not in the back – BEFORE you flip it over. This might be the best solution for larger pieces, too.
Then, tighten the tension on each side one by one and put in more
Always make sure you don’t distort the fabric on the front side. Check every now and then to see if everything is looking good.


The edges
Tacking the edges is a little bit fiddly. Fold the fabric in neatly so it doesn’t bulk as much.
Some very soft fabrics tend to misbehave at this. Stiffer fabrics hold their shape better. So if it doesn’t work at first, don’t despair. It might be your fabric is tricky to work with.
Bonus point for perfectionists: The folds should mirror the fold of the opposing edge.
Do you want more tips and tricks on hand embroidery?
Join the Tutorial Alert! It is a biweekly newsletter that contains information about new tutorials & articles on Pumora, tips & tricks, and promotional content like new embroidery patterns or special discount codes.
You’ll receive an email to confirm your subscription to the Newsletter. Please also check your Spam folder and mark the email as no Spam.