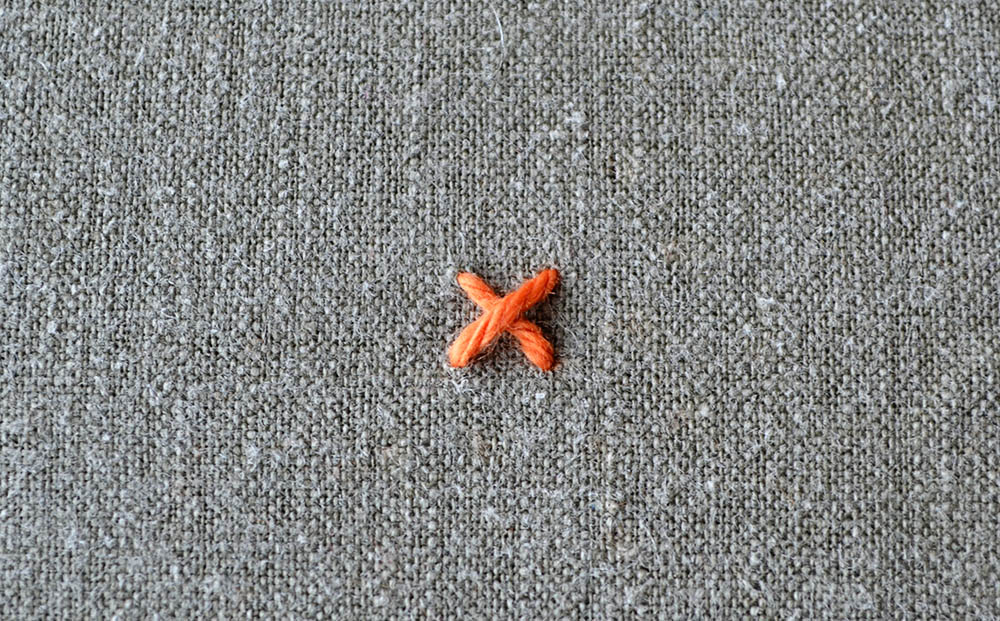
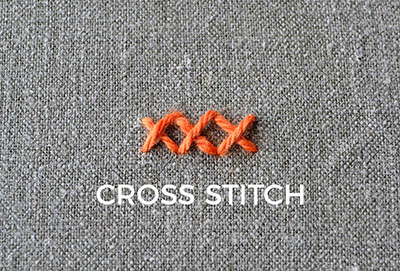
It’s time for the 4th part of the 7 days of stitches series introducing the stitch with the 4 corners *drum roll*: the CROSS STITCH. I mean, this stitch is probably the one stitch that almost everybody has stitched once in their life at school. It is also the term many people say when they actually mean embroidery.
Interestingly there is often a distinction made between counted cross stitch and embroidery in general. Counted cross stitch is when you follow a chart of squares to make each stitch. It is similar to pixel art – there are really pixelated pictures like old game boy pixels and high-resolution pictures with thousands of pixels/stitches involved that look very realistic.
Cross stitches can be used outside of counted embroidery, too. That is why I show you two ways of making them. The first steps show a stand alone cross stitch. The second set of steps shows how to do the counted version.
How to embroider the cross stitch
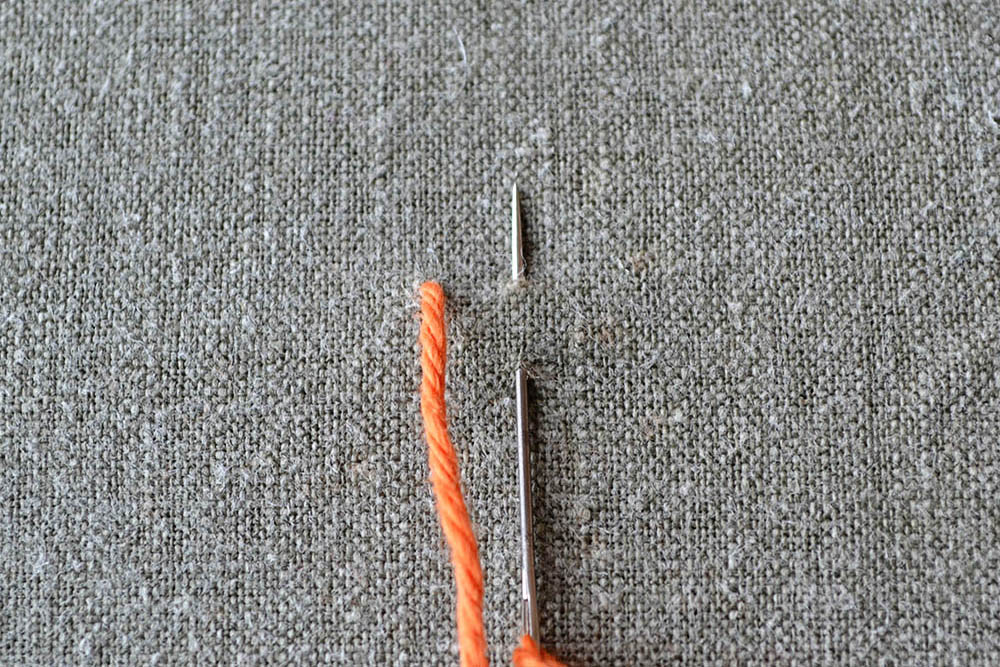
1// single cross stitch version: Imagine a square, then stick the needle in the bottom right corner and pull it out at the bottom left corner.

2// single version: Stick the needle in the top right corner and pull through.

3// single version: finished

1// counted cross stitch version: This is usually made with a countable fabric like Aida or even weave fabric. Learn more about it here. Stick the needle in the bottom right corner, then pull up in the top right corner.

2// counted version: Repeat step 1 until you reach the number of squares you want to cover.

3// counted version: Now it’s time to go backwards. Stick the needle in the bottom left corner and pull it up at the top left.

4// counted version: Repeat step 3 until you have covered all previous stitches.


Good to know
For counted cross stitch it is important, that you always have the upper legs/arms of the stitches lean in the same direction. In the picture above you can see that all upper legs/arms go from bottom left to top right. The next row must be the same, so be aware of this. Legs that lean in another direction reflect the light differently and it will show in your embroidery piece. This is mostly an issue when you turn your work every now and then so the previously right slanting stitches become left slanting and vice versa.
Do you want more tips and tricks on hand embroidery?
Join the Tutorial Alert! It is a biweekly newsletter that contains information about new tutorials & articles on Pumora, tips & tricks, and promotional content like new embroidery patterns or special discount codes.
You’ll receive an email to confirm your subscription to the Newsletter. Please also check your Spam folder and mark the email as no Spam.

