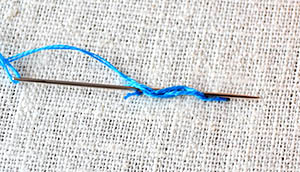
Over the centuries, embroiderers have developed many techniques on how to begin and end their embroidery thread. Selecting the right one depends on which stitches you want to use, which materials you choose and what the purpose of your finished embroidery piece is.
For a beginner, this can be an overwhelming process of decision making! Here are very basic and simple ways to start and end your threads. Keep in mind, that not everything works with everything and there are lots of other possibilities out there.
How to begin an embroidery thread
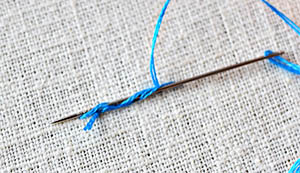
The Knot
Be aware, knots are not seen as good practice.
However, I use it more often than I want to admit and especially if you have other things to do than making your embroidery back pretty – like learning stitches – I find it totally ok to use knots.
The Loop
If you use stranded embroidery floss in an even amount of threads, the loop method is perfect. It leaves no trace of where you started the thread at all.
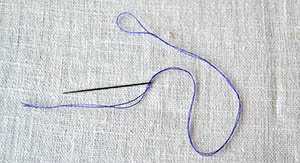
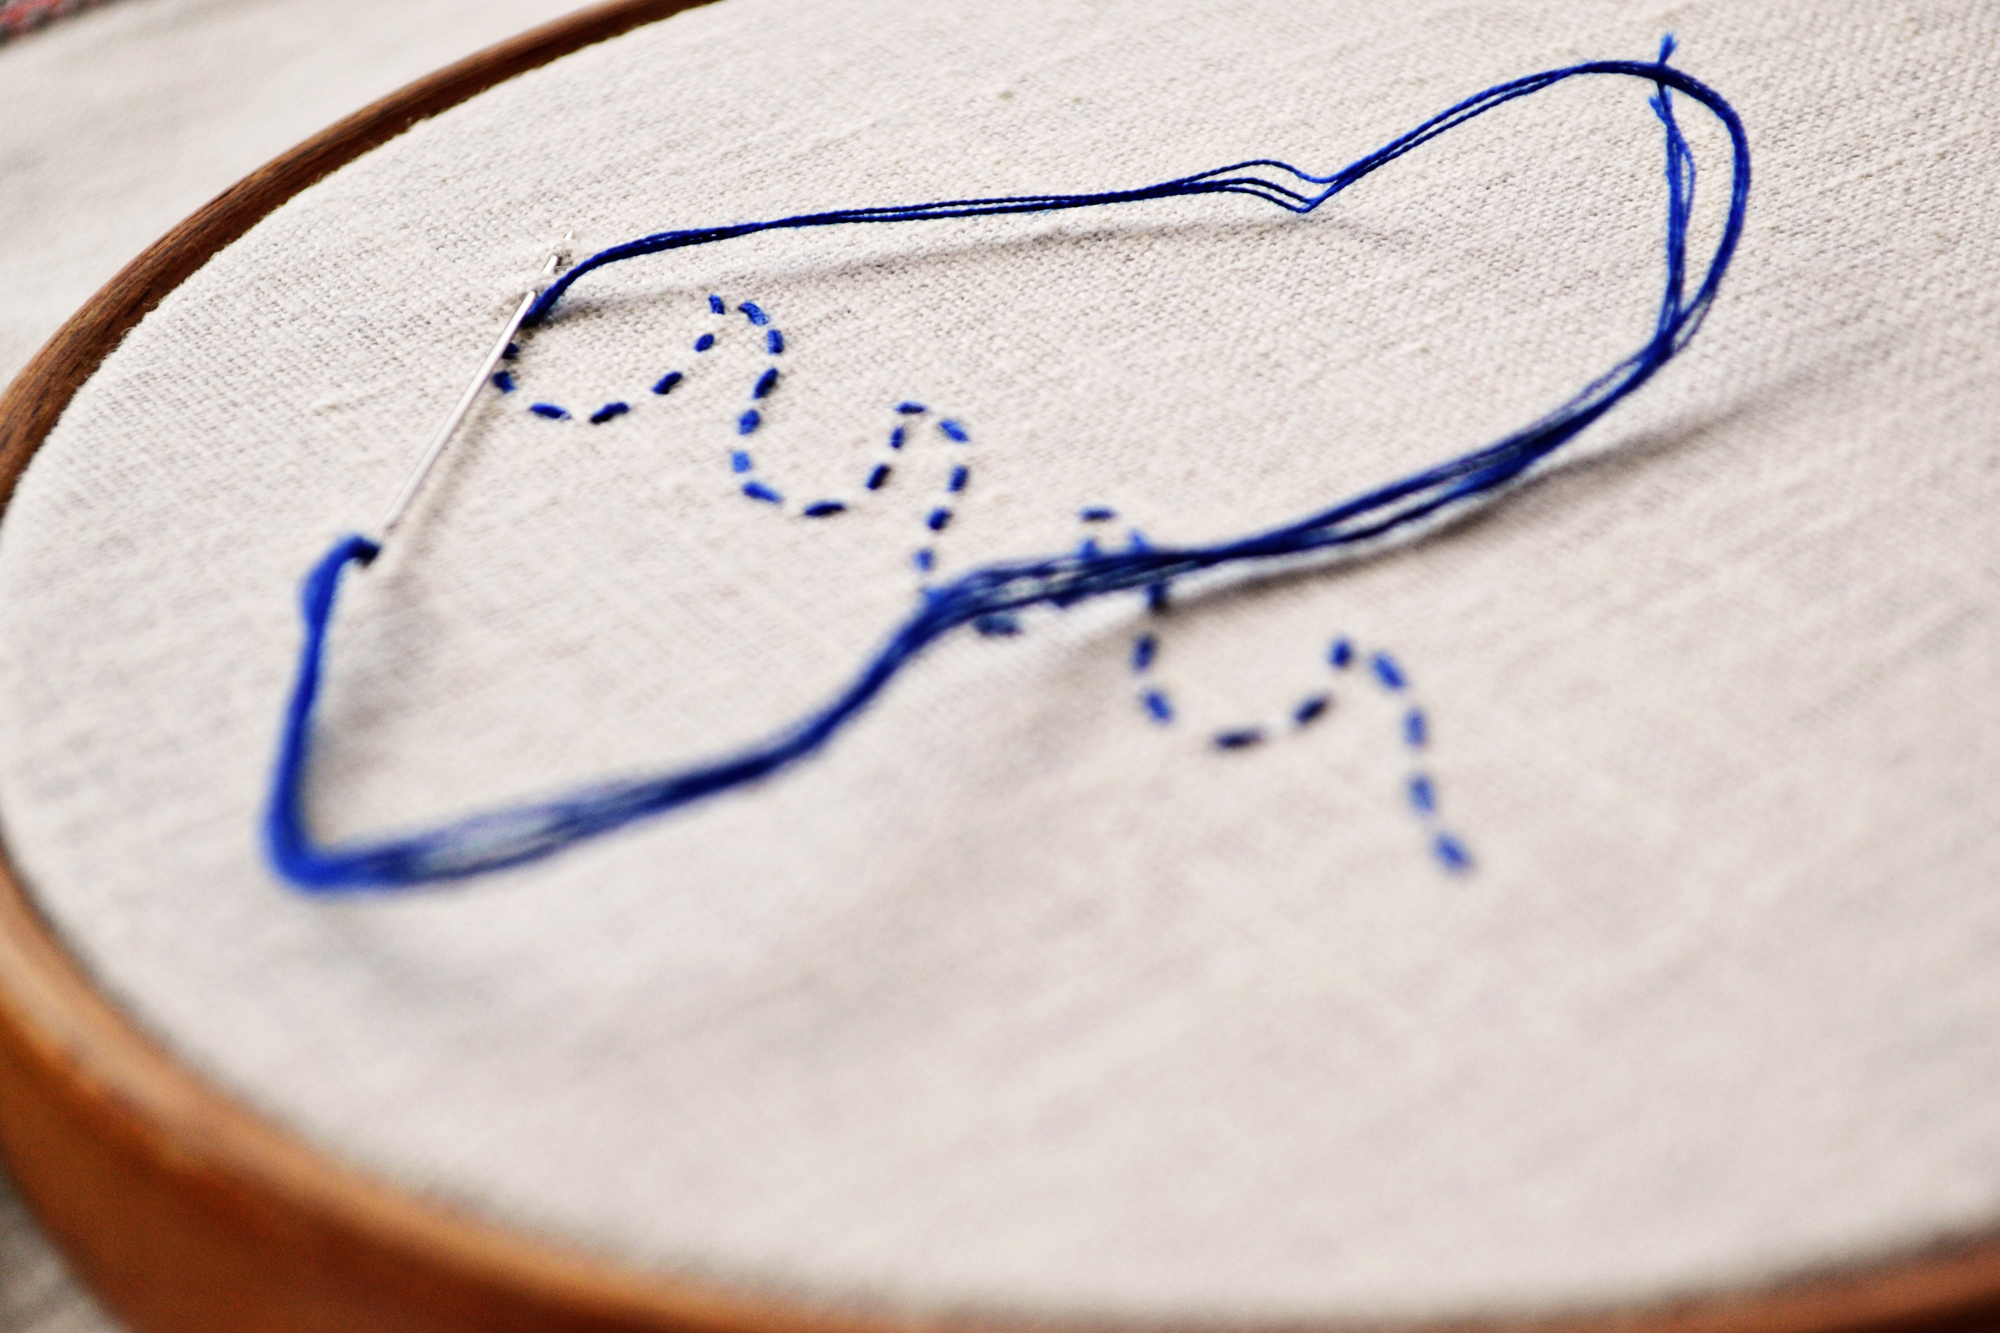
Instead of using 2 strands, use double the length of a single strand of floss. Then fold it in half and pull both ends through the needle.
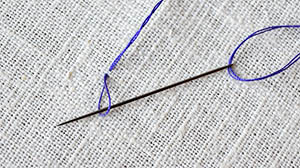
Then, begin the first stitch by leaving the loop hanging at the back, make a tiny stitch, go through the loop in the back with your needle and tighten the loop.
The Beginner guide to embroidery
Stop struggling to find your stride while stitching.
Everything you need to know as a beginner in one ebook.
How to end an embroidery thread
Weaving in the End
Use the previous stitches to pull your thread’s end through. I go in one direction first, then back again slightly apart from the
There are many more ways to start and end threads but these 3 ways are used very commonly. If you are looking for more beginner level embroidery tutorials you might like the beginner hand embroidery guide article.
