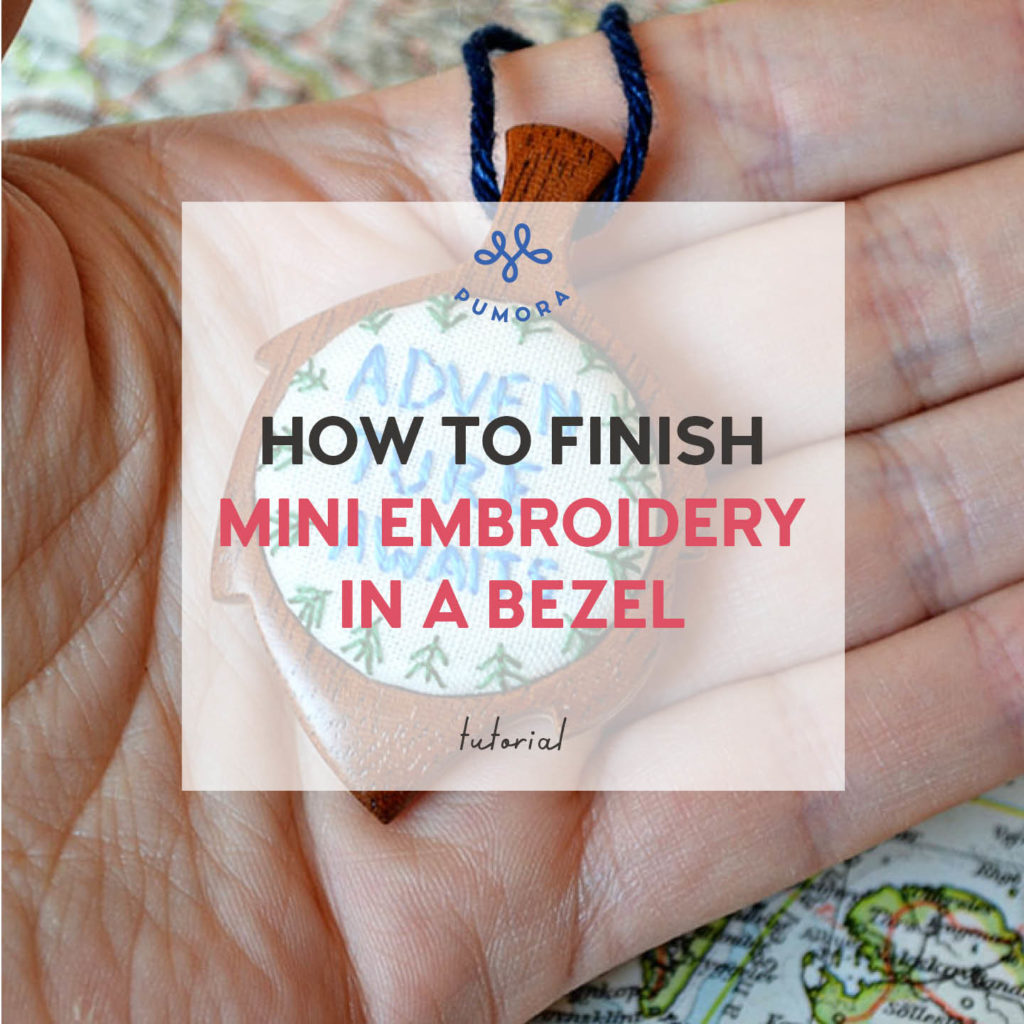
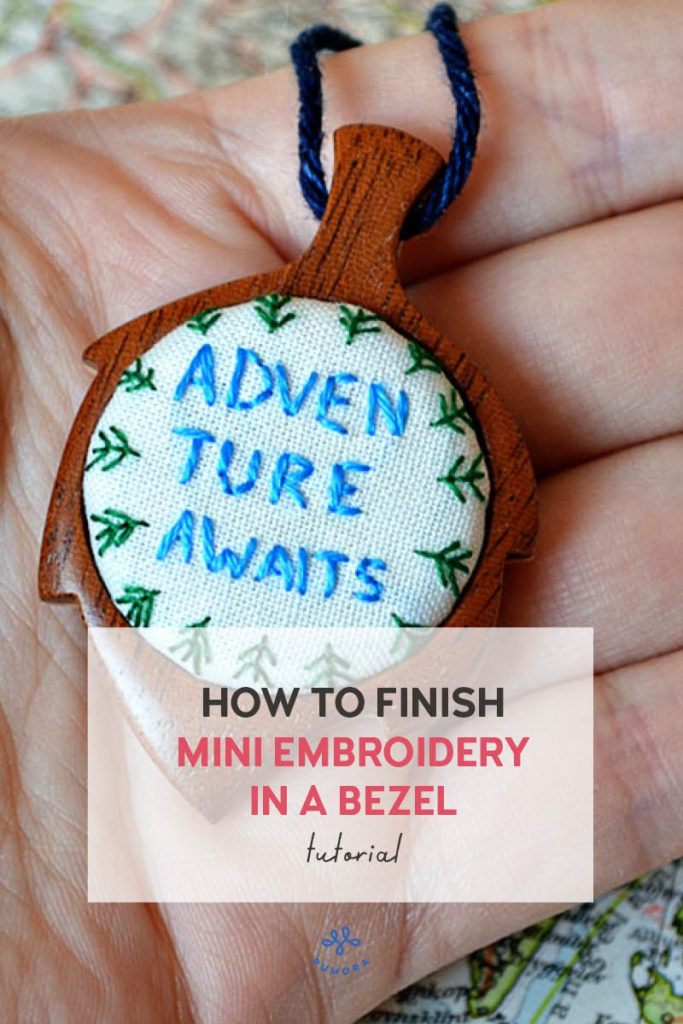
On Monday, I showed you how to finish embroidery in a mini hoop. Today, let’s go into the steps of how to finish an embroidered pendant with bezels. Bezels and other settings are the foundation of many great pieces and you can use them for embroidered things, too!
To set something into a bezel it usually has to be glued in or it will fall out. Unlike a mini hoop, bezels don’t hold the inlay by pressure, it has to be attached to the bezel on the inside. Since this is a different approach to a normal mini hoop, I decided to make a seperate tutorial for bezels.
Disclaimer: This article contains affiliate links.
Which pendants is this tutorial for?
The bezels I use here are by artbase, a small business owned by Marco and Betty based in Florida. They offer a HUGE variety of hand crafted wooden bezels (and mini hoops, too). They come with an inner plate – padded or without padding – which is essential for the use in embroidery.
There are other bezels for many uses out there. Most are supposed to be used for cabochons and are called cabochon settings, too, if you want to use them, here is what Etsy brings up in it’s search.
Here is a speed run video I made to show you the process. Below you will find the specifics to the process.
How to finish an embroidered pendant
Step 0 / cut an inlay
If you want to use a regular cabochon setting that is not meant for embroidery you have to make your own inlay. Depending on the size of your setting choose a thinner or thicker material. Obviously you can’t use a thick cardboard for a 1cm/0.4inch setting. The bulkiness would look awkward. Very.
So pick a cardboard that has enough stability to not bend easily for the destined size. It will get glued in in the end, but it’s much easier to attach the fabric when it’s not all wibbly and wobbly.
The inlay should fit into your setting and leave enough space for the fabric, too. So if you have a thicker fabric leave more space for it to fit into the bezel.
Step 1 / cut and position your embroidery
Place your inlay on the embroidery to determin where to cut. Then mark an allowance of about 1cm/0.4inch around it. If your embroidery is very small make the allowance narrower, but it should not overlap when you put it around the inlay and gather in the back.
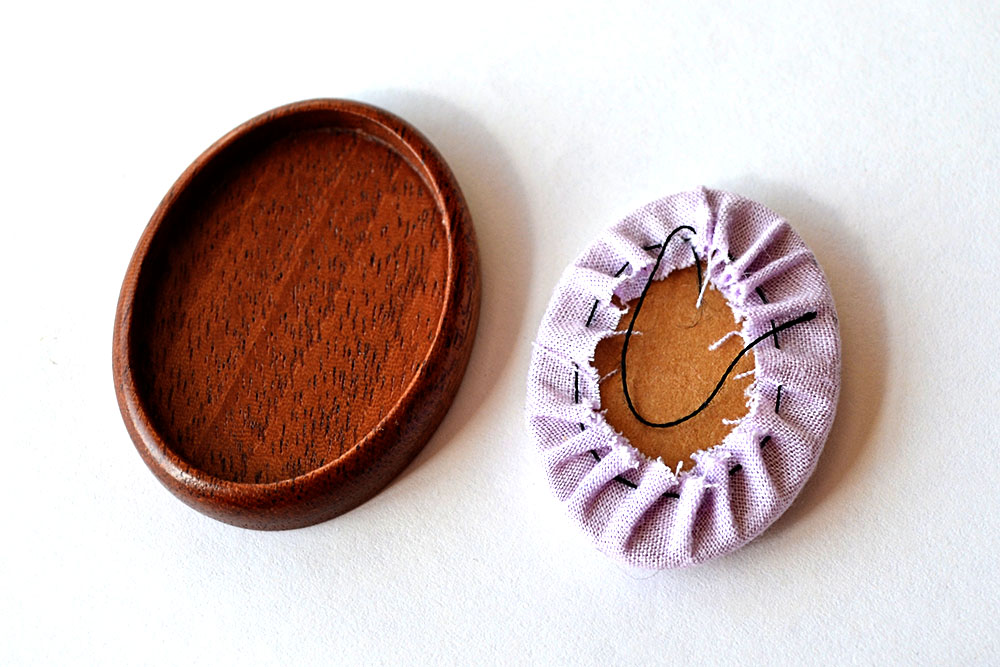
Take out your sewing needle and sewing thread or one strand of embroidery floss. Use the running stitch to sew around your cut fabric once. Place the inlay inside and pull the threads tight to gather the fabric in the back.
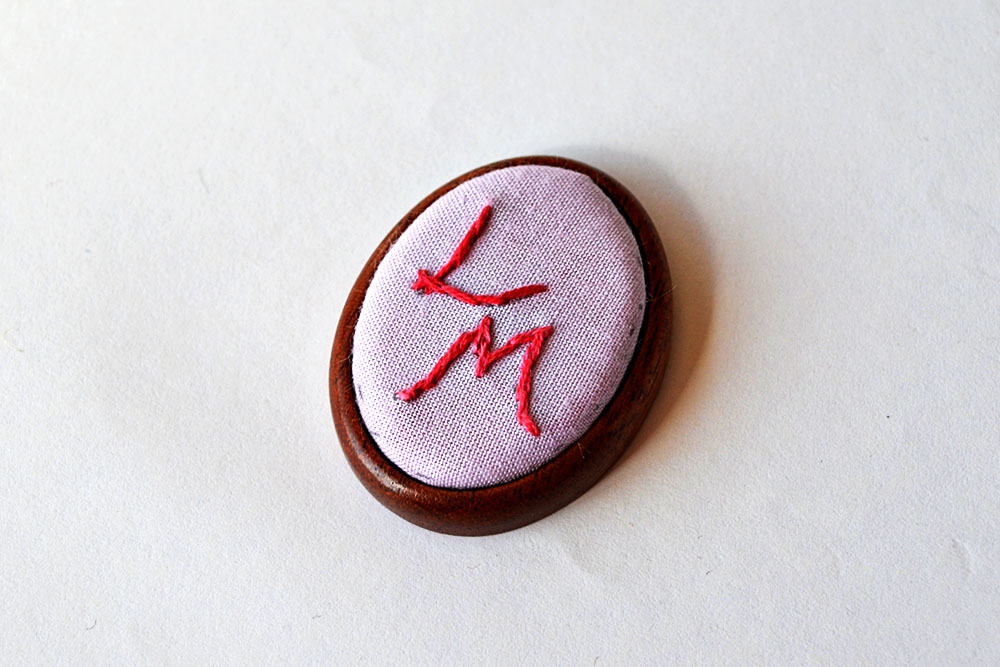
It should fit neatly like in the picture below. If the creases are to thick, your allowance might be too large or your stitches were not short enough. Make really tiny stitches to make the creases in the back as flat as possible.
Step 2 / Glue in the embroidery
I know it takes some nerve to pick up the glue and use it on your embroidery piece. Cover the part of the bezel that is supposed to be covered by the embroidery with glue. Don’t use too much around the edges. It’s VERY hard to wipe off excess glue from your fabric. Instead, use a larger blop in the middle and spread it to the sides with a toothpick. Then put in the embroidery and press it down.
Make sure whatever touches the fabric during this process does not have glue on it. Seriously!
Look at the fine print of your glue to see how long it should be pressed to hold forever.
Voilá, you finished your first embroidered pendant!
All about miniature embroidery
Learn more about the ins and outs of miniature embroidery. In this overview article, you’ll find all the info you need to get started and be inspired!
Do you want more tips and tricks on hand embroidery?
Join the Tutorial Alert! It is a biweekly newsletter that contains information about new tutorials & articles on Pumora, tips & tricks, and promotional content like new embroidery patterns or special discount codes.
You’ll receive an email to confirm your subscription to the Newsletter. Please also check your Spam folder and mark the email as no Spam.
