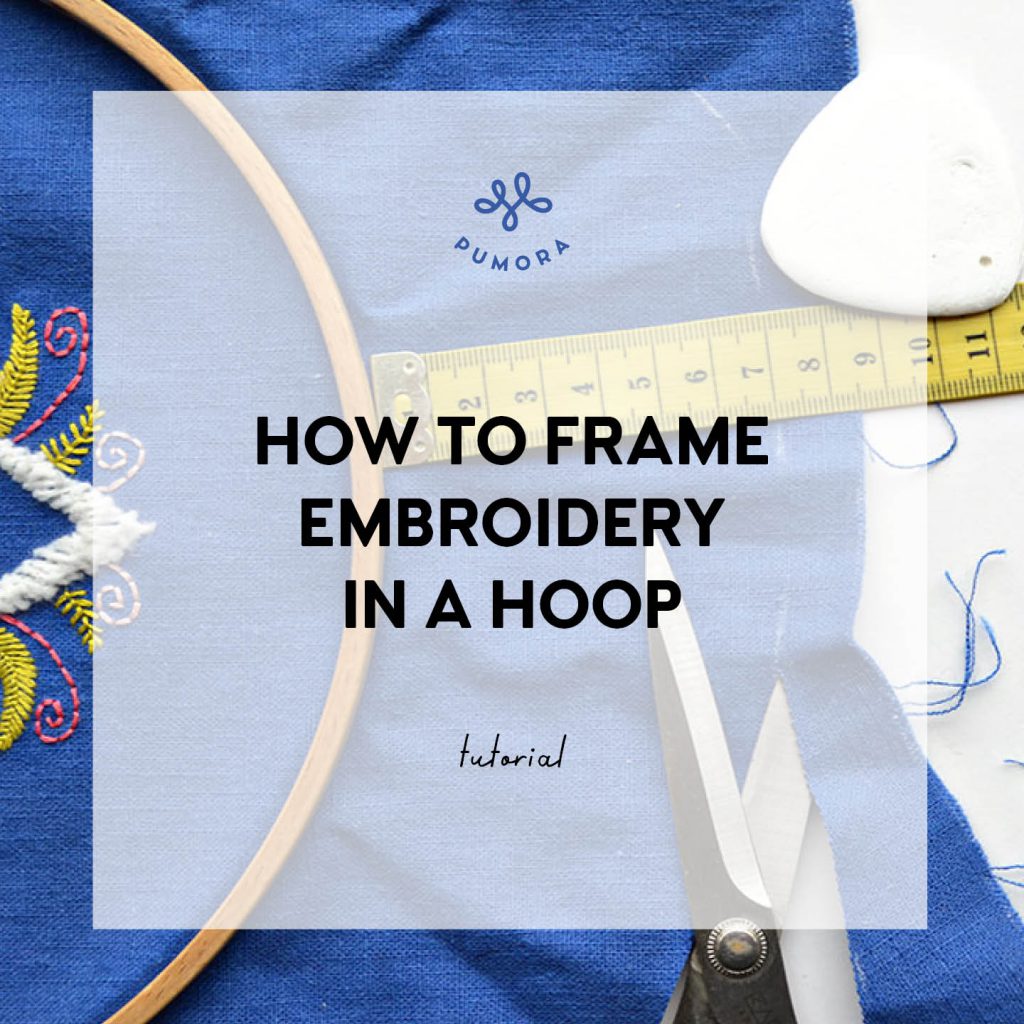
So you have spent hours and hours on your precious embroidery piece. You have seen hundreds of pictures on Instagram or Pinterest of pretty hoop wall art. Now you want to hang your embroidery on the wall and – wait a minute! How do you actually frame a piece of embroidery?
There are a couple of different techniques out there on how to frame embroidery and things are different for different hoops, too. Here are two methods for round or oval hoops I have used before which are simple to do.
If you are using a flexi hoop you might like this article, too: How to finish embroidery in a flexi hoop

How to frame embroidery: the folded sewing method
To be honest, I just made up that name. If you know the real name of this method, please tell me 😀
This method works great if you don’t want to do a lot of fuzz about the back of your embroidery. It is completely reversable – meaning: you can get your hoop out without damage and use it for something else. So if you want to change up your embroidery on the wall and not own a hoop for each piece this method is a good way to go.
However, keep in mind that although your hoop can be reused your hoop will leave a visible deformation on your fabric. The squeezing of the fabric by the hoop creates a distinct mark when left in over time that might not be reversible. If you want to use the embroidery again, just place the hoop at the exact place it was before and it will not be a problem.

Step 1 – Marking and cutting the fabric
Take out a ruler and a piece of tailor’s chalk or pencil. Then measure and mark the distance to your embroidery frame. It doesn’t have to be exact on the millimeter, but don’t go to sloppy, either.
The distance depends on the size of your hoop. In general
For smaller hoop diameters go with your gut. Start at with a larger distance and cut it smaller if it doesn’t work. In any case, your cutting distance should be smaller than half of the diameter or the fabric will overlap in the middle.
Now cut your fabric along the markings.

Step 2 – Sewing the outer rim
Put your embroidery in the hoop. Make sure it is centered and the tension is tight enough to hold. If you are using a hoop with a screw use a screwdriver and tighten it a bit more than you usually do. This step is important because the way your embroidery looks now will be the final look from the front.
Turn your embroidery so you look on the back. Pick up sewing thread and a needle.
Fold the rim of your fabric inwards, then sew it on with running stitches. The thread will be pulled later, so don’t use any other stitch than that. The fold should be about 1cm/0.5inches wide. Don’t make the stitches too wide or tiny or they will not be easy to pull later. 1cm/0.5inch is ok for the stitches.
Go all around the circle/oval once. Pull out the sewing needle and leave the thread hanging.


Step 3 – Gather in the fabric
It’s time to gather the fabric. Gently pull on both strings where they meet until all of the fabric is tightly gathered. The fabric should not peek over the frame anymore. If that is the case it is not yet pulled tight enough. Don’t pull the thread too fast or it might break and you’ll have to sew it all again. Take your time. You have put so much effort into your embroidery, don’t rush with the finishing process.

Step 4 – Padding
This is an optional step but I highly recommend it. To protect the stitches in the back it’s good to add a layer of felt.
Does your gathered fabric push against your embroidery and it shows when you hang it against the wall? This happens easily with very thin embroidery hoops because there is not much wiggle room. In this case use a layer of felt and the front will look smooth again.
The layer of felt doesn’t have to be very thick. I use 1mm felt and it works great. Cut out a circle in the diameter of the inner side of the inner hoop or smaller. Use the hoop itself to mark it (if you have not yet finished the steps before).
The circle doesn’t have to cover the entire area if it is not all stitched. It is even easier to place the padding if the circle is smaller than the inner hoop.
Online course: Embroidery hoop toolbox
This course shows you how to avoid common mistakes that can cause problems with your embroidery and how to use hoops to make your embroidery shine!
How to frame embroidery: the backing method
The second method I want to show you takes a little bit longer than the previous one. It is a more permanent solution than the first one, but it’s possible to get the hoop out and reuse it without damage to it.
Step 1 – Marking and cutting the fabric
Take out a ruler and a piece of tailor’s chalk or pencil. Then measure and mark the distance to your embroidery frame. It doesn’t have to be exact on the millimeter, but don’t go to sloppy, either.
The distance depends on the size of your hoop. In general I would use about 4cm/1.5 inches if your hoop is over 15cm/3inch in diameter.
For smaller hoop diameters go with your gut. Start at with a larger distance and cut it smaller if it doesn’t work. In any case, your cutting distance should be smaller than half of the diameter or the fabric will overlap in the middle.
Now cut your fabric along the markings.

Step 2 – Sewing the outer rim
Put your embroidery in the hoop. Make sure it is centered and the tension is tight enough to hold. If you are using a hoop with a screw use a screwdriver and tighten it a bit more than you usually do. This step is important because the way your embroidery looks now will be the final look from the front.
Turn your embroidery so you look on the back. Pick up sewing thread and a needle.
Sew the outer rim with a line of running stitches. The thread will be pulled later, so don’t use any other stitch than that. Don’t make the stitches too wide or tiny or they will not be easy to pull later. 1cm/0.5inch is ok for the stitches.
Go all around the circle/oval once. Pull out the sewing needle and leave the thread hanging.

Step 3 – Gather in the fabric
It’s time to gather the fabric. Gently pull on both strings where they meet until all of the fabric is tightly gathered. The fabric should not peek over the frame anymore. If that is the case it is not yet pulled tight enough. Don’t pull the thread too fast or it might break and you’ll have to sew it all again. Take your time. You have put so much effort into your embroidery, don’t rush with the finishing process.
Step 4 – Padding
This is an optional step but I highly recommend it. To protect the stitches in the back it’s good to add a layer of felt.
Does your gathered fabric push against your embroidery and it shows when you hang it against the wall? This happens easily with very thin embroidery hoops because there is not much wiggle room. In this case use a layer of felt and the front will look smooth again.
The layer of felt doesn’t have to be very thick. I use 1mm felt and it works great. Cut out a circle in the diameter of the inner side of the inner hoop or smaller. Use the hoop itself to mark it (if you have not yet finished the steps before).
The circle doesn’t have to cover the entire area if it is not all stitched. It is even easier to place the padding if the circle is smaller than the inner hoop.
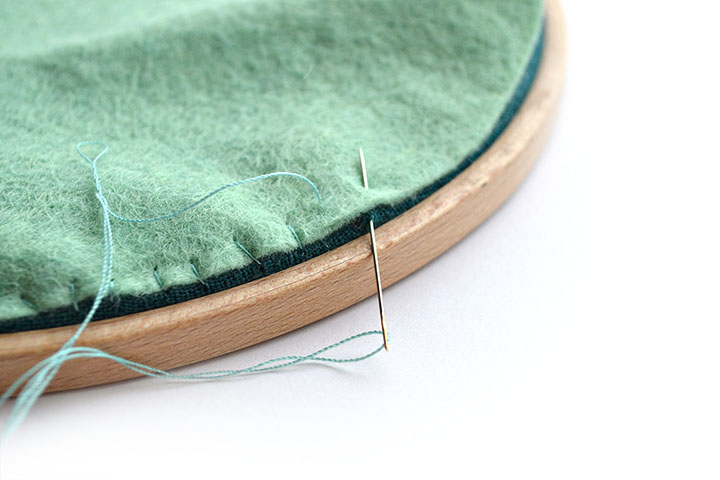

Step 5 – Sew on the backing
Cut out a piece of fabric or felt slightly smaller than the outer hoop. If you want to use fabric make sure the edges will not fray. You can use zigzag scissors to cut the edges or iron-on fusible interfacing. Use sewing pins to position the backing on your fabric. This will ensure your backing will not move as much as you sew it on.
Pick up a needle and sewing thread and whip stitch the backing to your embroidery fabric. This can be a bit tricking where the closure is. Try to make at least one stitch in the middle where the closure makes a gap and continue where it is possible again to stitch.

The Very Last Step
This step is for both versions – actually all versions of finishing.
The moment you have finished your backing, turn your hoop and enjoy this magic moment:
Look at your wonderful finished embroidery.
Take the time and look at what you have worked for. Seriously! Don’t look at the potential flaws, what you could have done differently or other minor things that your perfectionism wants you to see. STOP – and enjoy it.
Look for a place to hang it so you can always be reminded what you and your hands are capable of. That you can do this again and again.
Do you want more tips and tricks on hand embroidery?
Join the Tutorial Alert! It is a biweekly newsletter that contains information about new tutorials & articles on Pumora, tips & tricks, and promotional content like new embroidery patterns or special discount codes.
You’ll receive an email to confirm your subscription to the Newsletter. Please also check your Spam folder and mark the email as no Spam.