Embroidery paper or sticky stabilizer has become a handy tool for many embroiderers all over the world. Transferring a pattern to fabric is something many dislike and the stick n stitch makes it so much easier! In this article, I’ll show you how to use stick and stitch embroidery paper, my learnings from using this stuff for many projects, and what I like to use. Let’s go!
Disclaimer: This article contains affiliate links.
What is embroidery paper?
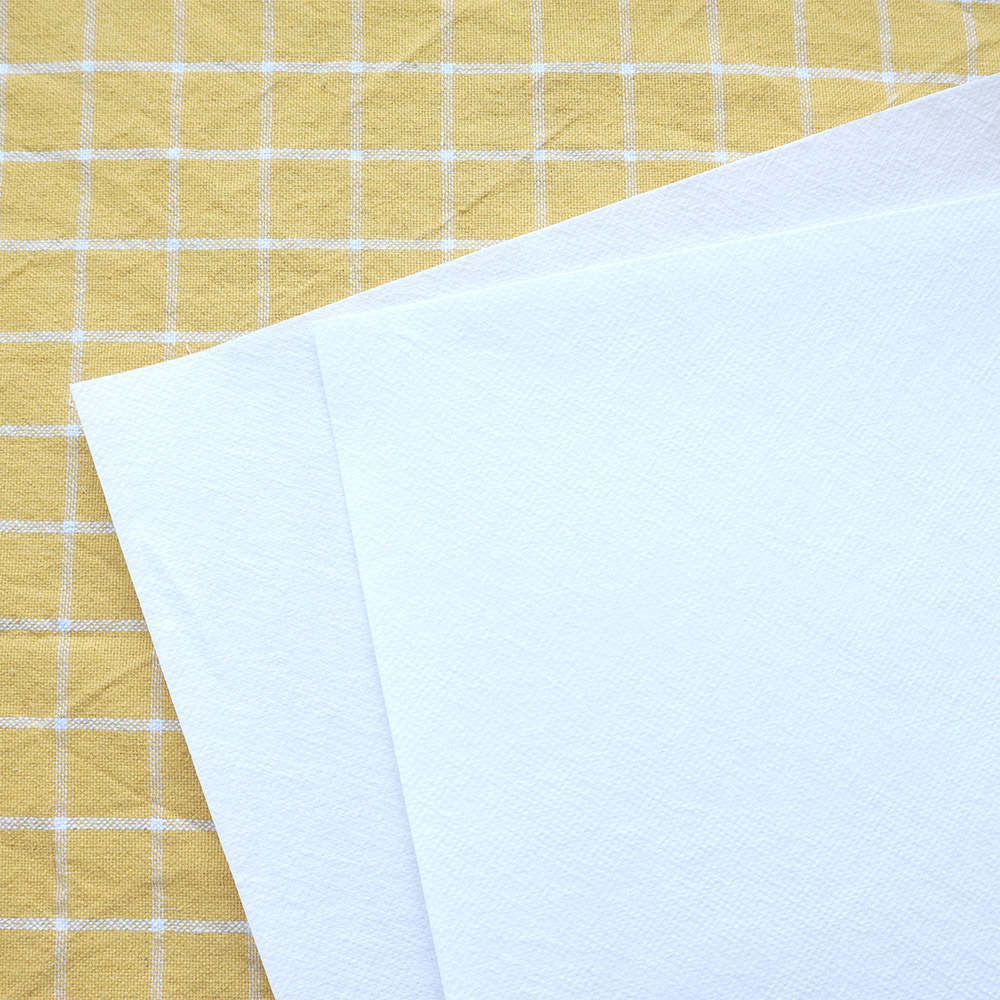
Embroidery paper is a water-soluble material that sticks onto a sticker paper. The material feels like some kind of fabric. It is flexible and can be stitched through. Embroidery paper comes with many names: stick n stitch/stick & stitch/stick and stitch or embroidery stabilizer. I like the term embroidery stickers, but it would just add more confusion about the same thing.
How to use stick and stitch embroidery paper or embroidery stabilizer?
1. Print or draw the pattern on the stabilizer
The side which should be drawn or printed on is the textured side that looks like fabric. The paper on the back is just for holding the stabilizer in form for printing etc.
Most stabilizers are light enough that you can trace a design through them. For more intricate patterns with thin lines, it might help to use light from the back (window or lamp under the stabilizer and pattern). Only use pens that won’t stain your fabric or threads. So no felts or ink-based pens. Use hard pencils or permanent pens (like the Sakura Micron pens) instead.
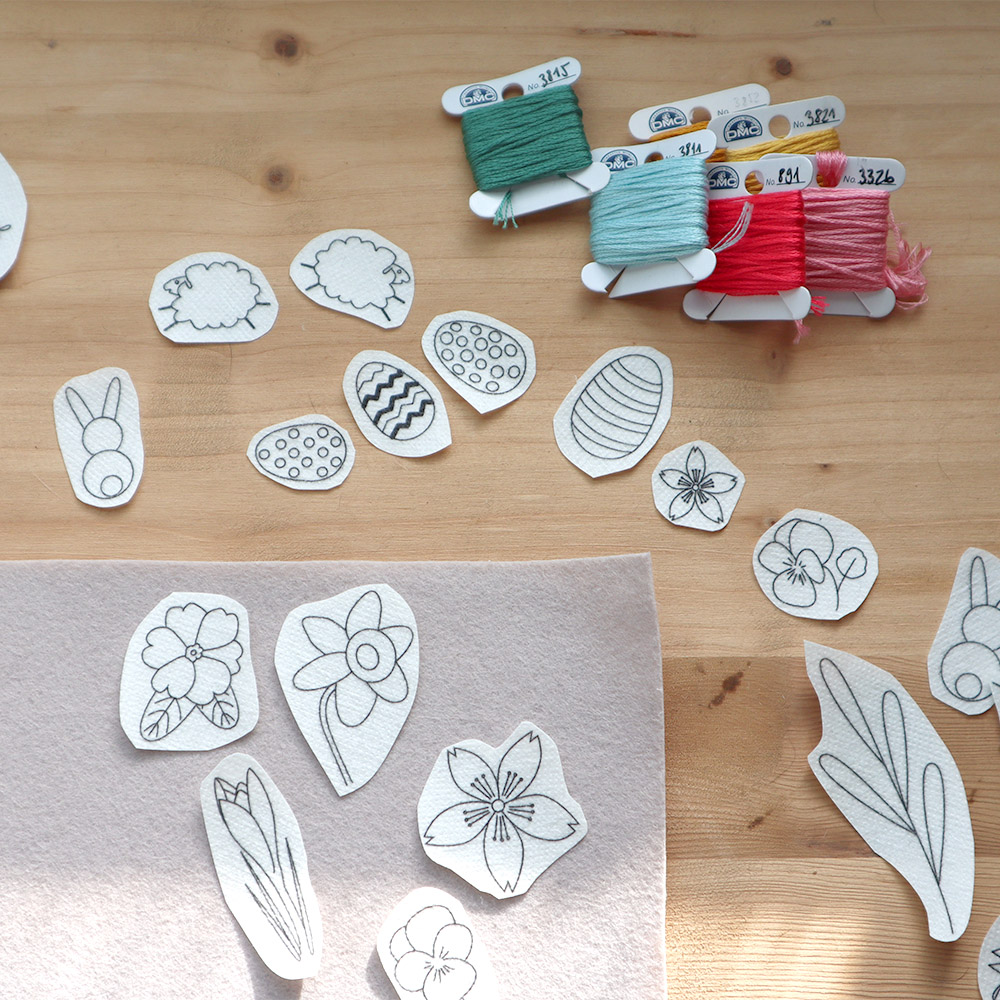
It is a big plus that you can print on water-soluble stabilizers. However, many patterns don’t fill an entire sheet of stabilizer. Unless you arrange multiple patterns on one sheet, you’ll end up with a lot of cut-offs that you can’t print again. The cut-offs can be used to hand draw patterns, though, so it is not so big of a waste of materials.
>>> Here are shops on Etsy that sell the Sticky Fabri-Solvy: StitchDoodlesDesign (UK), HoopArtStitch(USA), MillionofStitches (Canada), LoopyinLove(Australia)
2. Cut out the pattern and stick it on the fabric
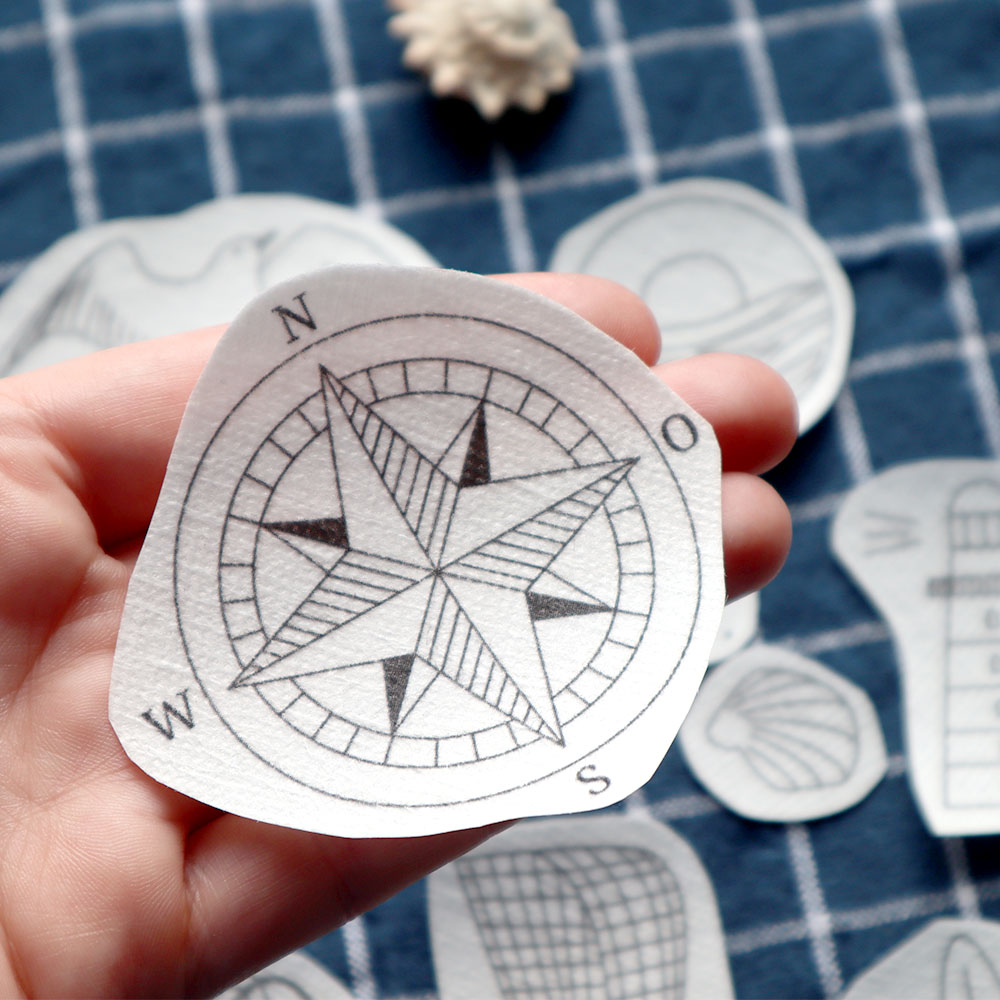
It is not necessary to stick the whole sheet on the fabric if the pattern is not as big. Cut out roughly around the edges with sharp scissors. First, I tried a pair of regular kid’s craft scissors but that didn’t work at all. In the end, I used my fabric scissors, which worked great.
Then, stick the stabilizer on the fabric where you want to embroider the motif. Make sure you really press down the edges. They tend to roll up over time when they are not attached properly.
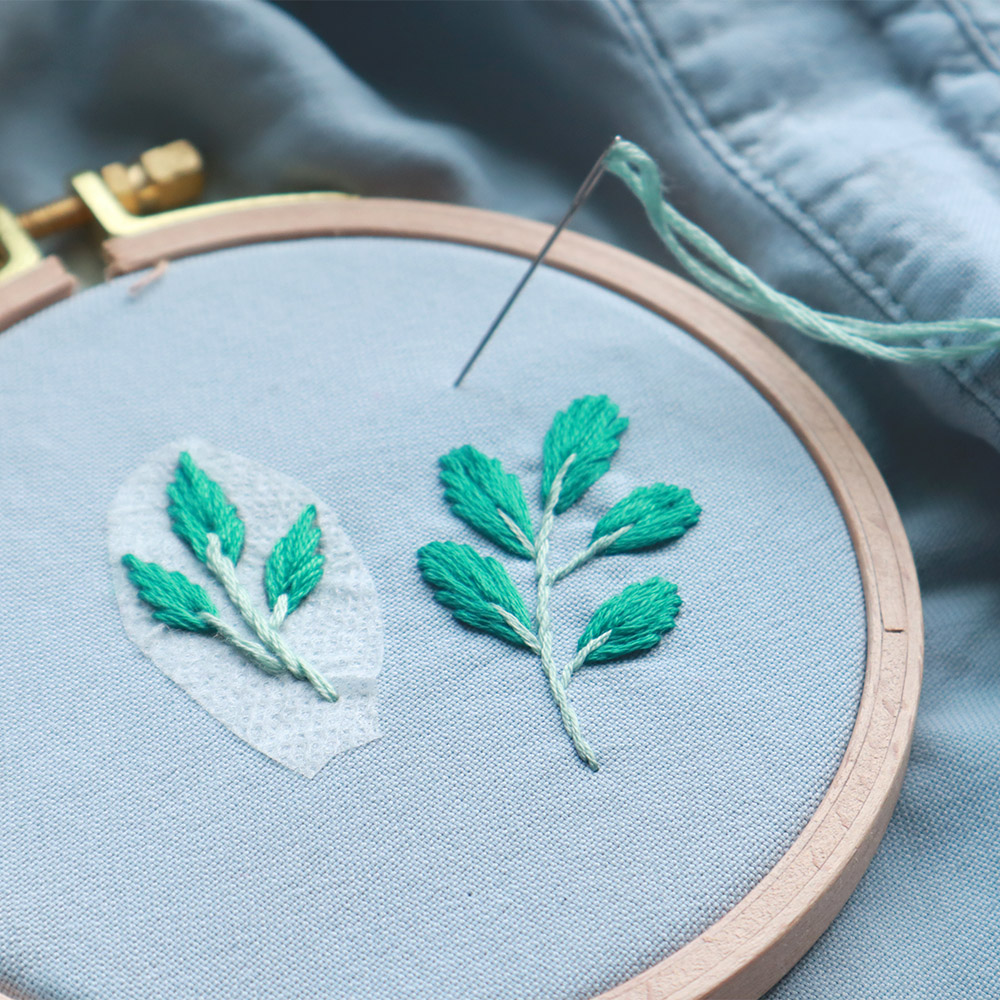
3. Embroider over the stick and stitch embroidery paper
Embroider over the embroidery pattern as usual. Since there is another layer of fabric over the regular fabric, there often is more resistance when stitching. A needle with a round tip doesn’t work as well as a needle with a tip. So keep that in mind for your stitching. Try to avoid touching the stabilizer too much. It is water-soluble and it will start to disintegrate when it comes in contact with sweaty hands.
4. Remove the embroidery paper
After stitching, it is time to remove the embroidery paper/stabilizer. To remove, lay the fabric in lukewarm water for a couple of minutes. Some embroidery papers require warm water and some cold water. So read the instructions for your specific product first before washing the stabilizer away.
Most of the time, the stabilizer leaves a bit of a residue. So rinse off tiny particles. No need to rub the fabric extensively. But giving the fabric a good rinse is a good idea.
What to use embroidery stabilizer for?
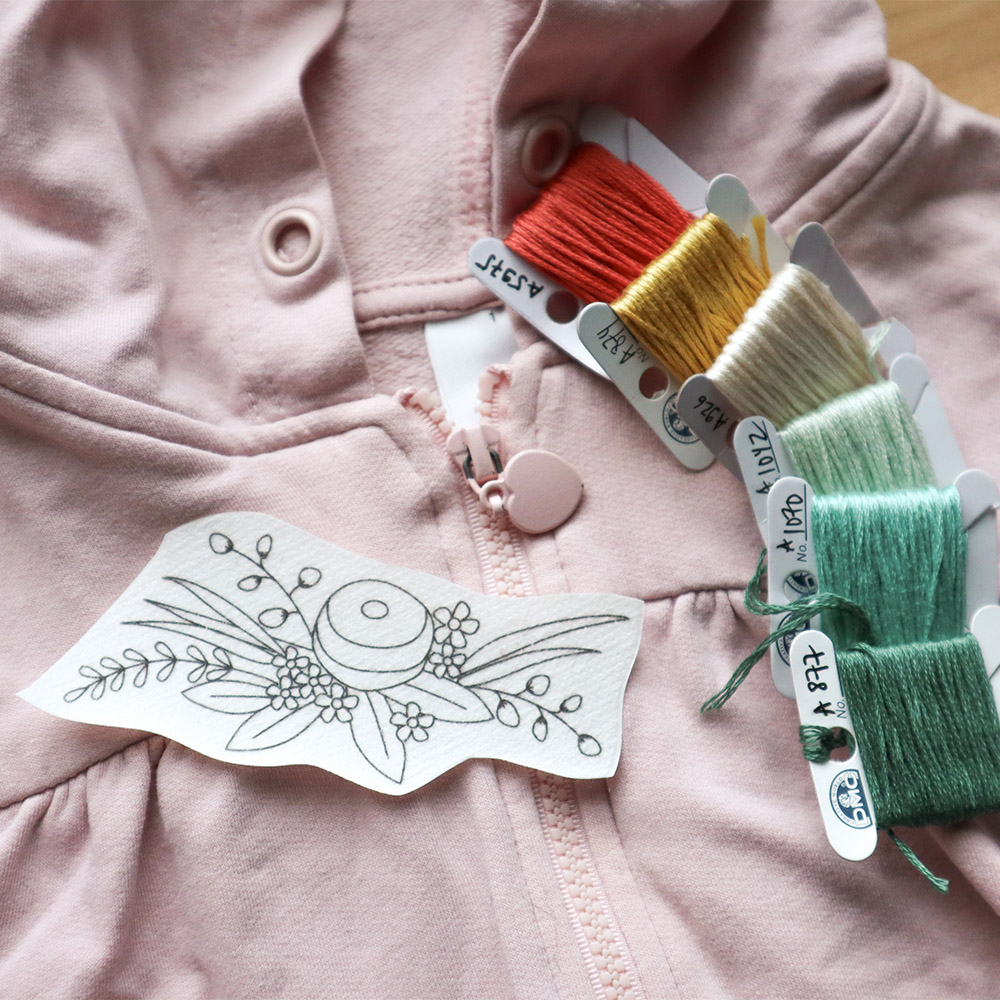
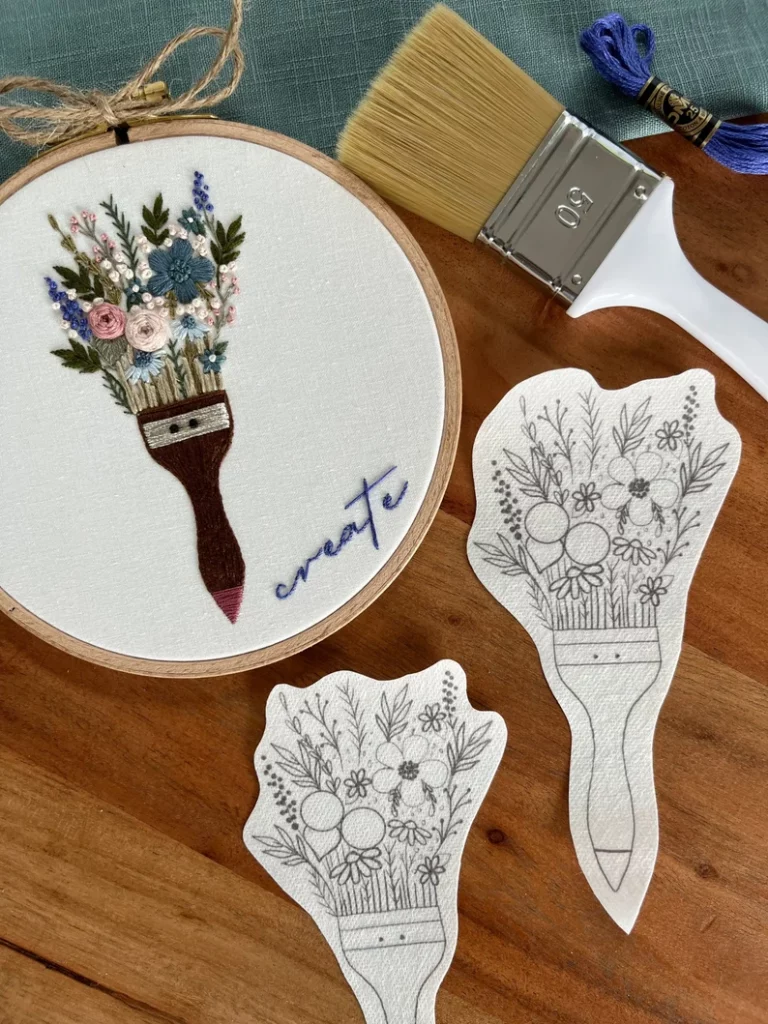
I love that the sticky version is such a good tool to transfer embroidery patterns. It works great for small motifs on clothes. It is so quick and easy – which is not always the case for transferring patterns on clothes. Some fabrics that garments are made of are a nightmare to transfer to. And then there are seams, pockets, and pleats… So, for embroidery on clothes or other ready-made textiles, it is really a good tool to use. Of course, you can use stabilizers for regular decoration hoop projects, too.
Also, stabilizers have more than one purpose! The original purpose of stabilizers is to stabilize the fabric to make it easier or even possible to stitch on. For machine embroidery, they are much more relevant and widely used. For hand embroidery, stabilizers are mainly helpful for elastic or very thin fabrics that are not easy to handle otherwise. The sticky stabilizer, in particular, holds the fabric in place and supports the stitches that you make. Make sure to only use rather thin stabilizers, as the thicker ones are for machine embroidery and are not pleasant to stitch through by hand!
Then, there are fabrics that basically don’t want to be embroidered on, like velvet or corduroy. Try to transfer a pattern on a mess of short threads or a slightly fluffy surface. It doesn’t end well… Also, this type of fabric tends to eat up your stitches quickly. Stitches sink into the velvet, never to be seen again. The embroidery stabilizer builds an extra layer of protection for your stitches. Instead of pulling the stitches into the velvet, they lay on top of it even after washing the stabilizer away!
When to avoid stick n stitch embroidery paper?
Embroidery paper is a lovely invention, and it is indeed a big help for specific projects. Still, there are some circumstances when embroidery paper is not so helpful anymore.
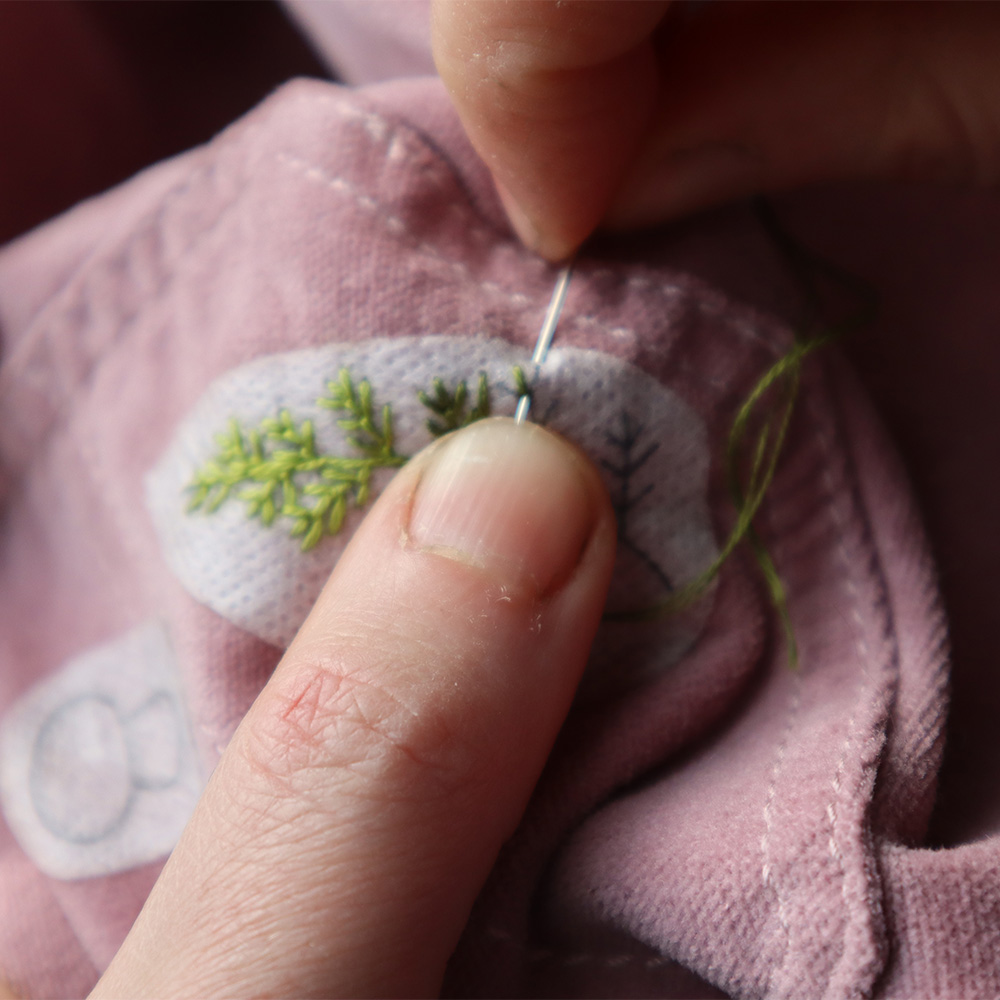
Don’t use stick and stitch when it is hot or humid
When the humidity is really high or it is so hot that your hands start sweating a bit, the embroidery paper begins to dissolve. This leads to sticky needles and sticky fingers. Believe me: this is not fun and can be quite annoying. To avoid dissolving stick and stitch, wipe your fingers sporadically if you have the feeling your hands start to sweat.
There are also non-sticky stabilizers that are water-soluble. I find they don’t stick as much on your fingers as the stick and peel ones.
Only use stick n stitch for washable projects
If the materials you want to use are not happy to be washed, then you can’t use the stick n stitch paper. Some types of threads, like metallics wool, or silks, might behave weirdly by bleeding out or losing their sheen or fluff. Beads can also bleed out. So keep this aspect in mind if you want to use this type of stabilizer. There are other methods of transferring patterns, which I show in detail in this article.
Big projects
For very big projects, the stick and stitch embroidery paper might not be the best idea. As I said earlier, the paper will start to dissolve with continued contact with your hands. Very large or long-term projects, that require a lot of stitching, might start to become an annoyance to stitch over time.
My tips for handling embroidery paper for transfer
- Don’t use the embroidery paper right after printing. I found that the embroidery paper was particularly sticky when cutting it directly after printing with the laser printer. It might have something to do with the heat. Also, the paper I use tends to roll up directly after printing. So, I always put the sheets between books and leave them for an hour to relax.
- Embroidery paper is perfect for transferring patterns on difficult fabrics like jersey, velvet, or corduroy. It makes the fabric less stretchy for the stitching process and when washed away the fabric is flexible again. For velvet or corduroy, it solves the problem that you can’t really draw anything on it, let alone trace a pattern.
- Some printers don’t like embroidery paper. You can print on embroidery stabilizers with laser and inkjet printers. I have tried both and found that the laser made crisper lines, while the inkjet produced rather gray lines than black. Also, my inkjet printer had trouble pulling the sheets through, I think because of the thickness and texture. I’m not sure though, and it worked fine with the other printer then. So be warned that it might happen that your printer doesn’t like printing the stabilizer. It is very important that the sheets are flat and don’t curve on the edges when you load the printer.
- Fabric stabilizer works better with light to medium-colored fabrics. Even though the stabilizer adds a lighter hue to the fabric, the lines will not be as visible as with lighter fabrics.
- Cutting many stick n stitch designs at once will make your scissor blades very sticky. Wash them after use to prevent sticky fabric for the next project.
What embroidery paper is the best?
I have tried the Sticky FabriSolvy by Sulky and the StickySolvy by Vlieseline. There is embroidery paper made by DMC, too, but I have not yet tried it out. Both, the Sticky Fabri-Solvy and the StickySolvy are great to work with. I think the latter is not as common to find worldwide as the one made by Sulky.
Here are shops on Etsy that sell the Sticky Fabri-Solvy: StitchDoodlesDesign (UK), HoopArtStitch(USA), MillionofStitches (Canada), LoopyinLove(Australia)
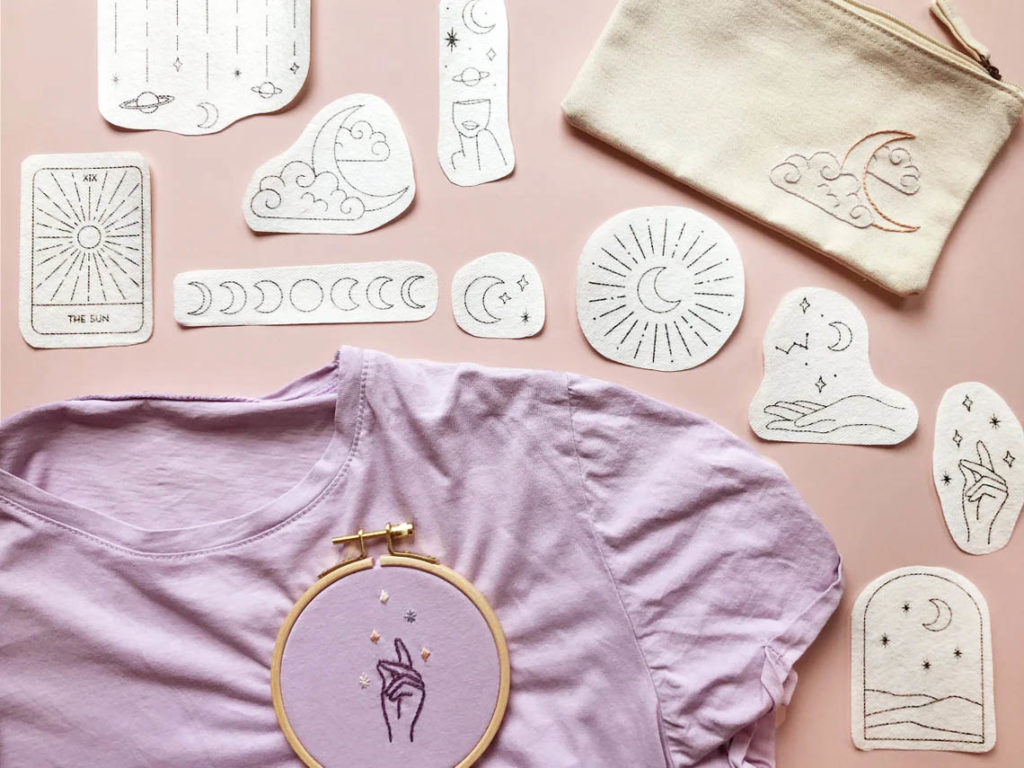
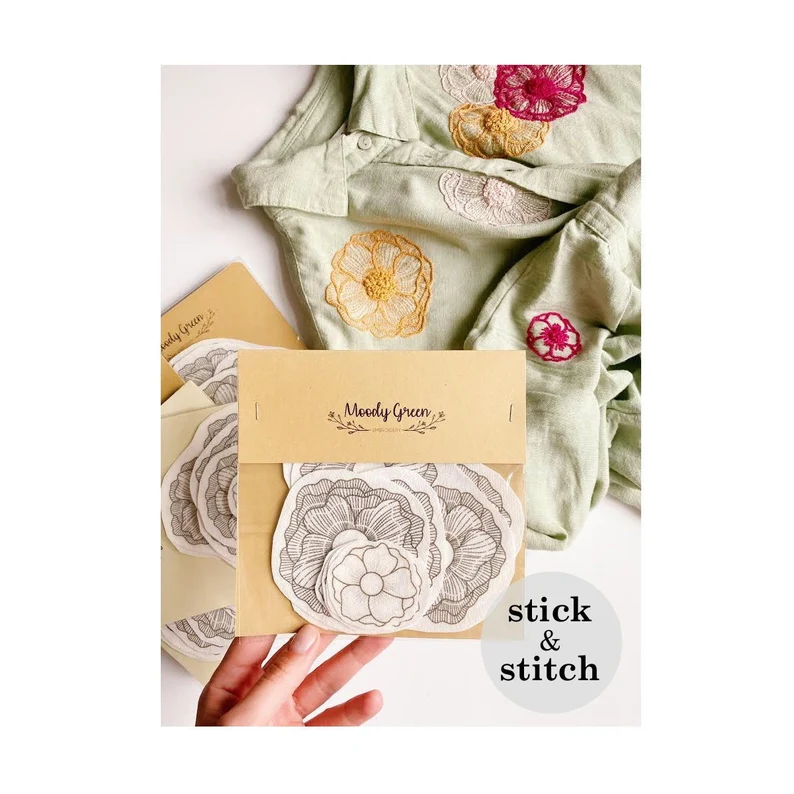
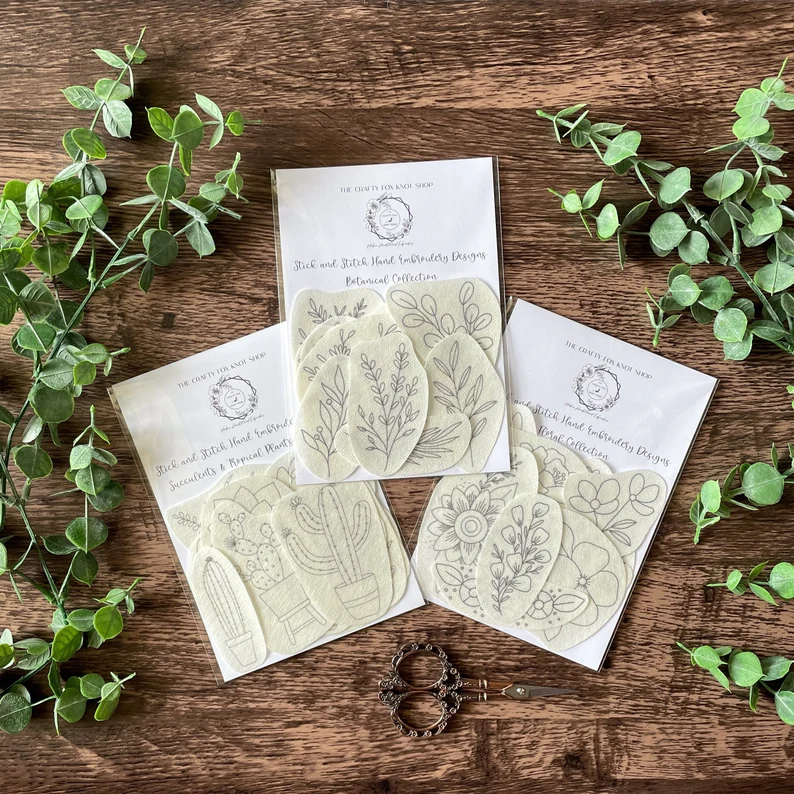
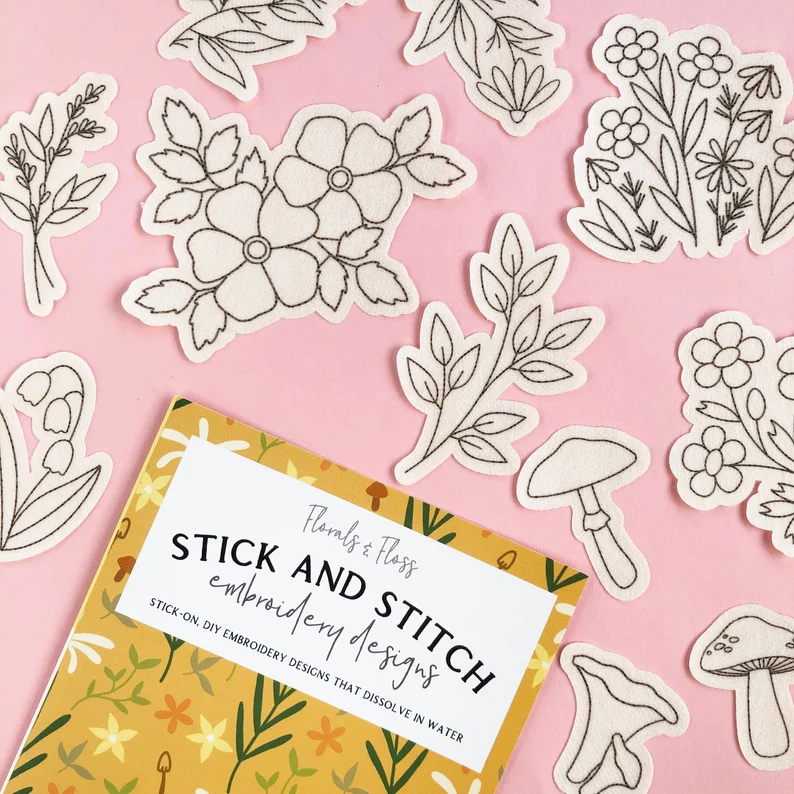
My favorite ready-made stick n stitch stickers
There are many ready-made stick n stitch stickers that you can buy. I love the variety of themes that have emerged in the past year or two. Here are my favorite Stick and Stitch collections. Click on the pictures to go to the Etsy shop.


Do you want more tips and tricks on hand embroidery?
Join the Tutorial Alert! It is a biweekly newsletter that contains information about new tutorials & articles on Pumora, tips & tricks, and promotional content like new embroidery patterns or special discount codes.
You’ll receive an email to confirm your subscription to the Newsletter. Please also check your Spam folder and mark the email as no Spam.