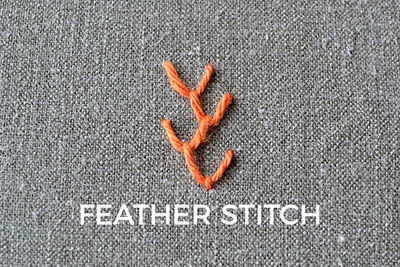
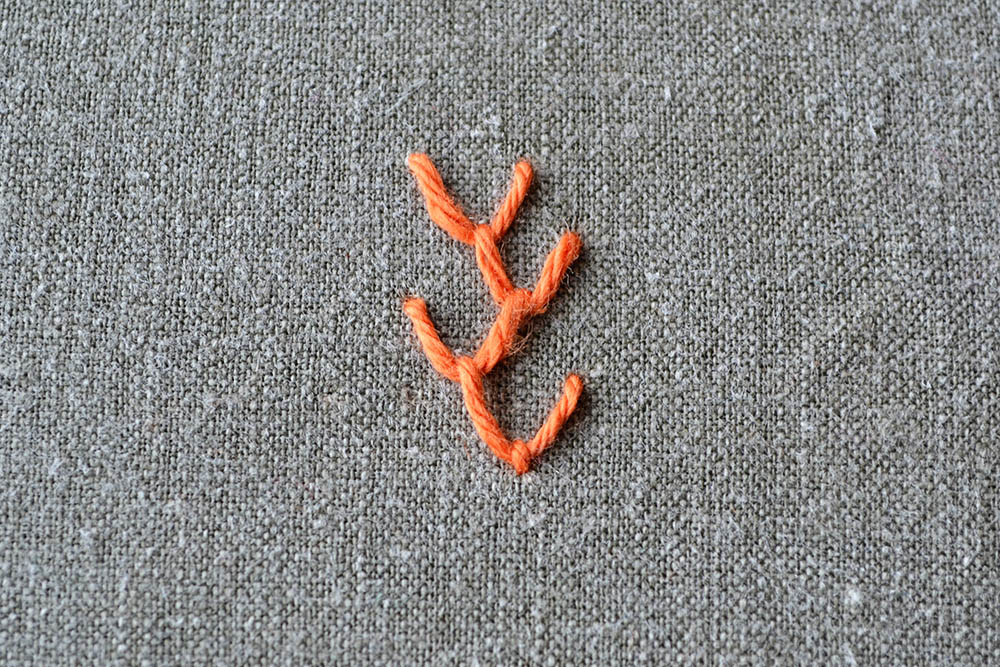
Day 2 of the 7 days of stitches has arrived and it’s all about the FEATHER STITCH. This stitch has a long tradition in plant embroidery. It’s so easy to mimic different twigs, leaves or even algae with this marvelous embroidery stitch.
How to do the feather stitch
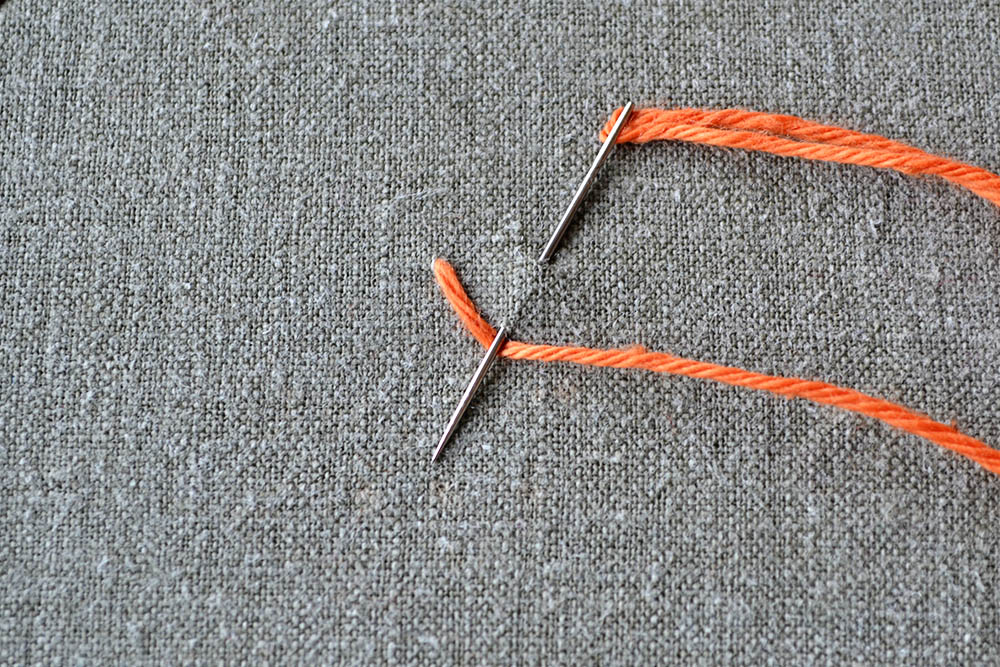
1// Imagine a triangle that is pointing down. Stick the needle in the upper right corner and pull it out at the bottom point. Make sure the thread is under the needle tip before you pull the needle through.
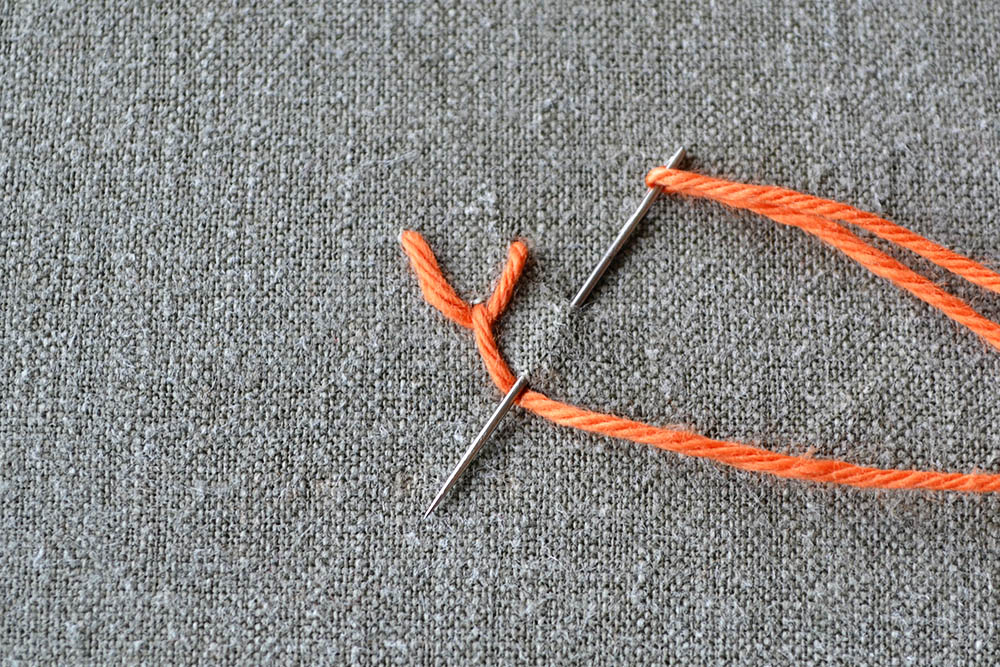
2// Repeat the first step, but this time use the point where the thread comes out of the fabric from the previous stitch as a starting point.
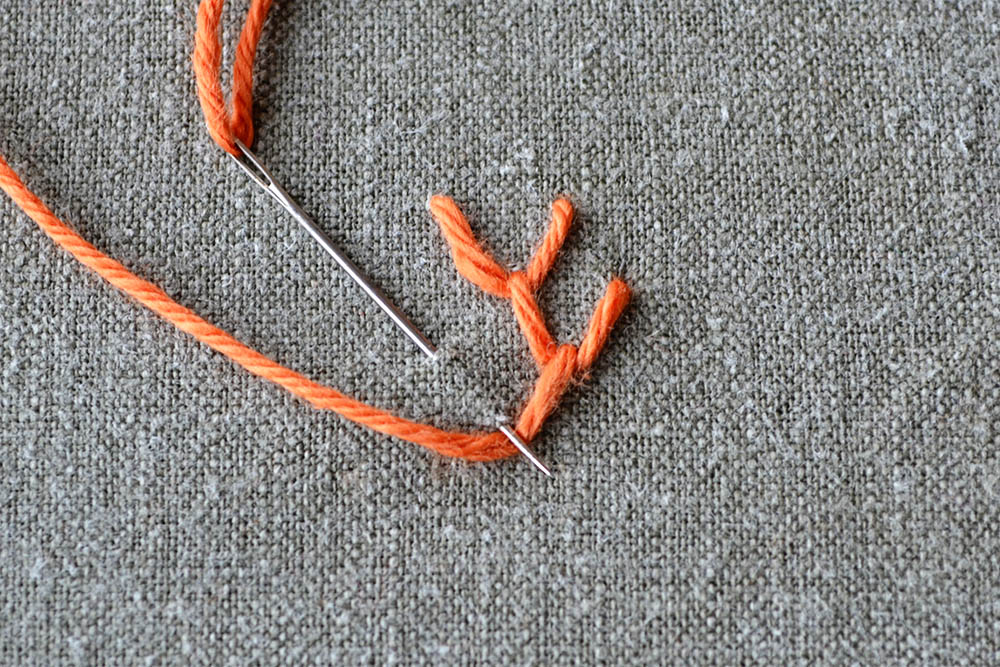
3// Just like in the step before you repeat the first step, but this time it is mirrored. So instead of sticking the needle in the top right corner, you stick in in the left right corner and pull the needle out at the bottom point. Repeat step 2 and 3 until you have enough stitches.
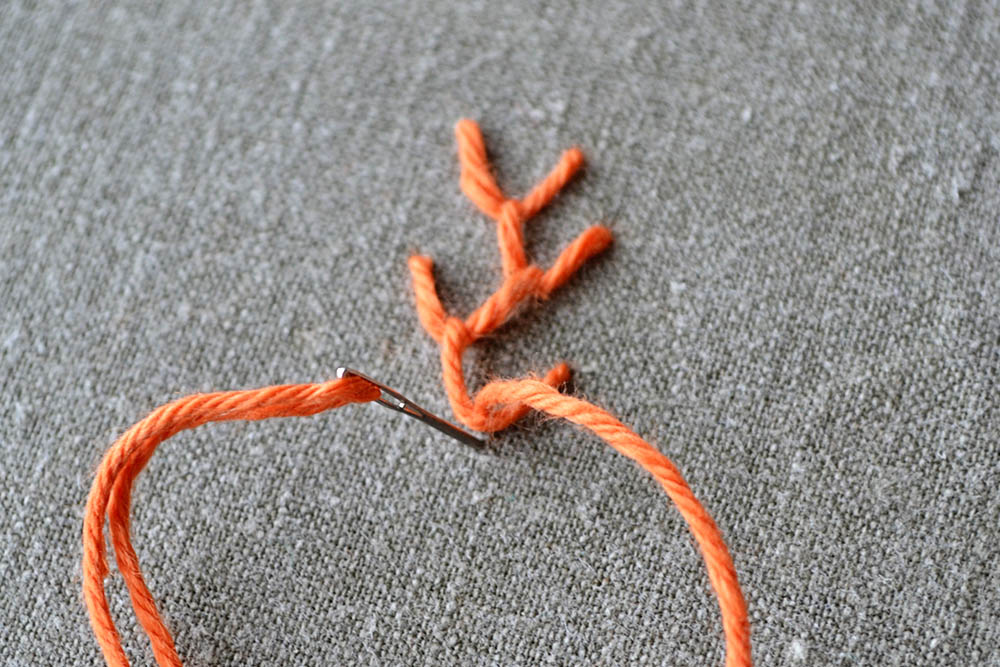
4// To finish the stitch, stick the needle into the fabric right where the bottom point is just a little bit further down. This secures the loop and prevents it from unraveling the whole stitch.
Do you want more tips and tricks on hand embroidery?
Join the Tutorial Alert! It is a biweekly newsletter that contains information about new tutorials & articles on Pumora, tips & tricks, and promotional content like new embroidery patterns or special discount codes.
You’ll receive an email to confirm your subscription to the Newsletter. Please also check your Spam folder and mark the email as no Spam.

