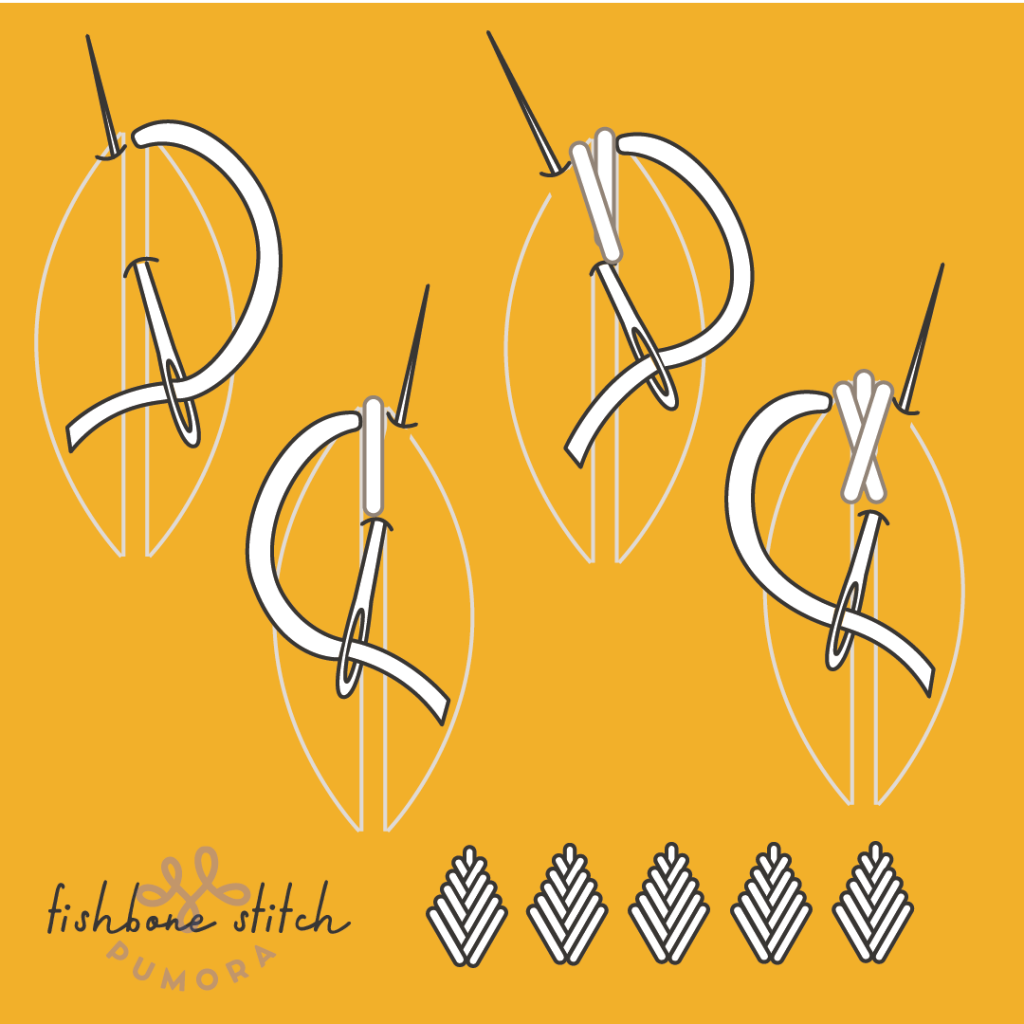
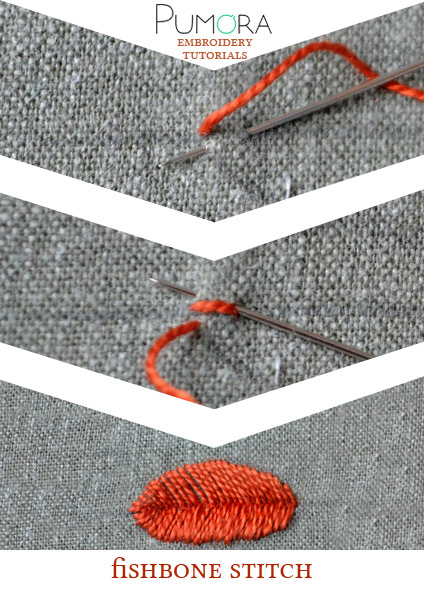
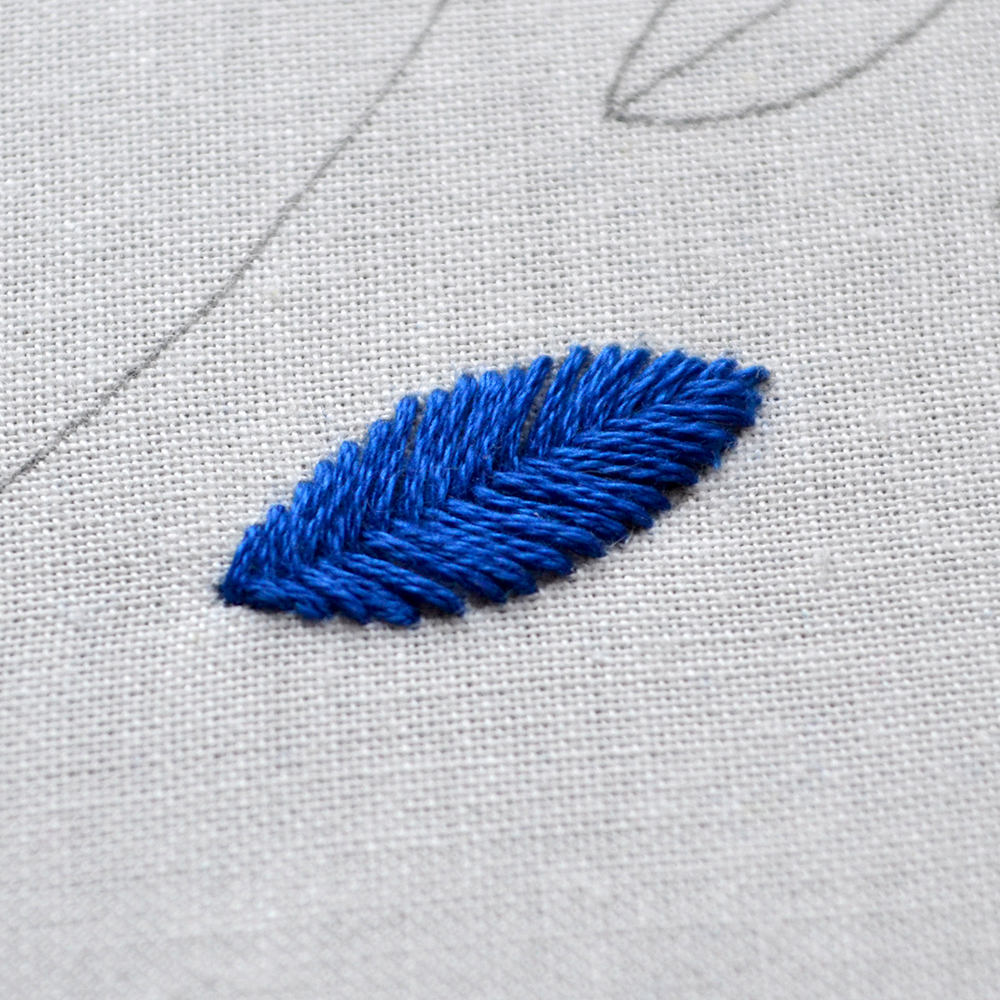
The fishbone stitch is very often used in embroidery to make leaves or other botanical shapes. You can stitch it along curved and straight outlines and fill out space between them.
This tutorial is part of the new lexicon of embroidery stitches where I publish a new embroidery stitch tutorial every Sunday.
Tips for working the fishbone stitch
In order to make this stitch neater, it helps a lot to draw in some diagonal lines before stitching. Work your stitches along these diagonals and you’ll find it much easier to get them to slant in the same angle from start to finish.
I also find that using thinner threads makes for the neatest fishbone stitch especially when embroidering leaves. Be very careful to always hit the outline at the “perfect” spot. The outline can look very messy when you don’t stitch right into the outline markings every time.
Join the fun on Patreon
Support the making of over 200 embroidery stitch tutorials and get some exclusive bonus content on the way.
The fishbone stitch embroidery tutorial
The movement of the needle is sometimes hard to get across with a sketch or photograph. Video is a great way for learning embroidery stitches. On my Youtube channel, you can find many more embroidery tutorials. Every Sunday, I publish a brand new embroidery stitch tutorial. To get notified when a new video goes live, subscribe to my Youtube channel and click on the bell right beside the button.


More embroidery stitches…
If you want to see more embroidery stitch tutorials, you might like the embroidery stitch lexicon. You’ll find all 206 photo tutorials there. In addition, it also includes the stitch glossary where you can look for a specific stitch name with their translations and all of the brand new video tutorial posts!
If you are new to embroidery, I highly recommend the 7 days of stitches articles. It is a blog series where you can learn step by step and with a lot of explanations of how to do the most basic embroidery stitches.
Also, the beginner’s guide to embroidery helps you with all the other stuff like:
- which materials and tools you need
- how to attach the thread to the fabric before and after stitching
- what to do after stitching
Do you want more tips and tricks on hand embroidery?
Join the Tutorial Alert! It is a biweekly newsletter that contains information about new tutorials & articles on Pumora, tips & tricks, and promotional content like new embroidery patterns or special discount codes.
You’ll receive an email to confirm your subscription to the Newsletter. Please also check your Spam folder and mark the email as no Spam.


