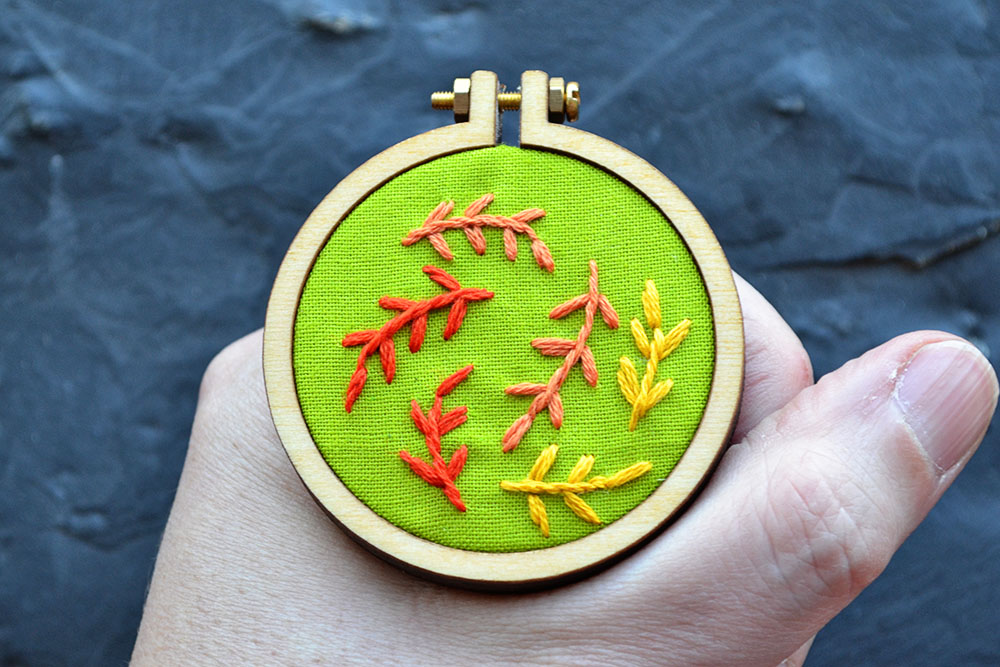
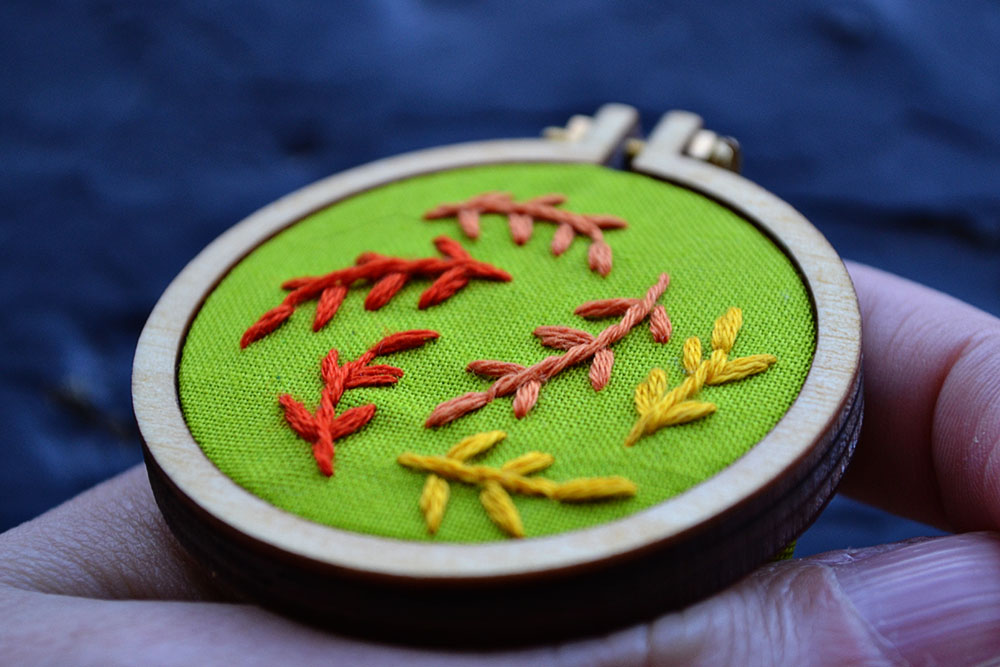
Are you ready for a free mini embroidery pattern? The autumn leaves miniature embroidery pattern is a simple and quick one. It is suitable for beginners and is a great gift for the nature-loving people in your life. Mini embroidery can be used in multiple ways. Use mini hoops to make jewelry out of it or simply stitch it on your shirts or other clothes for a little statement.
More about mini embroidery
Are you hooked on mini embroidery? Learn more about mini hoops, artists, and get even more mini embroidery patterns in this article.
Disclaimer: This article contains affiliate links.
The Autumn Leaves mini embroidery pattern
First, get your tools and materials and print out the template. Click here to get the template for printing or click the button below. This design is a beginner pattern and it takes about 1-2 hours from start to finish including the finishing of the hoop as a pendant.
Tools & Materials
Finished measurements
- large round: 4,75cm/1.9inch
- medium round: 3,25cm/1.3inch
- small round: 2cm/0.78inch
Materials
- thread: 6 stranded embroidery thread in the colorway yellow (742 DMC), orange (947 DMC), red (608 DMC )
- fabric: Kona cotton solids by Kaufman in the colorway ‘peapod’; 10x10cm/4x4inch
Tools
- embroidery hoop for embroidering the pattern; if you cut the fabric later, you can use a regular 6-inch hoop
- embroidery needle
- scissors
- for finishing: craft glue
- a mini hoop of your choice (here is a list of mini hoop shops)
Here is a list of my favorite embroidery tools, notions and materials over on Etsy.

Instructions
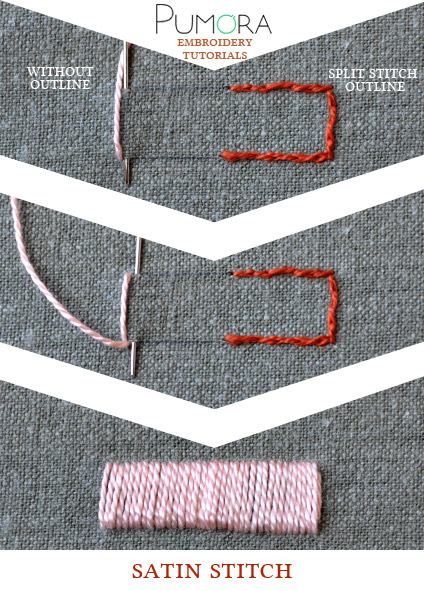
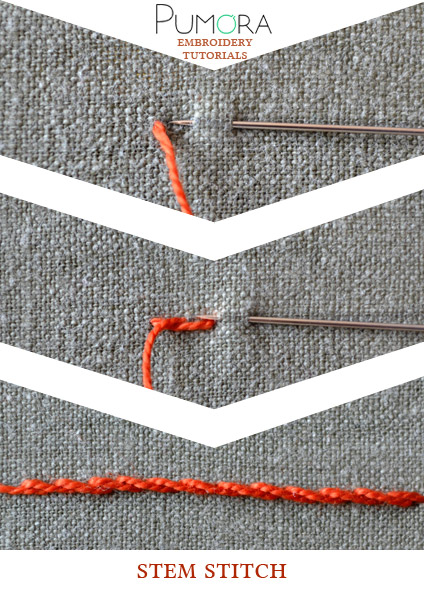
You can find the stitch tutorials below. The stranded embroidery thread can be split up. Use 3 strands for the large
version, 2 strands for the medium and 1 strand for the small version if not stated otherwise.Embroider each twig one after another.
- Begin with the stem. Use stem stitches to trace the line of the stem.
- Then add each leaf by using the satin stitch. It’s more or less three stitches for each leaf. Make one stitch right in the middle of the leaf then add two slightly shorter stitches to the sides.
- Repeat this for every twig.
For instructions on how to finish the mini hoop, visit this tutorial: How to finish embroidery in a mini hoop.
Do you want more tips and tricks on hand embroidery?
Join the Tutorial Alert! It is a biweekly newsletter that contains information about new tutorials & articles on Pumora, tips & tricks, and promotional content like new embroidery patterns or special discount codes.


