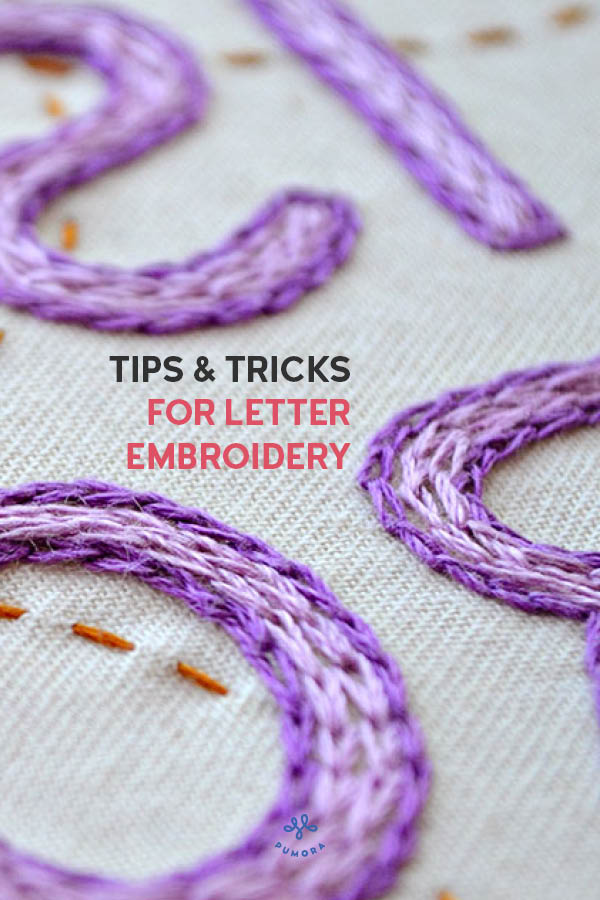
With all the embroidery stitches available, it is not easy to decide which stitches are suitable for embroidering letters. In this article, I’m going to share with you what I have learned over the years in doing hand embroidery. You’ll get lots of examples from my own work to see how the different styles of lettering can be achieved with embroidery threads!
Disclaimer: This article contains affiliate links.
Letter embroidery in short
Before we dive deep into the ins and outs of embroidering letters, here are my top tips in short.
- For thick letters, use more threads (3-6) and/or thicker embroidery stitches like chain stitch.
- For thin letters, use fewer threads (1-2) and thinner embroidery stitches like whipped running or stem stitch.
- The tighter the curves, the shorter the stitches should be.
- Use filling stitches for very thick letters like chain and satin stitch.
- Make use of variegated threads for easy color transitions!

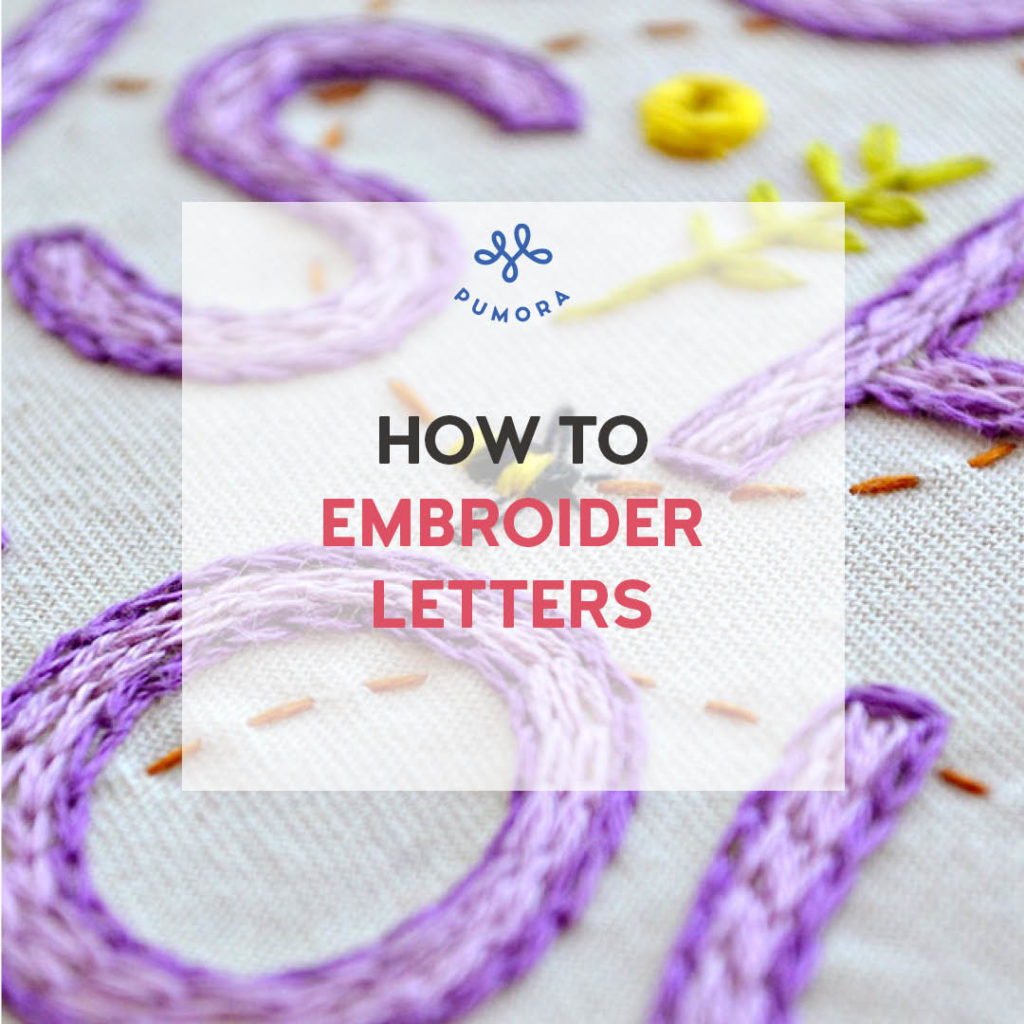
What are the best embroidery stitches for letters?
There are 3 embroidery stitches commonly used for embroidering letters. Those are back stitch, chain stitch, and stem stitch. Back stitch is an easy stitch to embroider script and printed fonts. Stem stitch is perfect for script and cursive fonts and the chain stitch is great for thick or big letters both to fill and outline them.
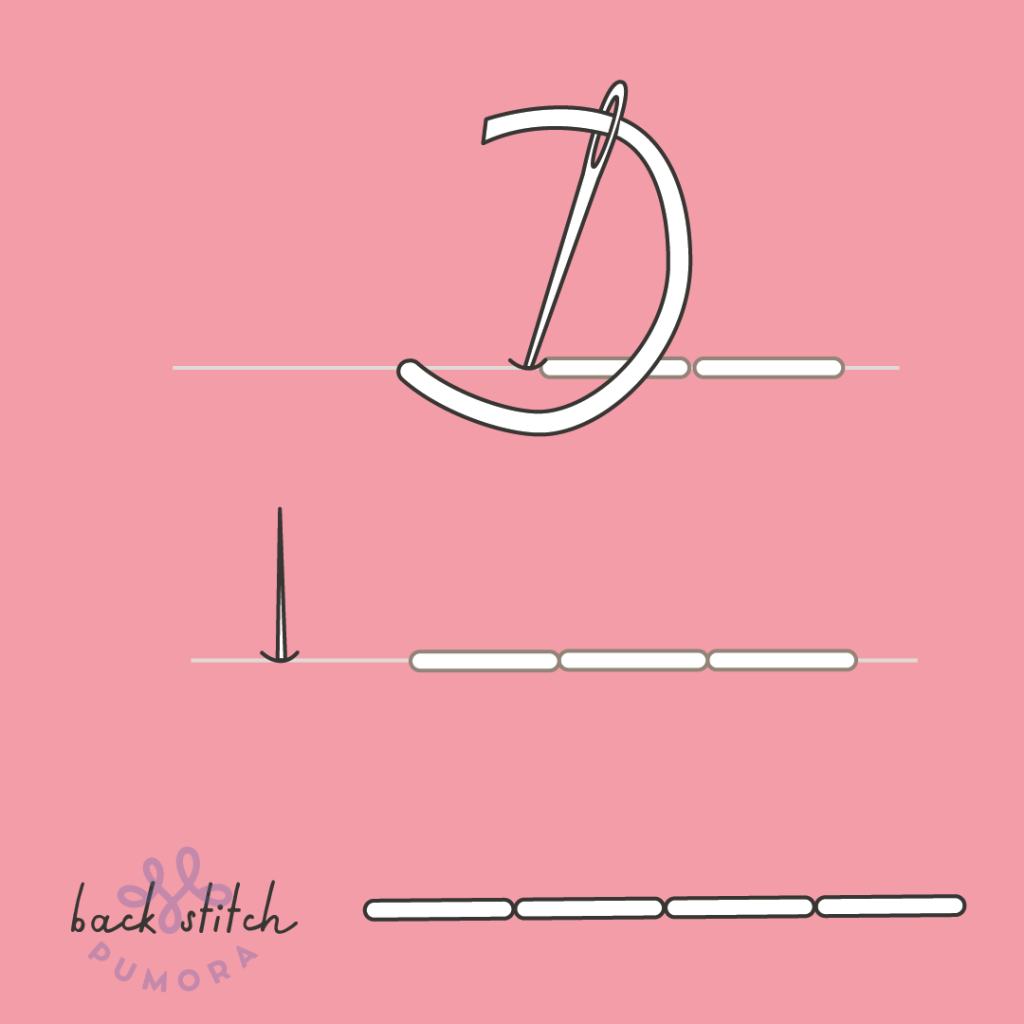
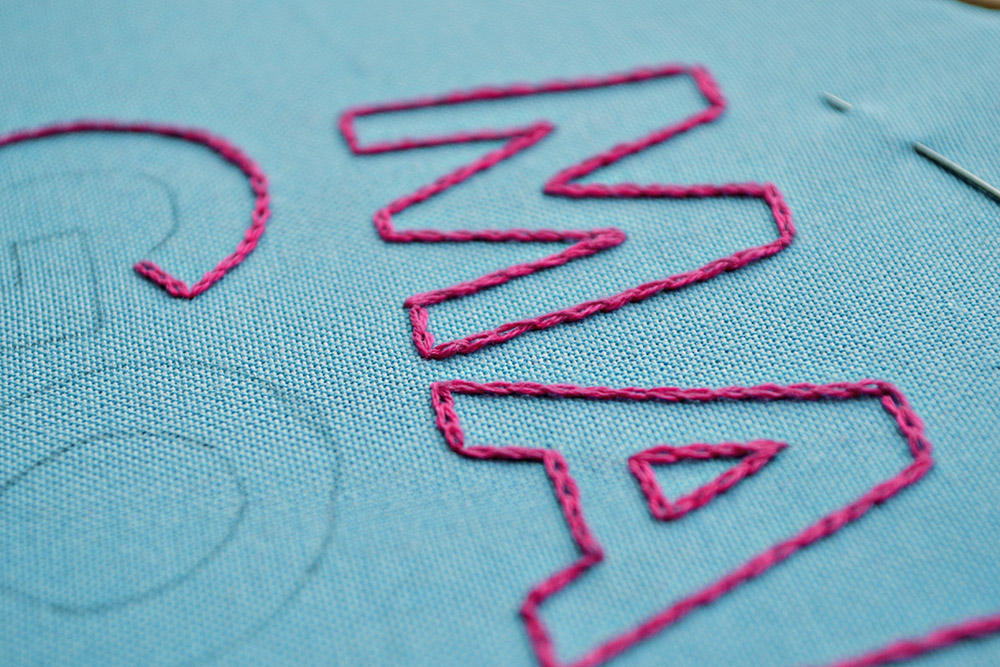
Back stitches for outlines and printed fonts
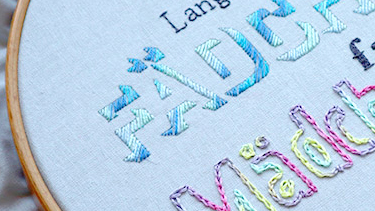
A universal stitch for anything related to lines is the back stitch. You can use it for script fonts and printed fonts. It is also a great stitch to make outlines of very big letters, as I did in the picture above for the stitch lexicon banner. There, I used one strand of embroidery thread in back stitch for all the outlines.

Stem stitches for script fonts and cursive
The stem stitch is a classic for handwriting-style fonts. The way it moves along with curves gives the letters a sophisticated feel. Be careful in very tight curves though – make very short stitches to get the beautiful look.
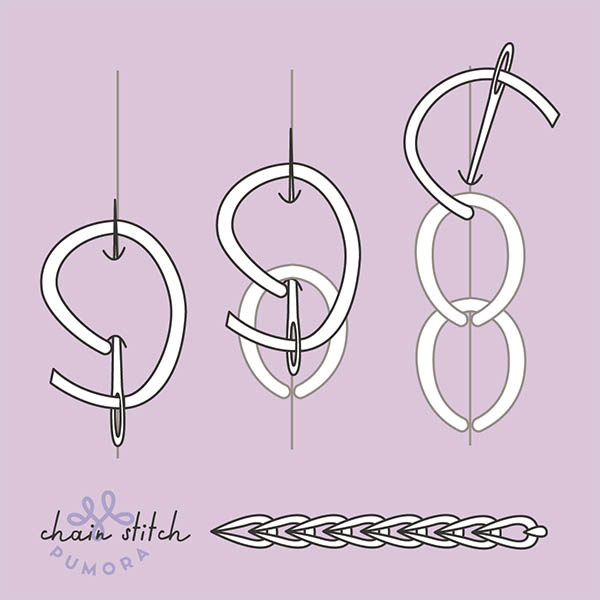
Chain stitches for thick letters and filling
For thick letters, you’ll need a stitch that has more body to it. The chain stitch is the right choice for this. It is fairly quick to stitch and creates a neat and bold line. If you stitch it in rows or rounds, you can even fill out the letters with the chain stitch.
However, there are lots of other embroidery stitches available that you can use for embroidering letters! In the embroidery stitch lexicon here on Pumora, you can find over 200 embroidery stitches to look through and use for your own project.
Each stitch comes with a unique appearance and texture, so it might not be as easy to choose from so many stitches. That is why you’ll find much more information below about the different aspects and which embroidery stitches would work best in each case.
My letter embroidery guide
All of my letter embroidery tips & tricks in one handy ebook! Get 8 alphabets with numbers, embroidery stitch recommendations with examples, and tutorials on how to stitch them.
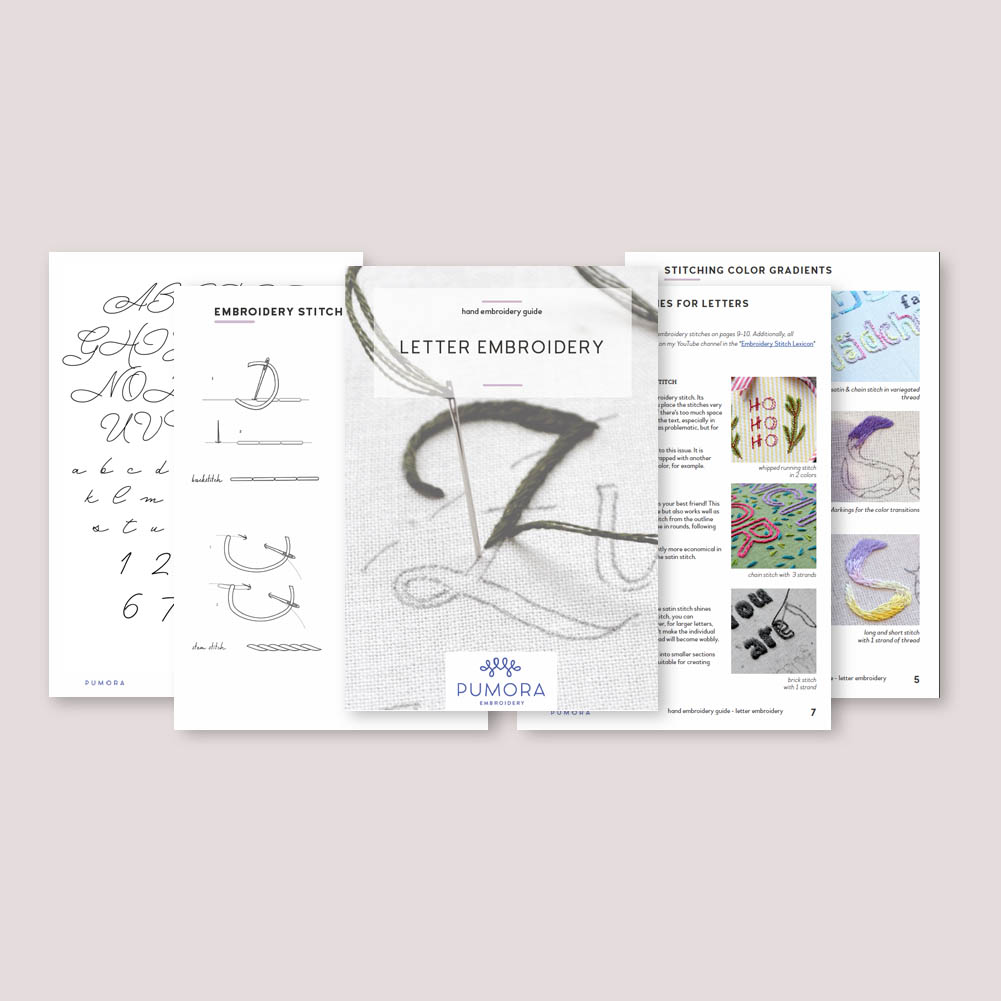
In this ebook, I gathered all my knowledge about stitching quotes and text. It includes many examples of detail pictures of finished embroideries.
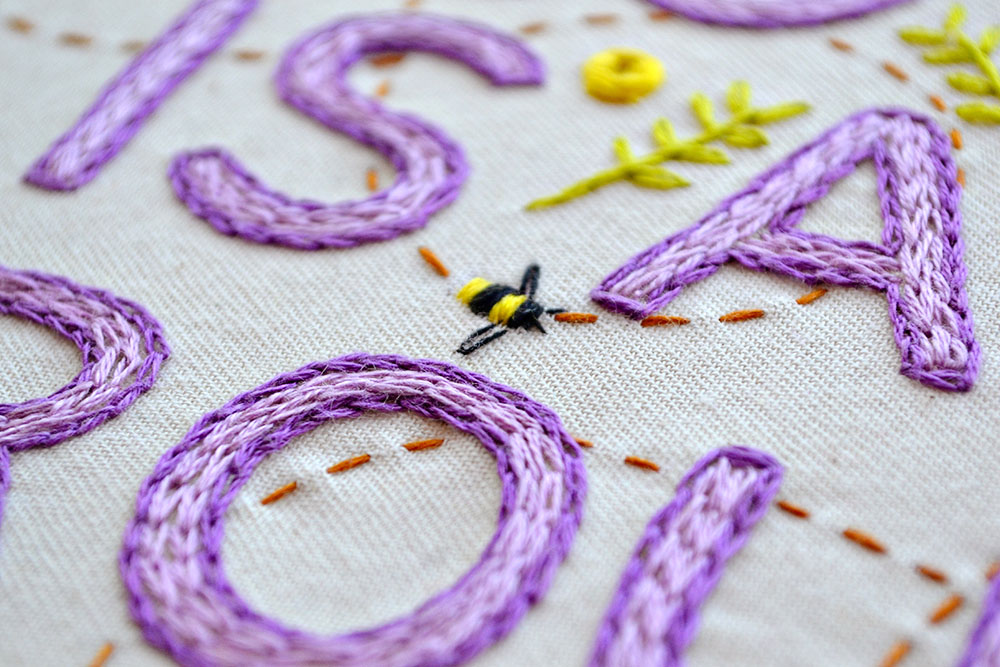
Filling out big letters for initials
My absolute favorite embroidery stitch for big letters is the chain stitch. I love how versatile it is and how easily you can fill out any type, shape, and size with it.


Satin stitch for filling letters
The satin stitch has a long tradition as an embroidery stitch for initials. It creates a smooth surface and also showcases the skill of the embroiderer. The satin stitch itself is very simple. The difficulty lies in getting each stitch perfectly aligned with the previous ones. In case you have problems with that, here are my top tips on how to get the satin stitch right.
For very big letters, you can’t use the satin stitch across the full length or width because it will cause the threads to wiggle around. That is where the satin stitch variations like the encroaching satin stitch or brick stitch come in handy.
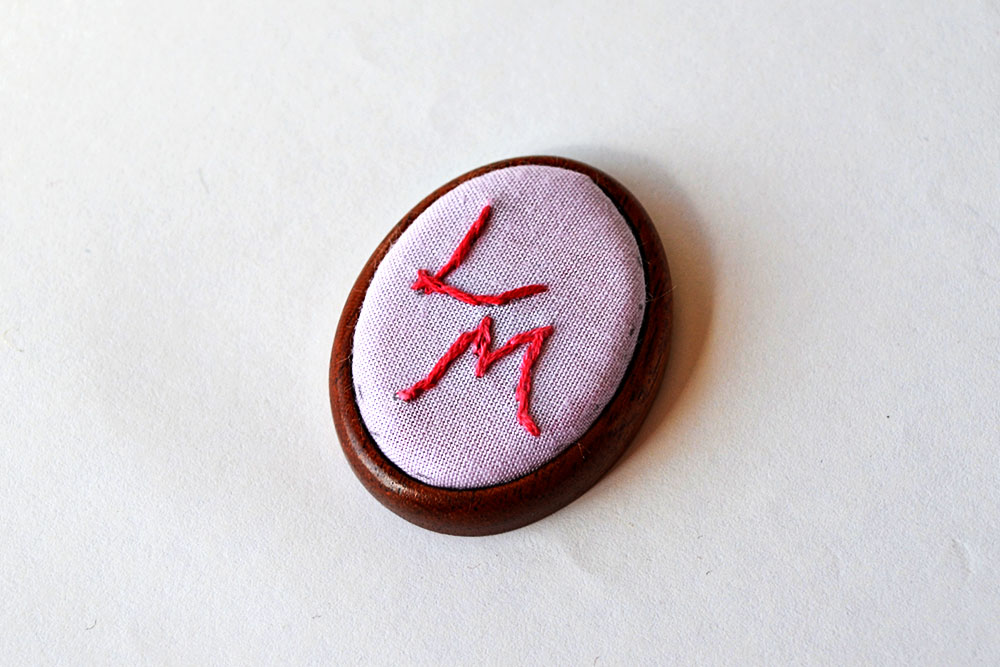
How to embroider cursive and script fonts
The look you want to achieve most of the time with script fonts is some sort of elegant and free feeling. That is sometimes not as easy to create as it might look. Especially for very small lettering, you have to stitch small and with a thin thread to accomplish that airy style.
Below, you can see some examples of “handwritten” embroidery I did in the past. My go-to embroidery stitch, as mentioned earlier, is the stem stitch. It works best in a continuous line and therefore is perfect for handwritten letters. The key here is to shorten the stitches as you go into tight curves so that the threads move into the curve and don’t abbreviate the curve with straight lines.

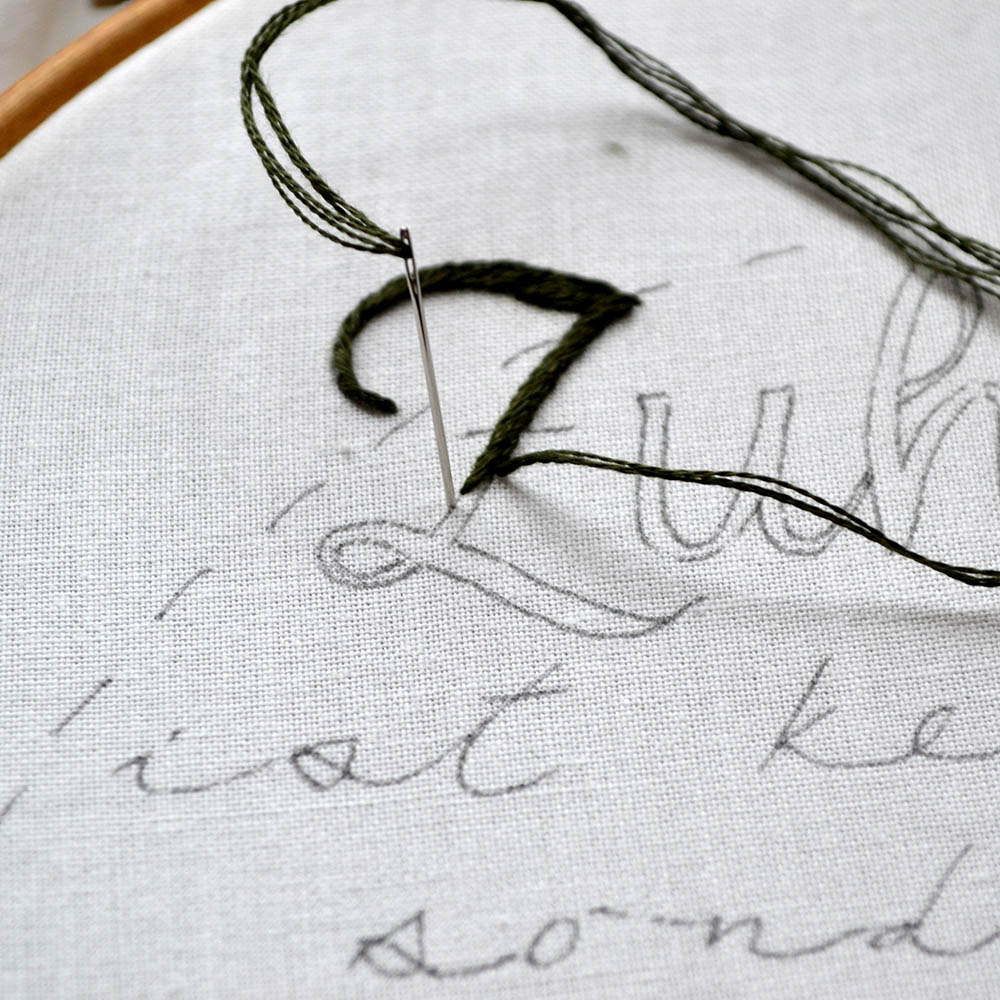
Some handwritten fonts, especially the more calligraphic ones, come with thick and thin lines. To embroider those, the combination of satin stitch for the thicker parts flowing into the thinner parts with stem stitched lines looks just gorgeous! I did that in the letter ‘Z’ in one of the pictures above.
The easiest stitch for thin letters: whipped running stitch
The whipped running stitch is a thin and very easy embroidery stitch and is very suitable for beginners. First, you embroider all the letters with running stitches. That produces a dashed line. Then, whip these running stitches with thread to get a solid line that resembles the stem stitch but is a bit thinner.


Embroidery patterns with letters
There are so many funny and thoughtful embroidery patterns with lettering on them. Here are a few of my favorites:
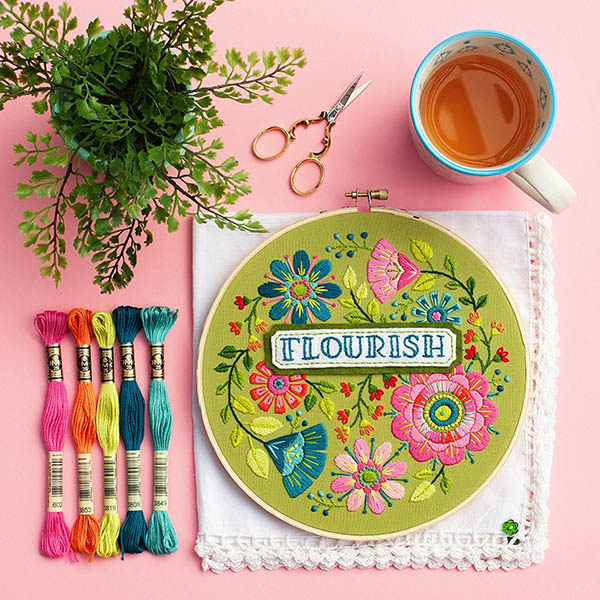
Flourish
This embroidery pattern by LolliandGrace combines an inspiring message with colorful flowers. Just the right project to lift the mood!

Forest Letters
Floral initials are the thing MoodyGreen does best. This new set of winter forest letters is just divine and there are several patterns to choose from.

This took forever
So true and funny at the same time. This classic hand lettering pattern by JessLongEmbroidery is just the perfect gift to get some appreciation!
How many strands of embroidery floss do I use for letter embroidery?
It is also important to use the right thread thickness for letter embroidery. How many strands of embroidery floss you use can change the outcome significantly! In general, it works best to use 3–6 strands of embroidery floss for thicker letters and 1–2 strands for thin letters.
Also, the size of the letters you want to embroider is important for the choice of thread. The bigger the letter, the thicker the thread should be.
However, also consider the type of fabric you want to stitch on. Especially when doing embroidery on t-shirts, you’ll have to adjust the thickness of the thread. The fabric used for t-shirts (cotton jersey) is knitted with very fine threads. That fabric used to be a lot thicker, but nowadays, the cheap t-shirts are made of very thin fabric. That means you have to be very careful with thicker threads. Using 6 strands of embroidery floss on that kid of fabric might pull holes in it! So be aware that you can’t just blindly follow any advice here because it does depend on other things like fabric, too.
Color-Gradients in letter embroidery
By far the easiest method of achieving a gradient is variegated embroidery floss. With variegated thread, you can achieve perfect gradients without even changing the colors at all! Choose your favorite color palette and start stitching.
Here are some variegated threads to choose from:
- DMC Coloris at MillionofStitches (CA) on Etsy or at Lovecrafts (GB)
- ANCHOR Multicolour at Lovecrafts (GB)
- Lecien Cosmo variegated floss at Snugglymonkey on Etsy (US)
- hand dyed cotton thread by OliverTwistsFibers on Etsy
- Weeks Dye Works at FlossandFabrics on Etsy
- ThreadworkX Wildflowers pastel rainbow at AmyRoseJewelrySupply on Etsy

When working with this type of thread, make sure you always start and end the thread in the same direction of color. The thread is dyed in a specific order of colored sections. If you start on one end, you better continue using the same direction throughout the line you are stitching. That way, the colors continue to change in the same order all the time.
If you are using multiple strands of embroidery floss, make sure they all are aligned color-wise. Mixing the colors will blend them all together and create a different look than having the colors all together.
How to create a watercolor effect for initials
Mixing colors like in watercolor is not possible with thread because we can only work with single stitches. However, it is possible to blend colors together. To do this, mark sections where you want to blend from one color into another. Then, stitch to that section with long-and-short stitch. Change the thread to the next color and stitch over the marked line between both sections. With this zigzag of stitches, you achieve the optical illusion of blended colors.
I made a free pattern for this letter embroidery with step-by-step instructions. You can download it on the Anchor Website.
Wow, you made it all the way through! I hope you enjoyed reading about letter embroidery and could take away some good tips for your next stitching project. Please feel free to try out different threads, colors and stitches. In the end it is all about having fun in the process. If that means you want to use one stitch for all your letters, that is totally fine. It is also fine to experiment and maybe sometimes fail. Certainly, I had to fail, too, to get to the point where I felt comfortable enough sharing my knowledge. So please don’t feel discouraged by the many options, just pick one and give it a go!
Do you want more tips and tricks on hand embroidery?
Join the Tutorial Alert! It is a biweekly newsletter that contains information about new tutorials & articles on Pumora, tips & tricks, and promotional content like new embroidery patterns or special discount codes.
You’ll receive an email to confirm your subscription to the Newsletter. Please also check your Spam folder and mark the email as no Spam.