When we moved into our current apartment one thing caught my eye: huge – white – walls. Our previous apartment was half the height (maybe I exaggerate a little bit) and wall space was reserved for storage almost completely. The rare spots where I could hang some art it would look too cramped easily. Before I’ll tell you about the hard way I found out that my walls were a pain to hang stuff on – rest assured that I’ll also show you how to hang your embroidery pieces without damaging your walls!
Disclaimer: This article contains affiliate links.
So, these new white walls not only took me weeks to paint but also opened a new world for me. The world of displaying art – and how difficult it is to fill up those huge walls with your teeny tiny pieces of art from the previous home, but that’s a story for another day.
After hours of Pinterest research on how to arrange frames in a beautiful layout, I was ready to hammer in my first nail and get started. Got the hammer, got the nail box, hit the nail on its head (yes, not the finger), and … the nail bent and did not even move further than the wallpaper.
When your walls don’t want you to hang embroidery on it…
UGH. Ok, Anne – I said maybe to myself, but most probably a little bit angry and louder – let’s try again at another spot. Same game here. I tried a couple of other spots and even other walls. No success. Without a drill, there would be no way to get things hung on these walls. And there was no way I would drill a hole for every tiny piece of art and leave a huge mess on the walls when putting the art down.
So maybe you can relate to my dilemma. Maybe your walls are equally stubborn, maybe you rent a place where it’s simply not allowed to make any holes in the walls. Maybe you don’t like using a hammer and simply want another way of displaying your embroidery. If so – this is for you!
How to hang embroidery pieces without damaging your walls
Use your shelves
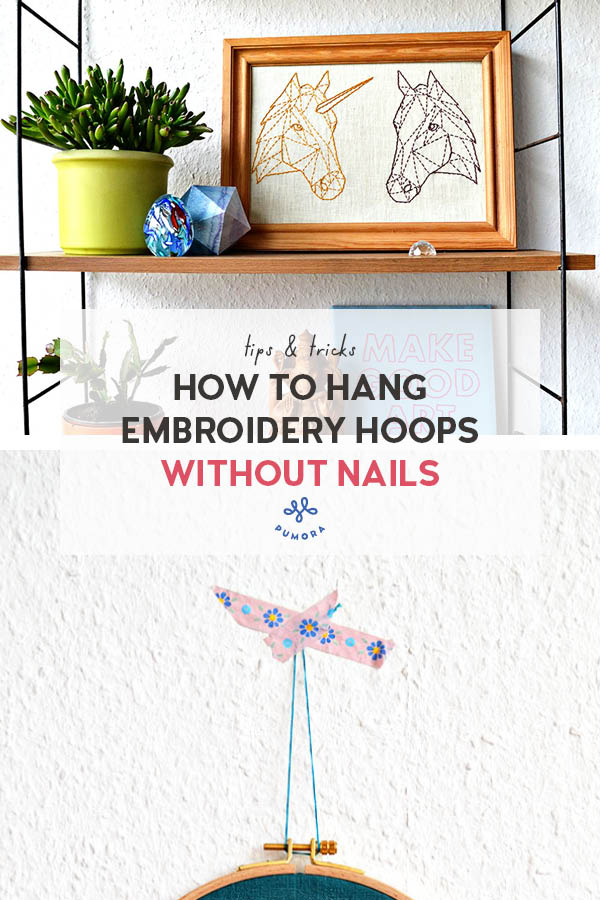
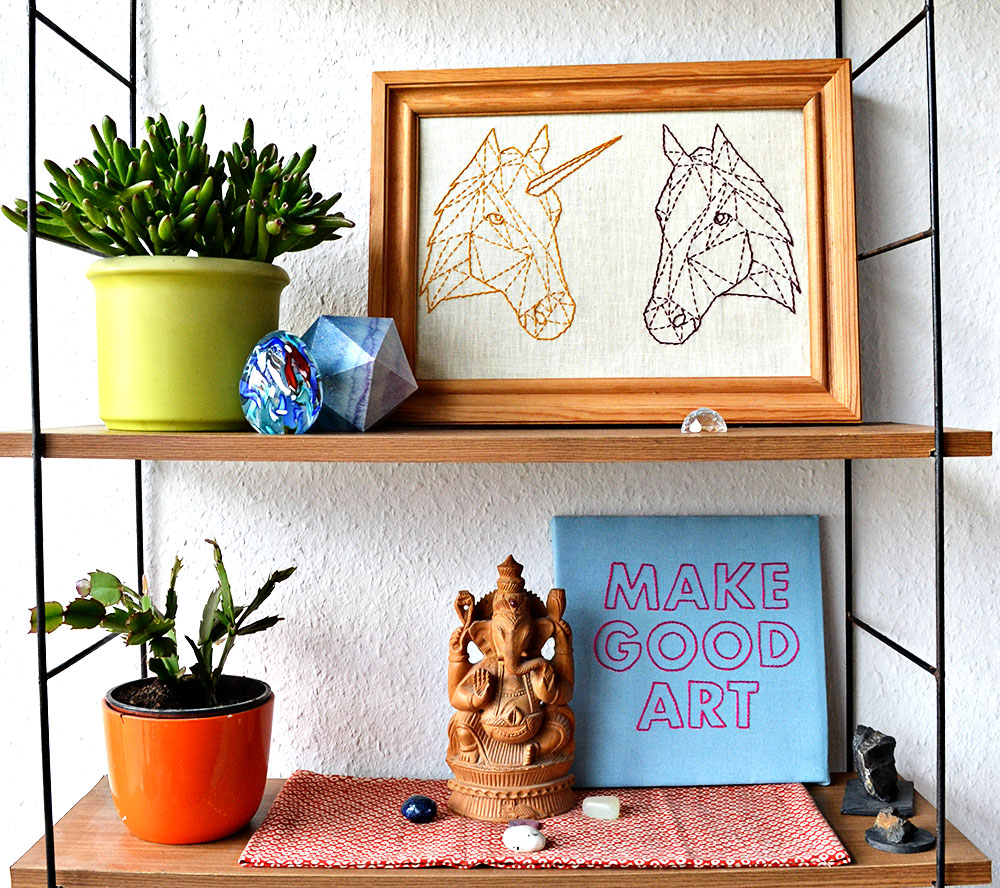
Before we go into the art of nail-lessness let’s look at a simple way to display your embroidery art: putting it on a shelf or other kinds of furniture. Wherever you can put a picture frame, you can put an embroidery hoop! So instead of twisting your brains on how to get things on the wall, put it ON your existing furniture and enjoy your free time.
I know this is not actually hanging on the wall. But sometimes the easy way is the best.

Using Masking Tape to attach hoops to the wall
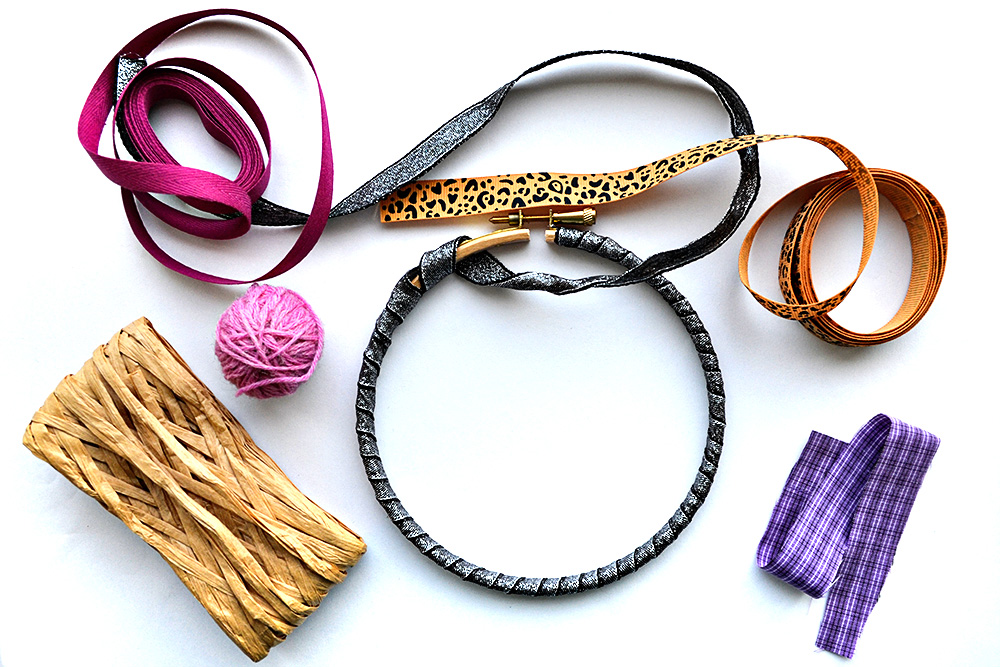
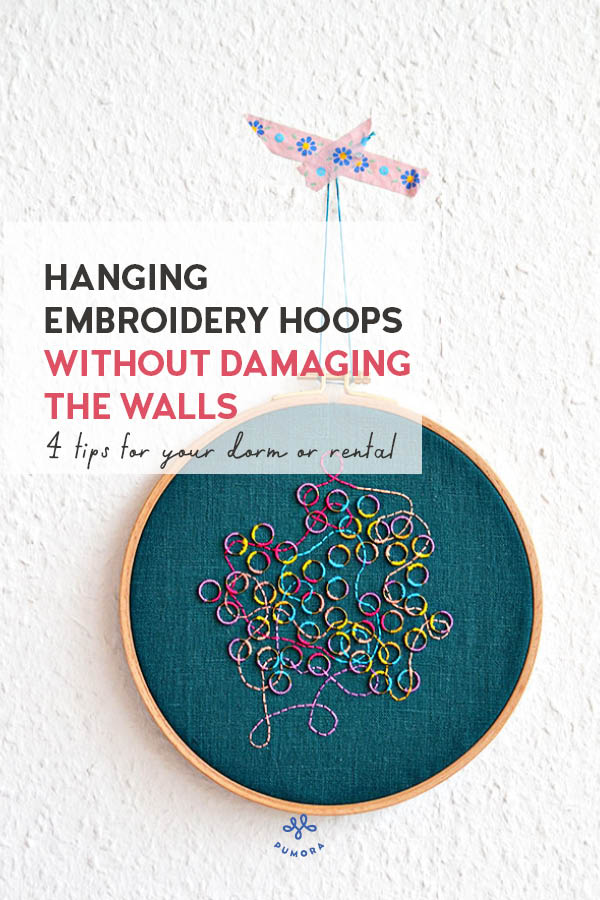
For this method, wrap a piece of ribbon or string around your embroidery hoop’s closure and tape it on the wall. To be totally safe, I used a strong transparent tape first and put a layer of patterned masking tape over it then. I don’t trust the shiny pretty masking tapes to be very strong since I had trouble with cheaper brands to stick permanently even to paper. S so I went with a good quality tape underneath. I have put it on yesterday and it is still hanging in there.
Pro & Cons of taping embroidery to the wall
This method is a quick solution to get things on your wall and remove them easily. If you like to switch up things regularly this method is great!
The downside is, if you don’t like the appearance of this and rather have the hoop showing without the tape or a string, this will probably not be your piece of cake. Also, the tape doesn’t hold heavier/bigger hoops well.
How to use Sticky Hooks to hang embroidery hoops
There are hooks for towels and picture frames to attach on walls with double-sided tape on the back. They come in various sizes and types. Choose your spot and put them on the wall. Then hang your hoop at the closure or choose a pretty ribbon to hang it on the hook. There are bland white ones but also transparent and fancy hooks. I personally would add one that is not as visible because the hoop is what I like to have the focus on and anything around it can distract from that.
Pro & Cons of hooks for hanging embroidery pieces
Some hooks don’t hold well on walls other than tiles. You can exchange the tape in the back with your own double-sided tape and see if it works better.
If you like this article, you might also enjoy this one: “How to frame hand embroidery pieces“
Picture Rail
I have not done this, but it looks really elegant and classy. Megan from Megan Pflug Designs shows different Picture Rails on her Blog. Go take a look, they are so beautiful and easy to make. This only works if you have some sort of molding on the wall. It also works if you put up a string of wire, the kind you use for hanging curtains, and hang your frames from there.
You see there are a couple of possibilities to work around the nail or hole in your walls. If you did not find a solution for you, search for how to hang picture frames without nails. Embroidery art and pictures in frames share similarities and there is much more info in the field of hanging frames than hoops. Maybe you’ll get your perfect solution there!
Do you want more tips and tricks on hand embroidery?
Join the Tutorial Alert! It is a biweekly newsletter that contains information about new tutorials & articles on Pumora, tips & tricks, and promotional content like new embroidery patterns or special discount codes.
